Join the AI Workshop and learn to build real-world apps with AI. A hands-on, practical program to level up your skills.
I’m a Mac user and I do not own a Windows computer, so I can’t write the instructions for Windows. Google “how to install sqlite on windows” for specific instructions. Same goes for Linux.
On macOS, you don’t need to do anything to install sqlite. It’s preinstalled in all modern versions of macOS.
All you need to do is open a terminal and run the following command:
sqlite3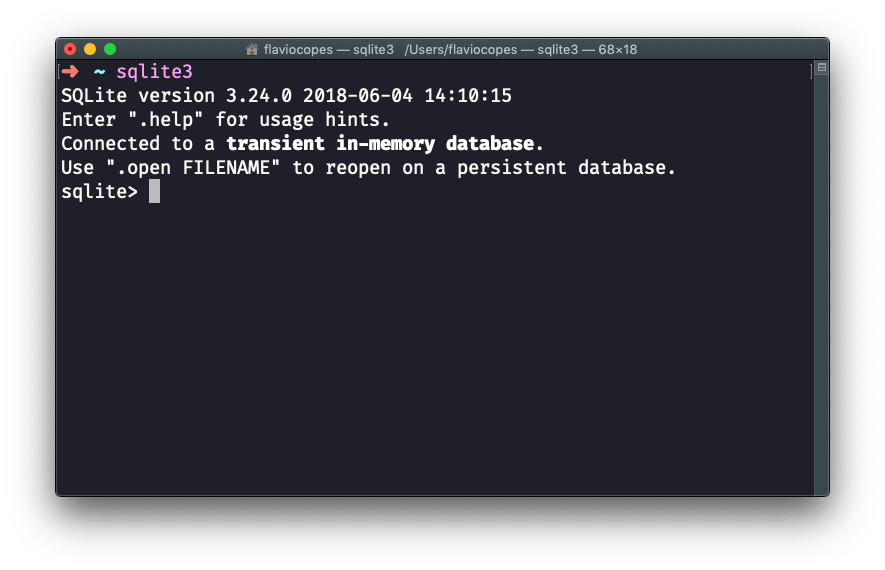
Press ctrl-C 2 times to exit the SQLite executable.
This is pretty cool!
My macOS with Mojave comes with SQLite 3.24, and the latest version (at the time of writing) is SQLite 3.30. You can upgrade SQLite using Homebrew, but for the sake of simplicity, I’m not going to cover this.
A great software we can use to interact with a SQLite database is TablePlus. It comes with a free trial that’s perfect for our usage, because it’s not time-based but rather it limits the amount of concurrent connections you can make to the database.
Download it from https://tableplus.com. I know there are macOS, Windows and Linux versions.

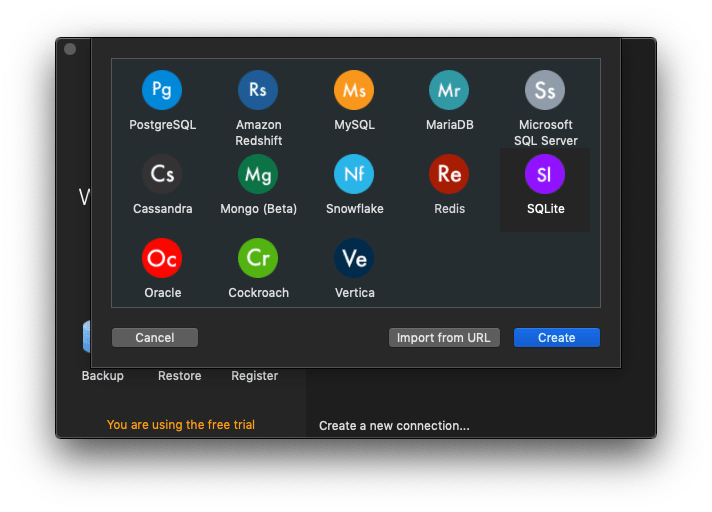
You create a new connection, choosing SQLite:
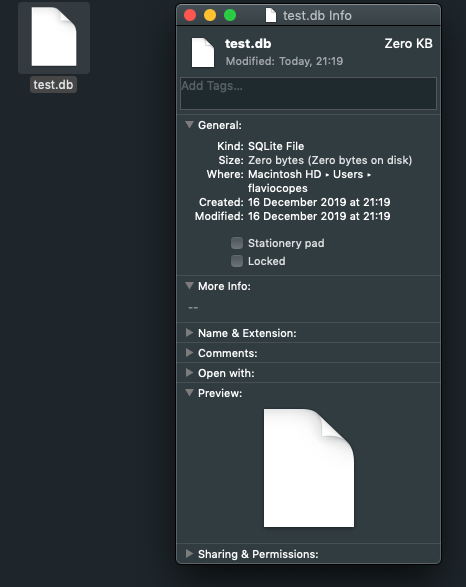
You select a name, and type a database path. I chose test.db, in the /Users/flaviocopes/ folder:
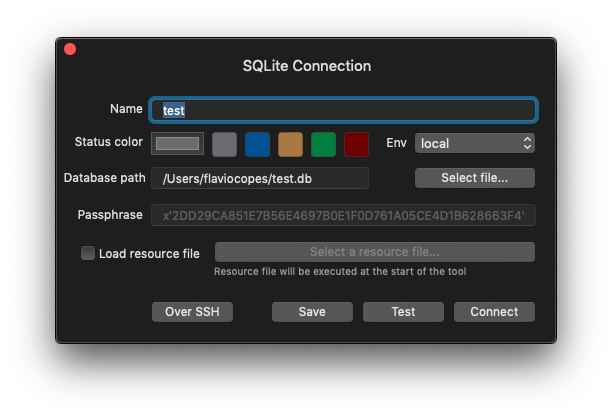
SQLite is pretty cool because the database is contained in a file, which you can put pretty much everywhere you want. This is radically different from PostgreSQL, MySQL, and other large DBMSs.
After pressing Connect, the connection was successfully created:
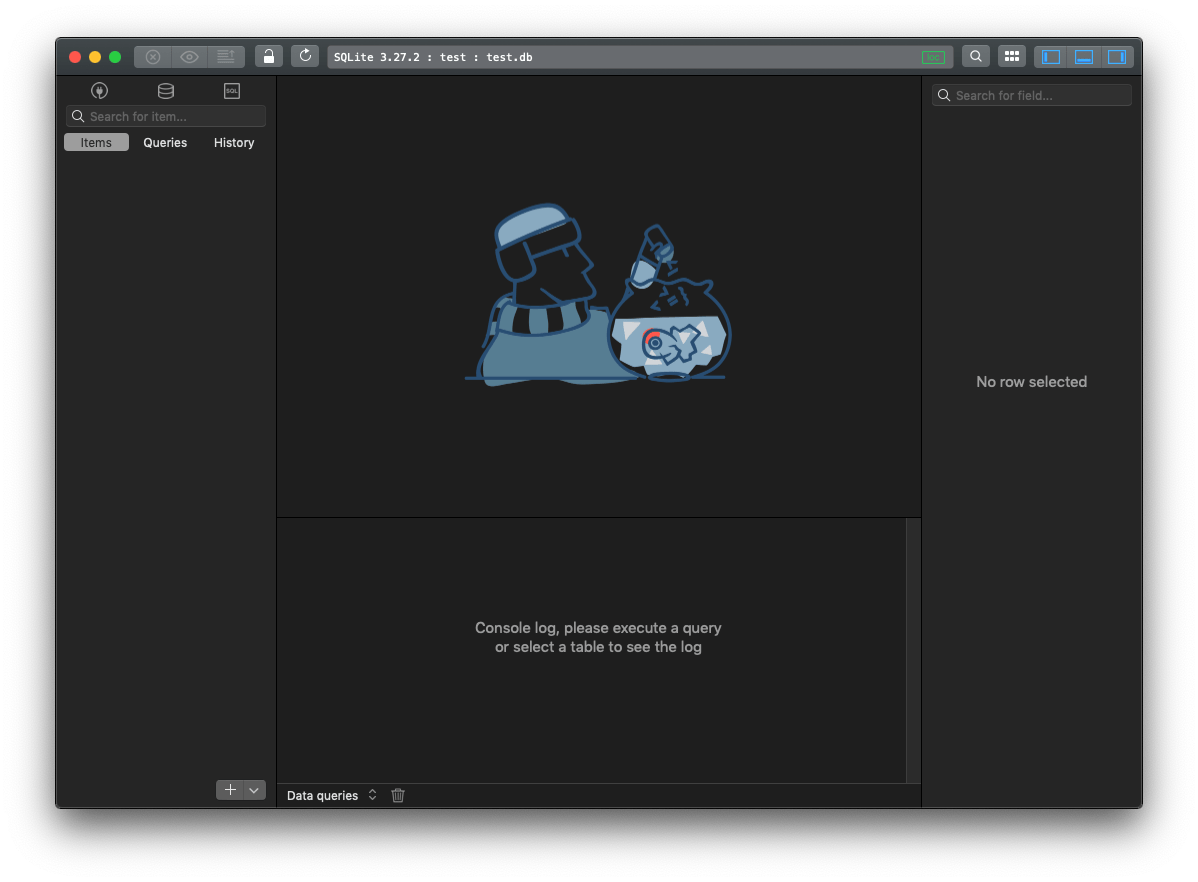
and I can see the file created in that folder, with a size of zero KB:
That’s it.
I’m going to make more tutorials on how to use this SQLite database, soon.
Lessons in this unit:
| 0: | Introduction |
| 1: | ▶︎ How to install SQLite on macOS |
| 2: | SQLite User Permissions |
| 3: | How to create an empty SQLite database |