Join the AI Workshop and learn to build real-world apps with AI. A hands-on, practical program to level up your skills.
Let’s add a little form to add a new blog post.
There will be no authentication here, so anyone can add a blog post.
Not something recommended to have on a public site of course, but will work for our sample app to demonstrate mutations.
Create a new route component in app/routes/blog.new.jsx so it will “respond” on the URL /blog/new.
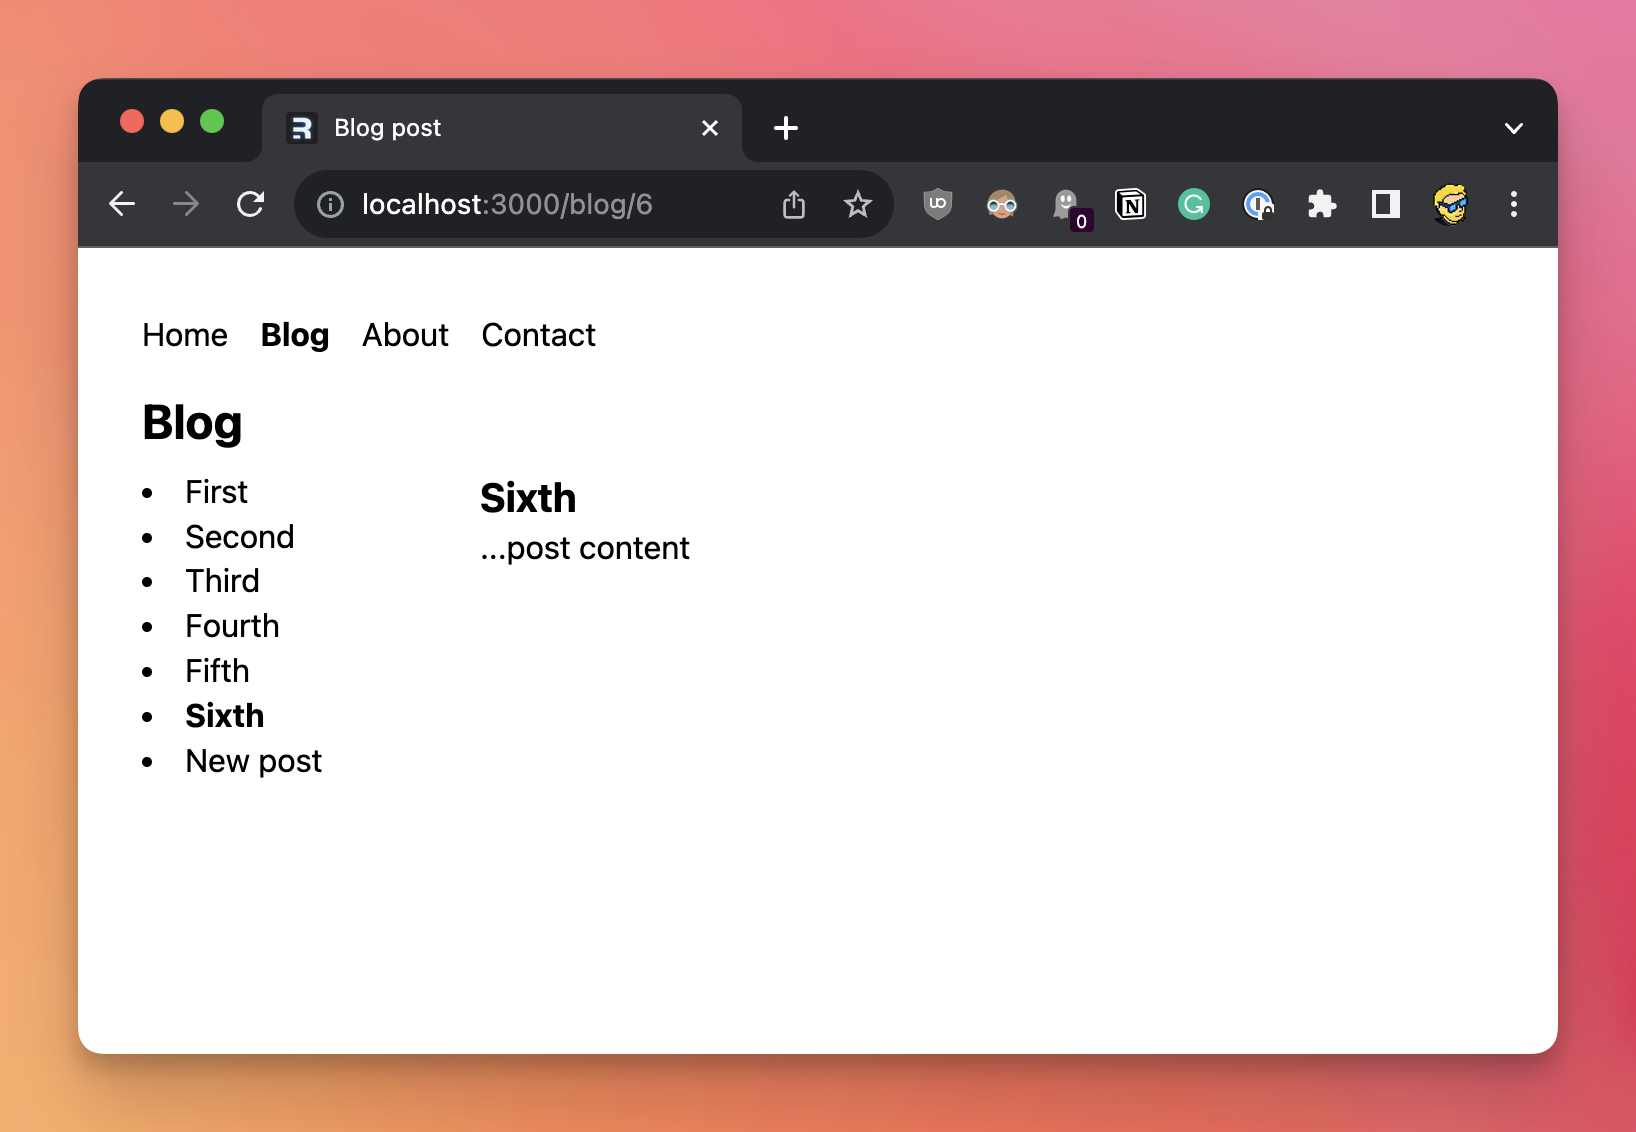
You can link to it in the component from app/routes/blog.jsx:
//...
        <ul className='list-disc list-inside row-span-1'>
          {posts.map((post) => (
            <li key={post.id}>
              <NavLink
                to={`/blog/${post.id}`}
                className={({ isActive }) => (isActive ? 'font-bold' : '')}>
                {post.title}
              </NavLink>
            </li>
          ))}
          <li>
            <NavLink
              to='/blog/new'
              className={({ isActive }) => (isActive ? 'font-bold' : '')}>
              New post
            </NavLink>
          </li>
        </ul>
//...
Now in app/routes/blog.new.jsx start by creating a component:
export const meta = () => {
  return [{ title: 'New post' }]
}

export default function NewPost() {

  return (
    //...
  )
}
Now we create a form using the Form component that’s provided by Remix:
import { Form } from '@remix-run/react'

export const meta = () => {
  return [{ title: 'New post' }]
}

export default function NewPost() {
  return (
    <Form method='post'>
      <label>
        Title: <input className='border' name='title' required='true' />
      </label>
      <button type='submit' className='p-2 bg-zinc-300 border'>
        Create post
      </button>
    </Form>
  )
}
When the form is submitted, Remix executes the action on the route.
So we add it by adding a named function export action.
In there we first get the post title from the form data:
export async function action({ request }) {
  const formData = await request.formData()
  const title = formData.get('title')

  //...
}
Then we insert this new post in the database, and we redirect to it:
import { redirect } from '@remix-run/node'
import { getDb } from '../database.server.js'

//...

export async function action({ request }) {
  const formData = await request.formData()
  const title = formData.get('title')

  const db = await getDb()
  const result = await db.run('INSERT INTO posts (title) VALUES (?)', title)
  await db.close()

  return redirect(`/blog/${result.lastID}`)
}
Here’s the full code of the form fully working:
import { Form } from '@remix-run/react'
import { redirect } from '@remix-run/node'
import { getDb } from '../database.server.js'

export const meta = () => {
  return [{ title: 'New post' }]
}

export async function action({ request }) {
  const formData = await request.formData()
  const title = formData.get('title')

  const db = await getDb()
  const result = await db.run('INSERT INTO posts (title) VALUES (?)', title)
  await db.close()

  return redirect(`/blog/${result.lastID}`)
}

export default function NewPost() {
  return (
    <Form method='post'>
      <label>
        Title: <input className='border' name='title' required='true' />
      </label>
      <button type='submit' className='p-2 bg-zinc-300 border'>
        Create post
      </button>
    </Form>
  )
}