Join the AI Workshop and learn to build real-world apps with AI. A hands-on, practical program to level up your skills.
One of the most popular libraries to work with a Redis server from a Node.js app is node-redis, available at https://github.com/NodeRedis/node-redis.
Install the library in your project:
npm install redisTip: don’t forget to first run
npm init -yif the project is brand new and you don’t have apackage.jsonfile already.
Connect to the Redis instance
Once the library is installed, require it in your project using
const redis = require('redis')or
import redis from 'redis'Once you have the redis object, create a new client using
const client = redis.createClient({
  url: 'redis://YOUR REDIS INSTANCE URL'
})
and connect using (inside an async function):
await client.connect()Once you have the client, we can perform all the things we know that Redis can do.
To close the connection, call:
client.quit()Store and retrieve key values
Store a key-value pair into Redis using set():
client.set("<key>", "<value>")Example:
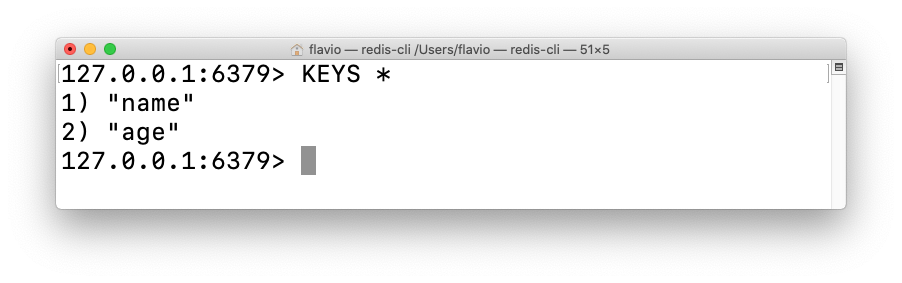
client.set("name", "Flavio")
client.set("age", 37)
If you run KEYS * in redis-cli on a clean Redis server, you’ll see the two keys appearing:
You can get the value stored in a key using get():
const value = await client.get("name")Delete a key/value string using
client.del("names")Working with lists
In Redis we can work with lists using the
LPUSHRPUSHLTRIMLRANGE
commands we introduced in the Redis module. They map directly to client object methods.
Create a list using
client.lPush('names', 'Flavio')Push a new item to the bottom of the list:
client.rPush('names', 'Roger')Or at the top of the list:
client.lPush('names', 'Syd')List all the items in a list using:
const result = await client.lRange('names', 0, -1)
//result is [ 'Roger', 'Flavio', 'Syd' ]
Drop items from a list using
client.rPop('names')Delete a list using
client.del('names')Working with sets
In Redis we work with sets using
SADDSPOPSMEMBERS.
and other Redis commands, that map directly to client object methods.
Create a set using
client.sAdd('names', 'Flavio')Add more items to the set:
client.sAdd('names', 'Roger')You can add multiple ones at once:
client.sAdd('names', 'Roger', 'Syd')also by passing an array:
const names = ['Flavio', 'Roger', 'Syd']
client.sAdd('names', names)
List all the items in a set using:
const names = await client.sMembers('names')Drop a random item from a set using:
client.sPop('names')Add a second parameter to drop multiple random items:
client.sPop('names', 3)Delete a set using
client.del('names')Working with hashes
In Redis we work with hashes using a set of commands that include
HMSETHGETALLHSETHINCRBY.
and other commands we introduced in the Redis module, that map directly to client object methods.
Create a hash using
client.hSet('person:1', 'name', 'Flavio', 'age', 37)To get all the properties of a user, use HGETALL:
const items = client.hGetAll('person:1')You can update a hash property using HSET:
client.hSet('person:1', 'age', 38)You can increment a value stored in a hash using HINCRBY:
client.hIncrBy('person:1', 'age', 1)Delete a hash using
client.del('person:1')Subscriptions
Subscriptions are an amazing feature of Redis, powering us to do really fancy things in Node.js.
A publisher sends a message on a channel. Multiple subscribers receive it.
Subscribe to a channel using
await subscriber.subscribe('dogs', (message) => {
  console.log(message);
})
Publish to a channel using client.publish('<channel>', '<message>')
client.publish('dogs', 'Roger')Be aware that you can’t publish and subscribe from the same client instance.
To do so in the same app, create 2 clients:
const subscriber = redis.createClient({ ... })
const publisher = redis.createClient({ ... })

await subscriber.subscribe('dogs', (message) => {
  console.log(channel, message);
})

publisher.publish('dogs', 'Roger')