Join the AI Workshop and learn to build real-world apps with AI. A hands-on, practical program to level up your skills.
The first thing we need to do is to install Node.js.
Go to https://nodejs.org
There you’ll find the installer for your operating system.
In this screenshot you see “Download for macOS” because that’s my OS but you’ll see yours:
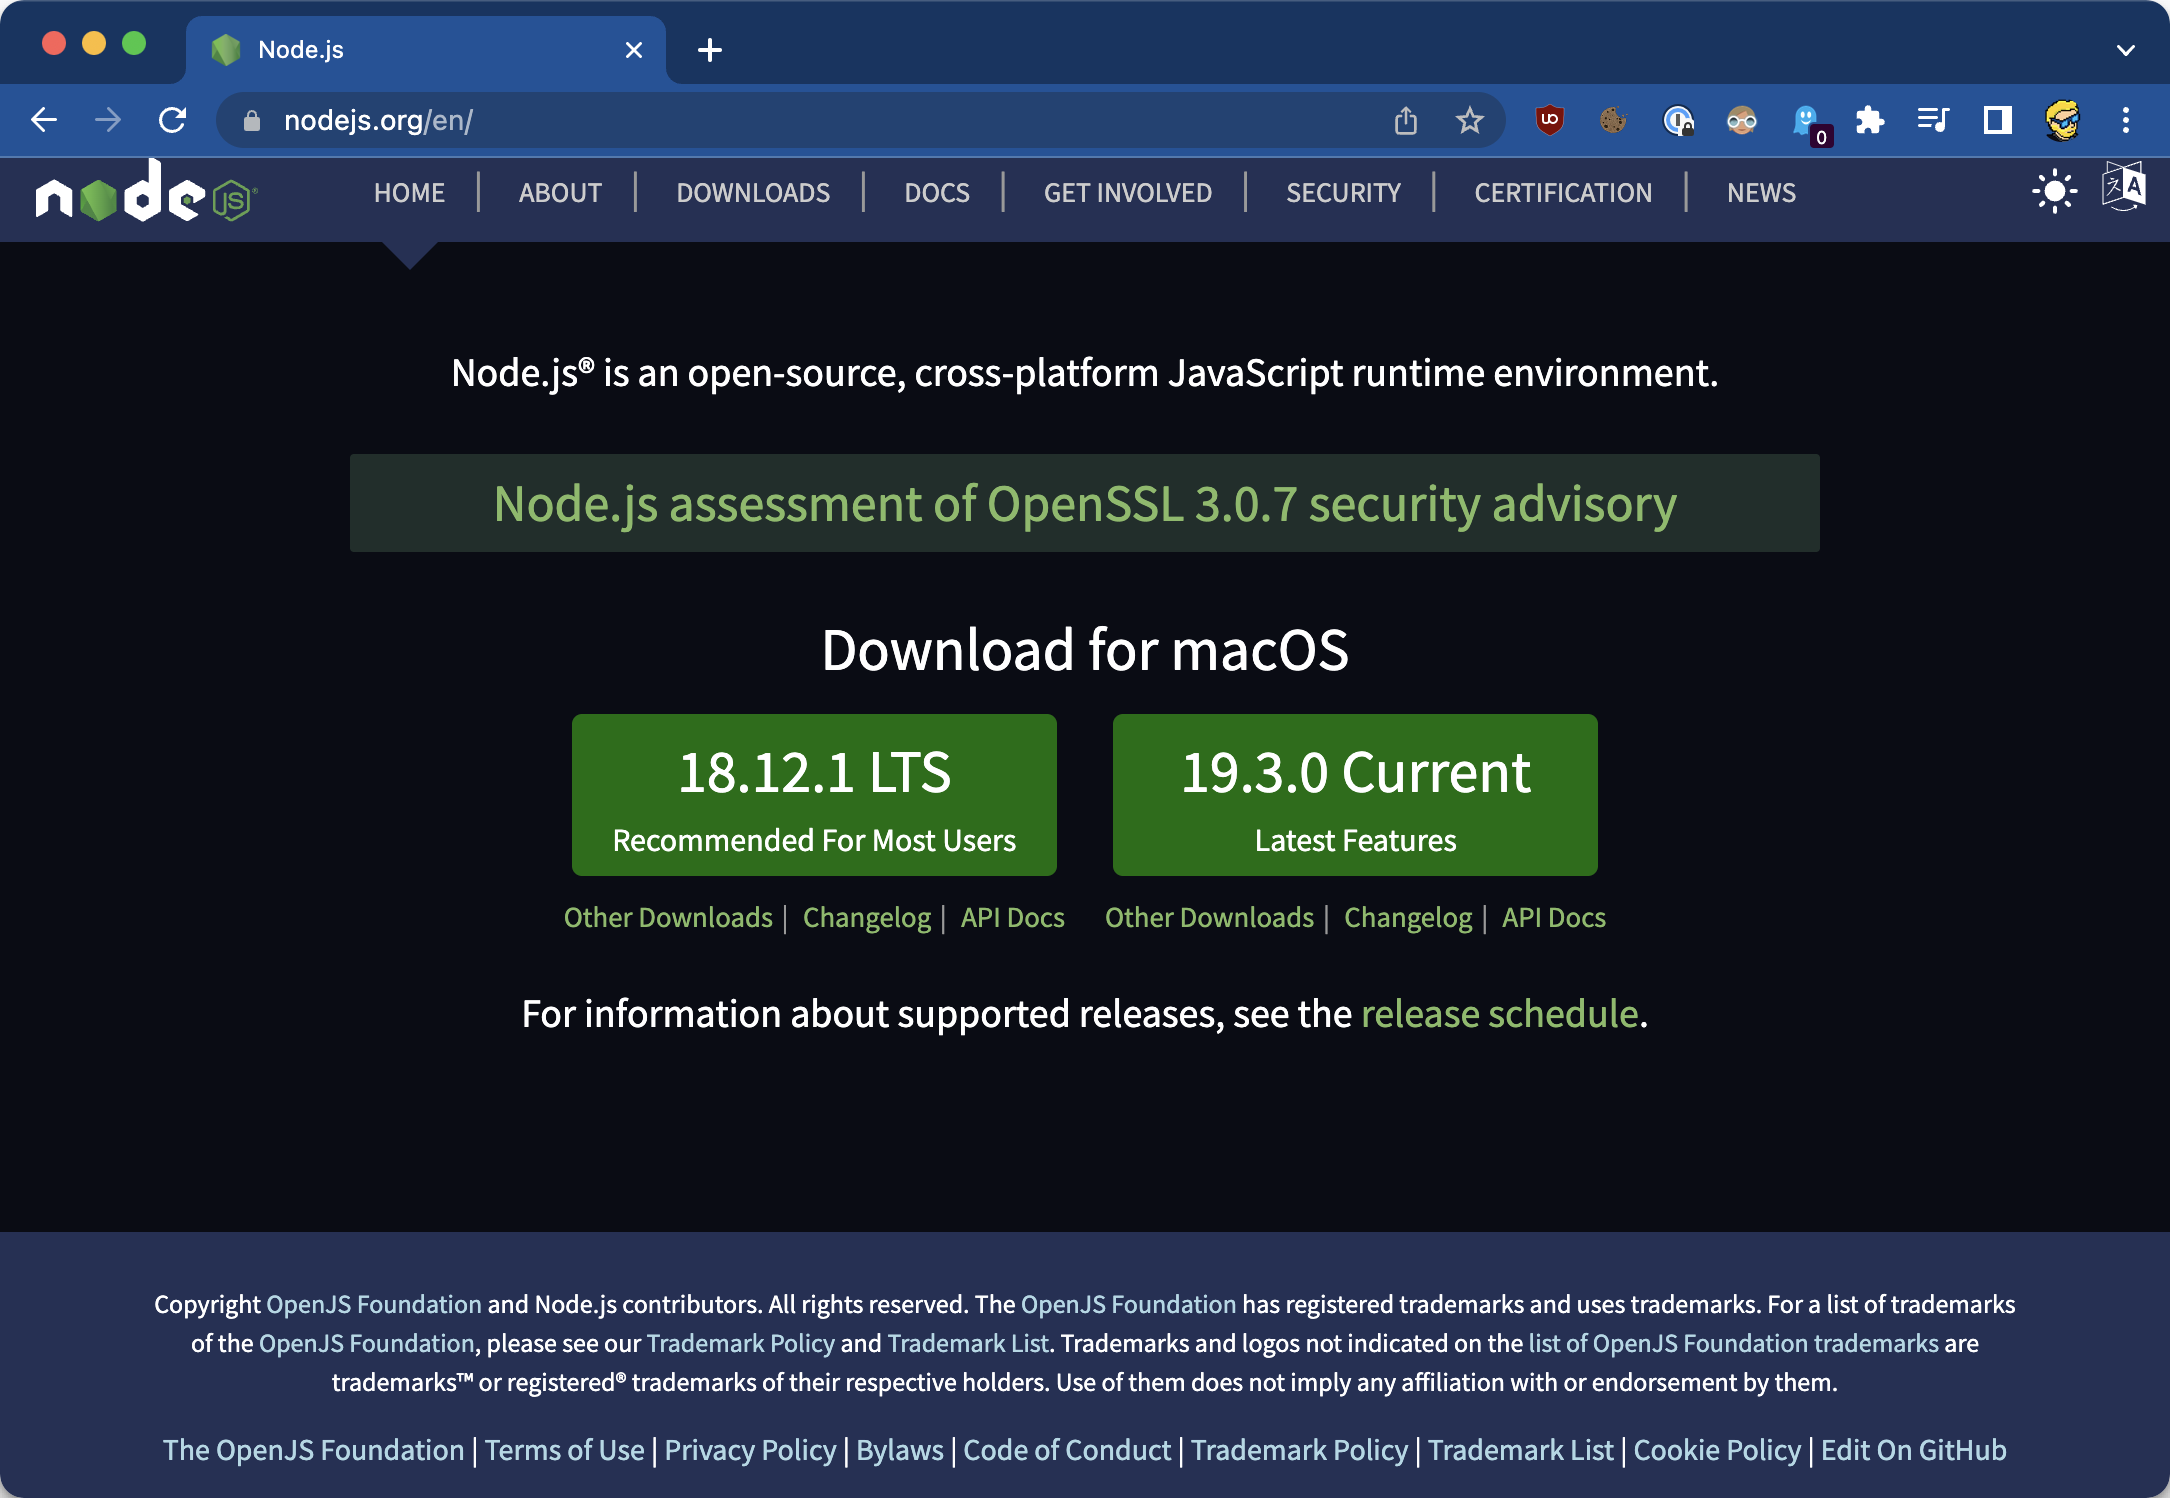
You have 2 options: LTS (long-term support) or Current, which has all the latest features.
There’s not a lot of difference for our use case. You can pick any of those.
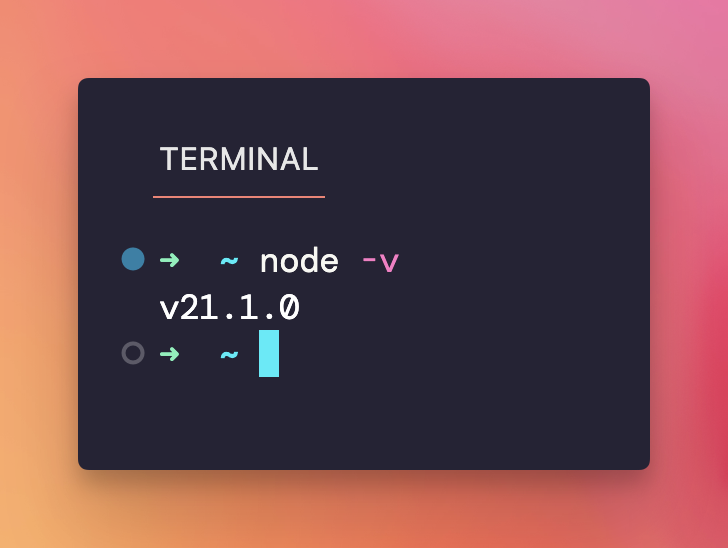
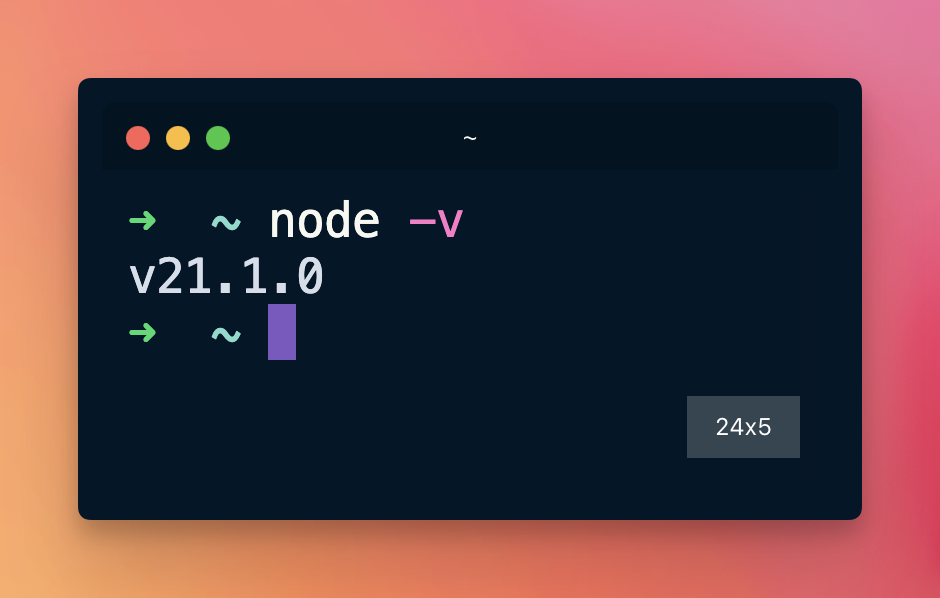
At the end of the installation process, you should be able to open your terminal and have the node command available, in the standalone terminal:
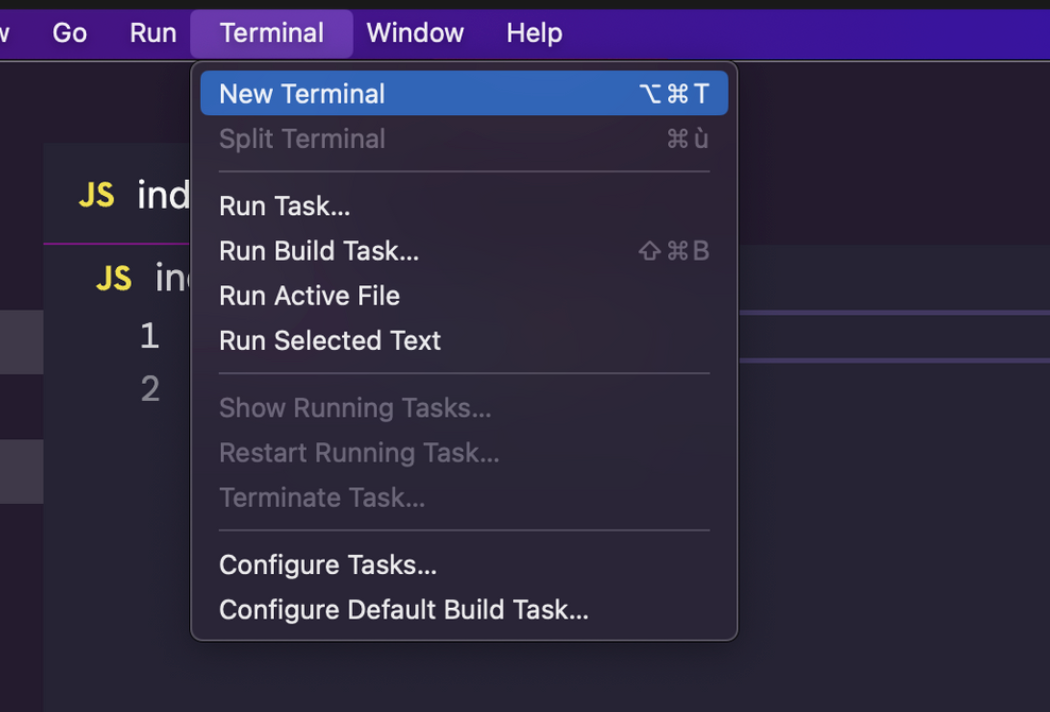
Or inside VS Code after opening the terminal inside VS Code, using the menu Terminal → New Terminal