Join the AI Workshop and learn to build real-world apps with AI. A hands-on, practical program to level up your skills.
To install Next.js, you need to have Node.js installed.
Make sure that you have the latest version of Node. Check with running node -v in your terminal, and compare it to the latest LTS version listed on https://nodejs.org/.
After you install Node.js, you will have the npm command available in your command line.
If you have any trouble at this stage, I recommend the following tutorials I wrote for you:
- how to install Node.js
- how to update Node.js
- An introduction to the npm package manager
- Unix Shells Tutorial
- How to use the macOS terminal
- The Bash Shell
Now that you have Node updated to the latest version and npm, create an empty folder anywhere you like, for example in your home folder, and go into it:
mkdir nextjs
cd nextjs
and create your first Next project:
mkdir firstproject
cd firstproject
Now use the npm command to initialize it as a Node project:
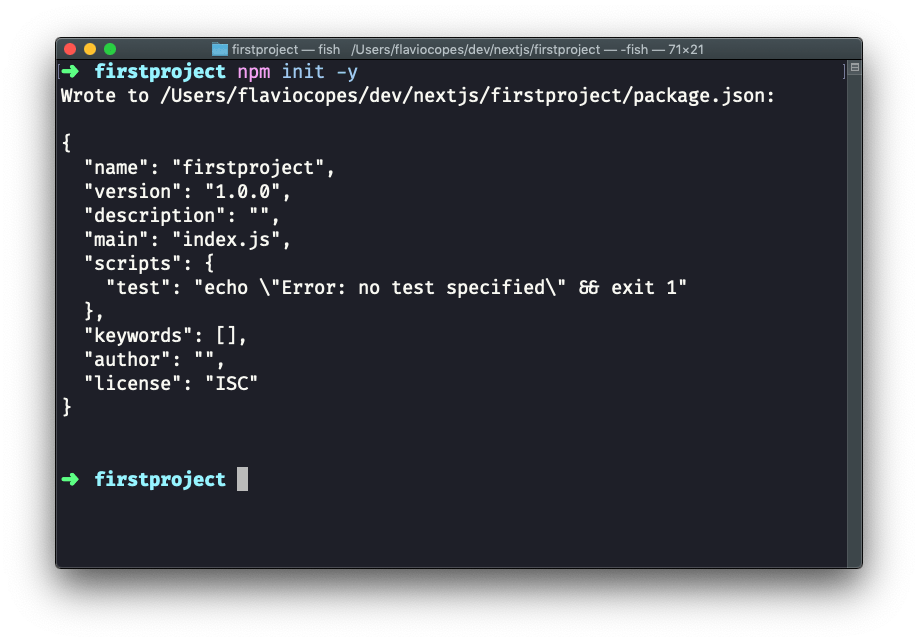
npm init -yThe -y option tells npm to use the default settings for a project, populating a sample package.json file.
Now install Next and React:
npm install next react react-domYour project folder should now have 2 files:
package.json(see my tutorial on it)package-lock.json(see my tutorial on package-lock)
and the node_modules folder.
Open the project folder using your favorite editor. My favorite editor is VS Code. If you have that installed, you can run code . in your terminal to open the current folder in the editor (if the command does not work for you, see this)
Open package.json, which now has this content:
{
"name": "mysite",
"version": "1.0.0",
"description": "",
"main": "index.js",
"scripts": {
"test": "echo \"Error: no test specified\" && exit 1"
},
"keywords": [],
"author": "",
"license": "ISC",
"dependencies": {
"next": "^9.1.2",
"react": "^16.11.0",
"react-dom": "^16.11.0"
}
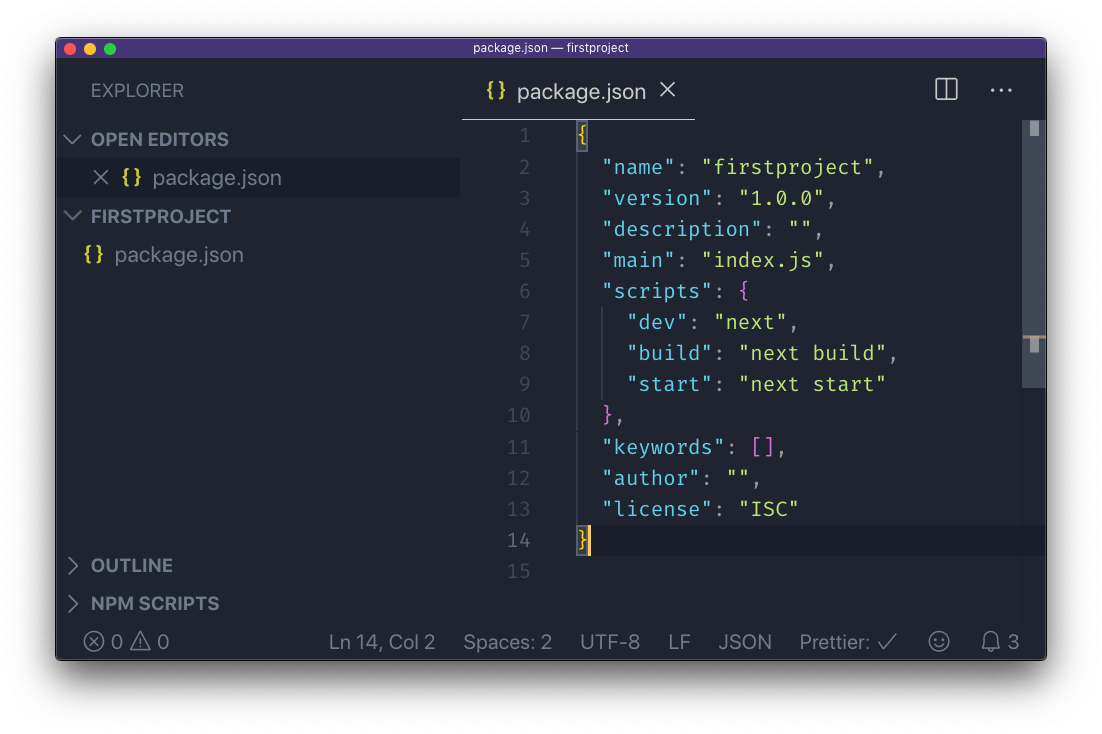
}and replace the scripts section with:
"scripts": {
  "dev": "next",
  "build": "next build",
  "start": "next start"
}
to add the Next.js build commands, which we’re going to use soon.
Now create a pages folder, and add an index.js file.
In this file, let’s create our first React component.
We’re going to use it as the default export:
const Index = () => (
<div>
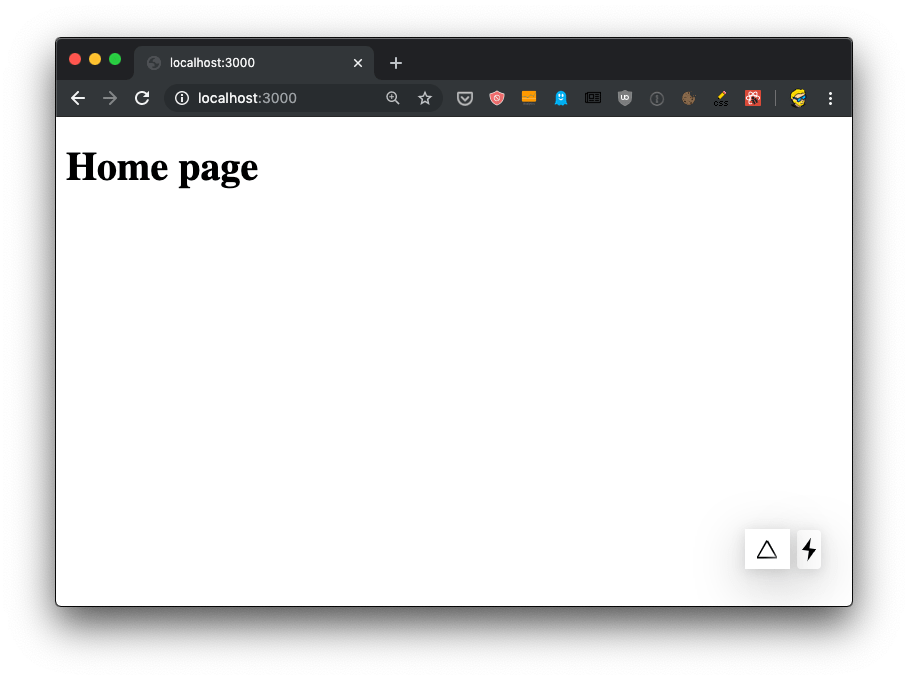
<h1>Home page</h1>
</div>
)
export default IndexNow using the terminal, run npm run dev to start the Next development server.
This will make the app available on port 3000, on localhost.
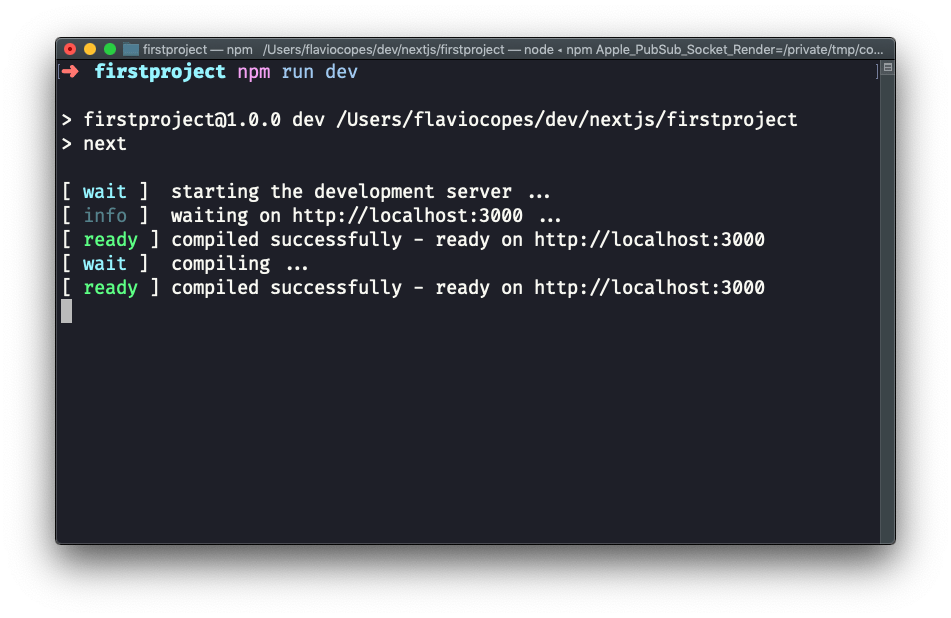
Open http://localhost:3000 in your browser to see it.