Join the AI Workshop and learn to build real-world apps with AI. A hands-on, practical program to level up your skills.
Now we’re going to pick the simple repository we created previously with an HTML file, and deploy it on Netlify.
It will be quite a silly website to have, but the important thing is learning the process of making something you’ve made available on the Internet.
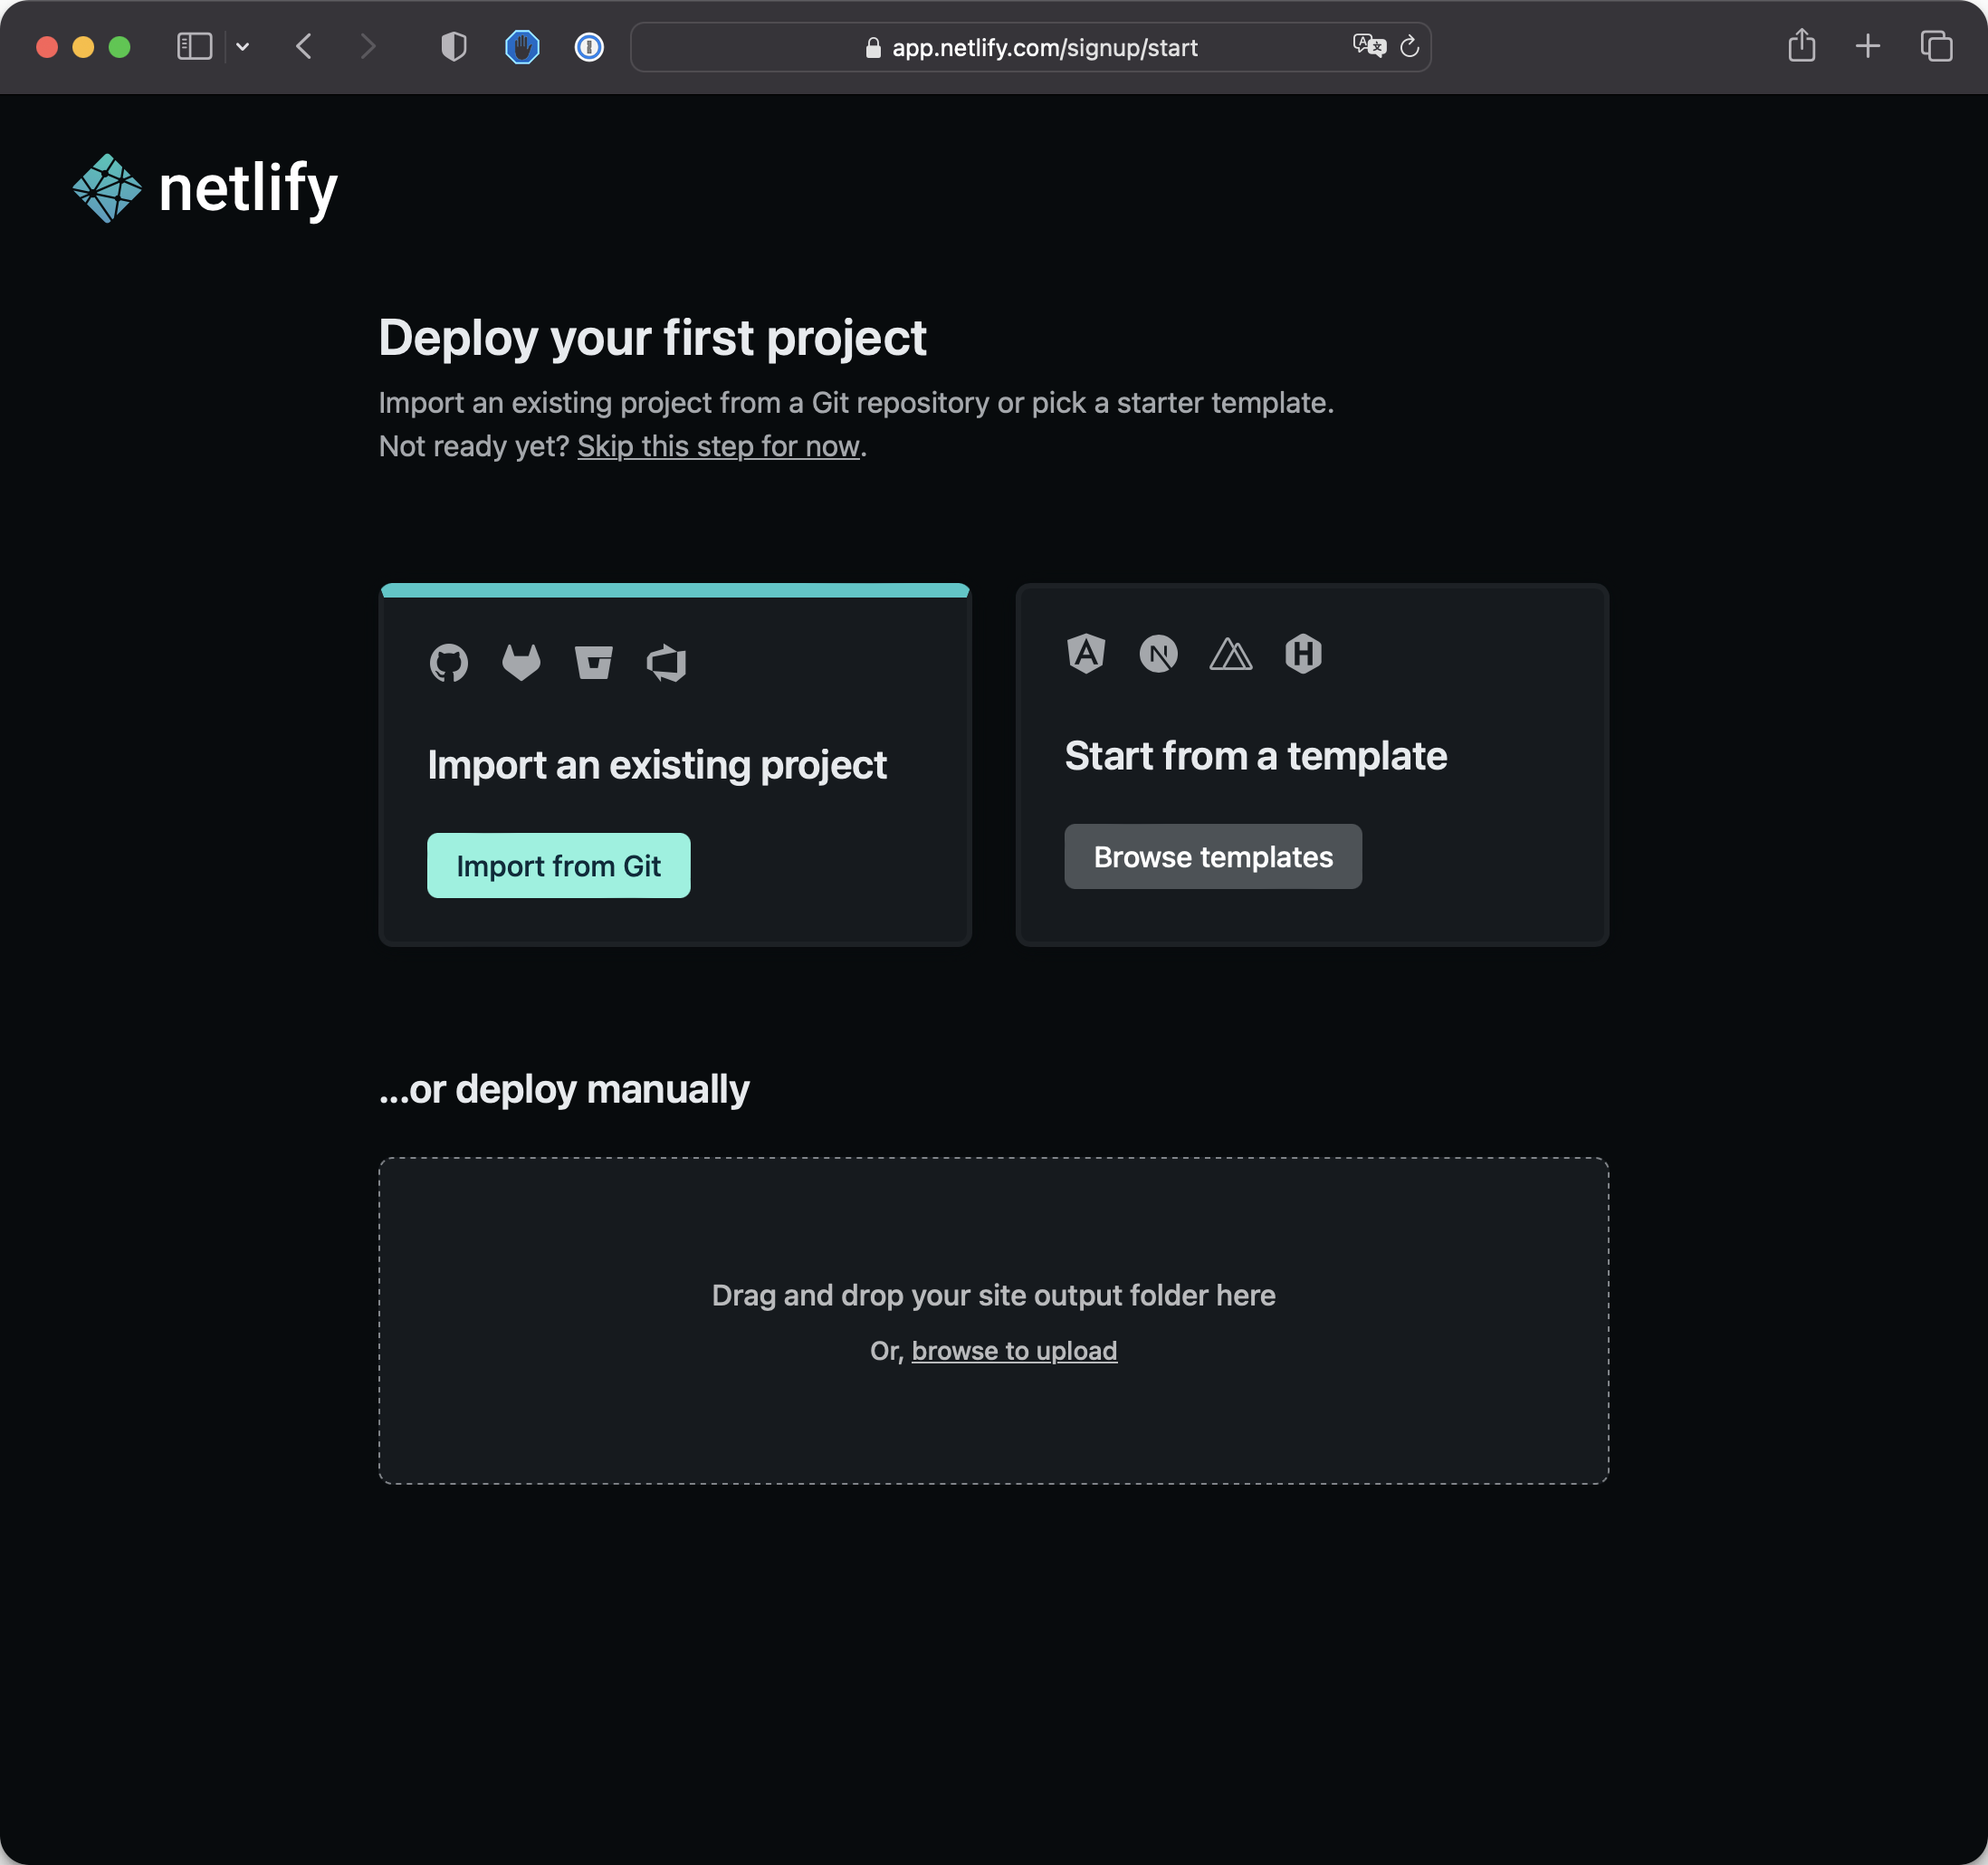
Click the Import from Git button and choose GitHub:

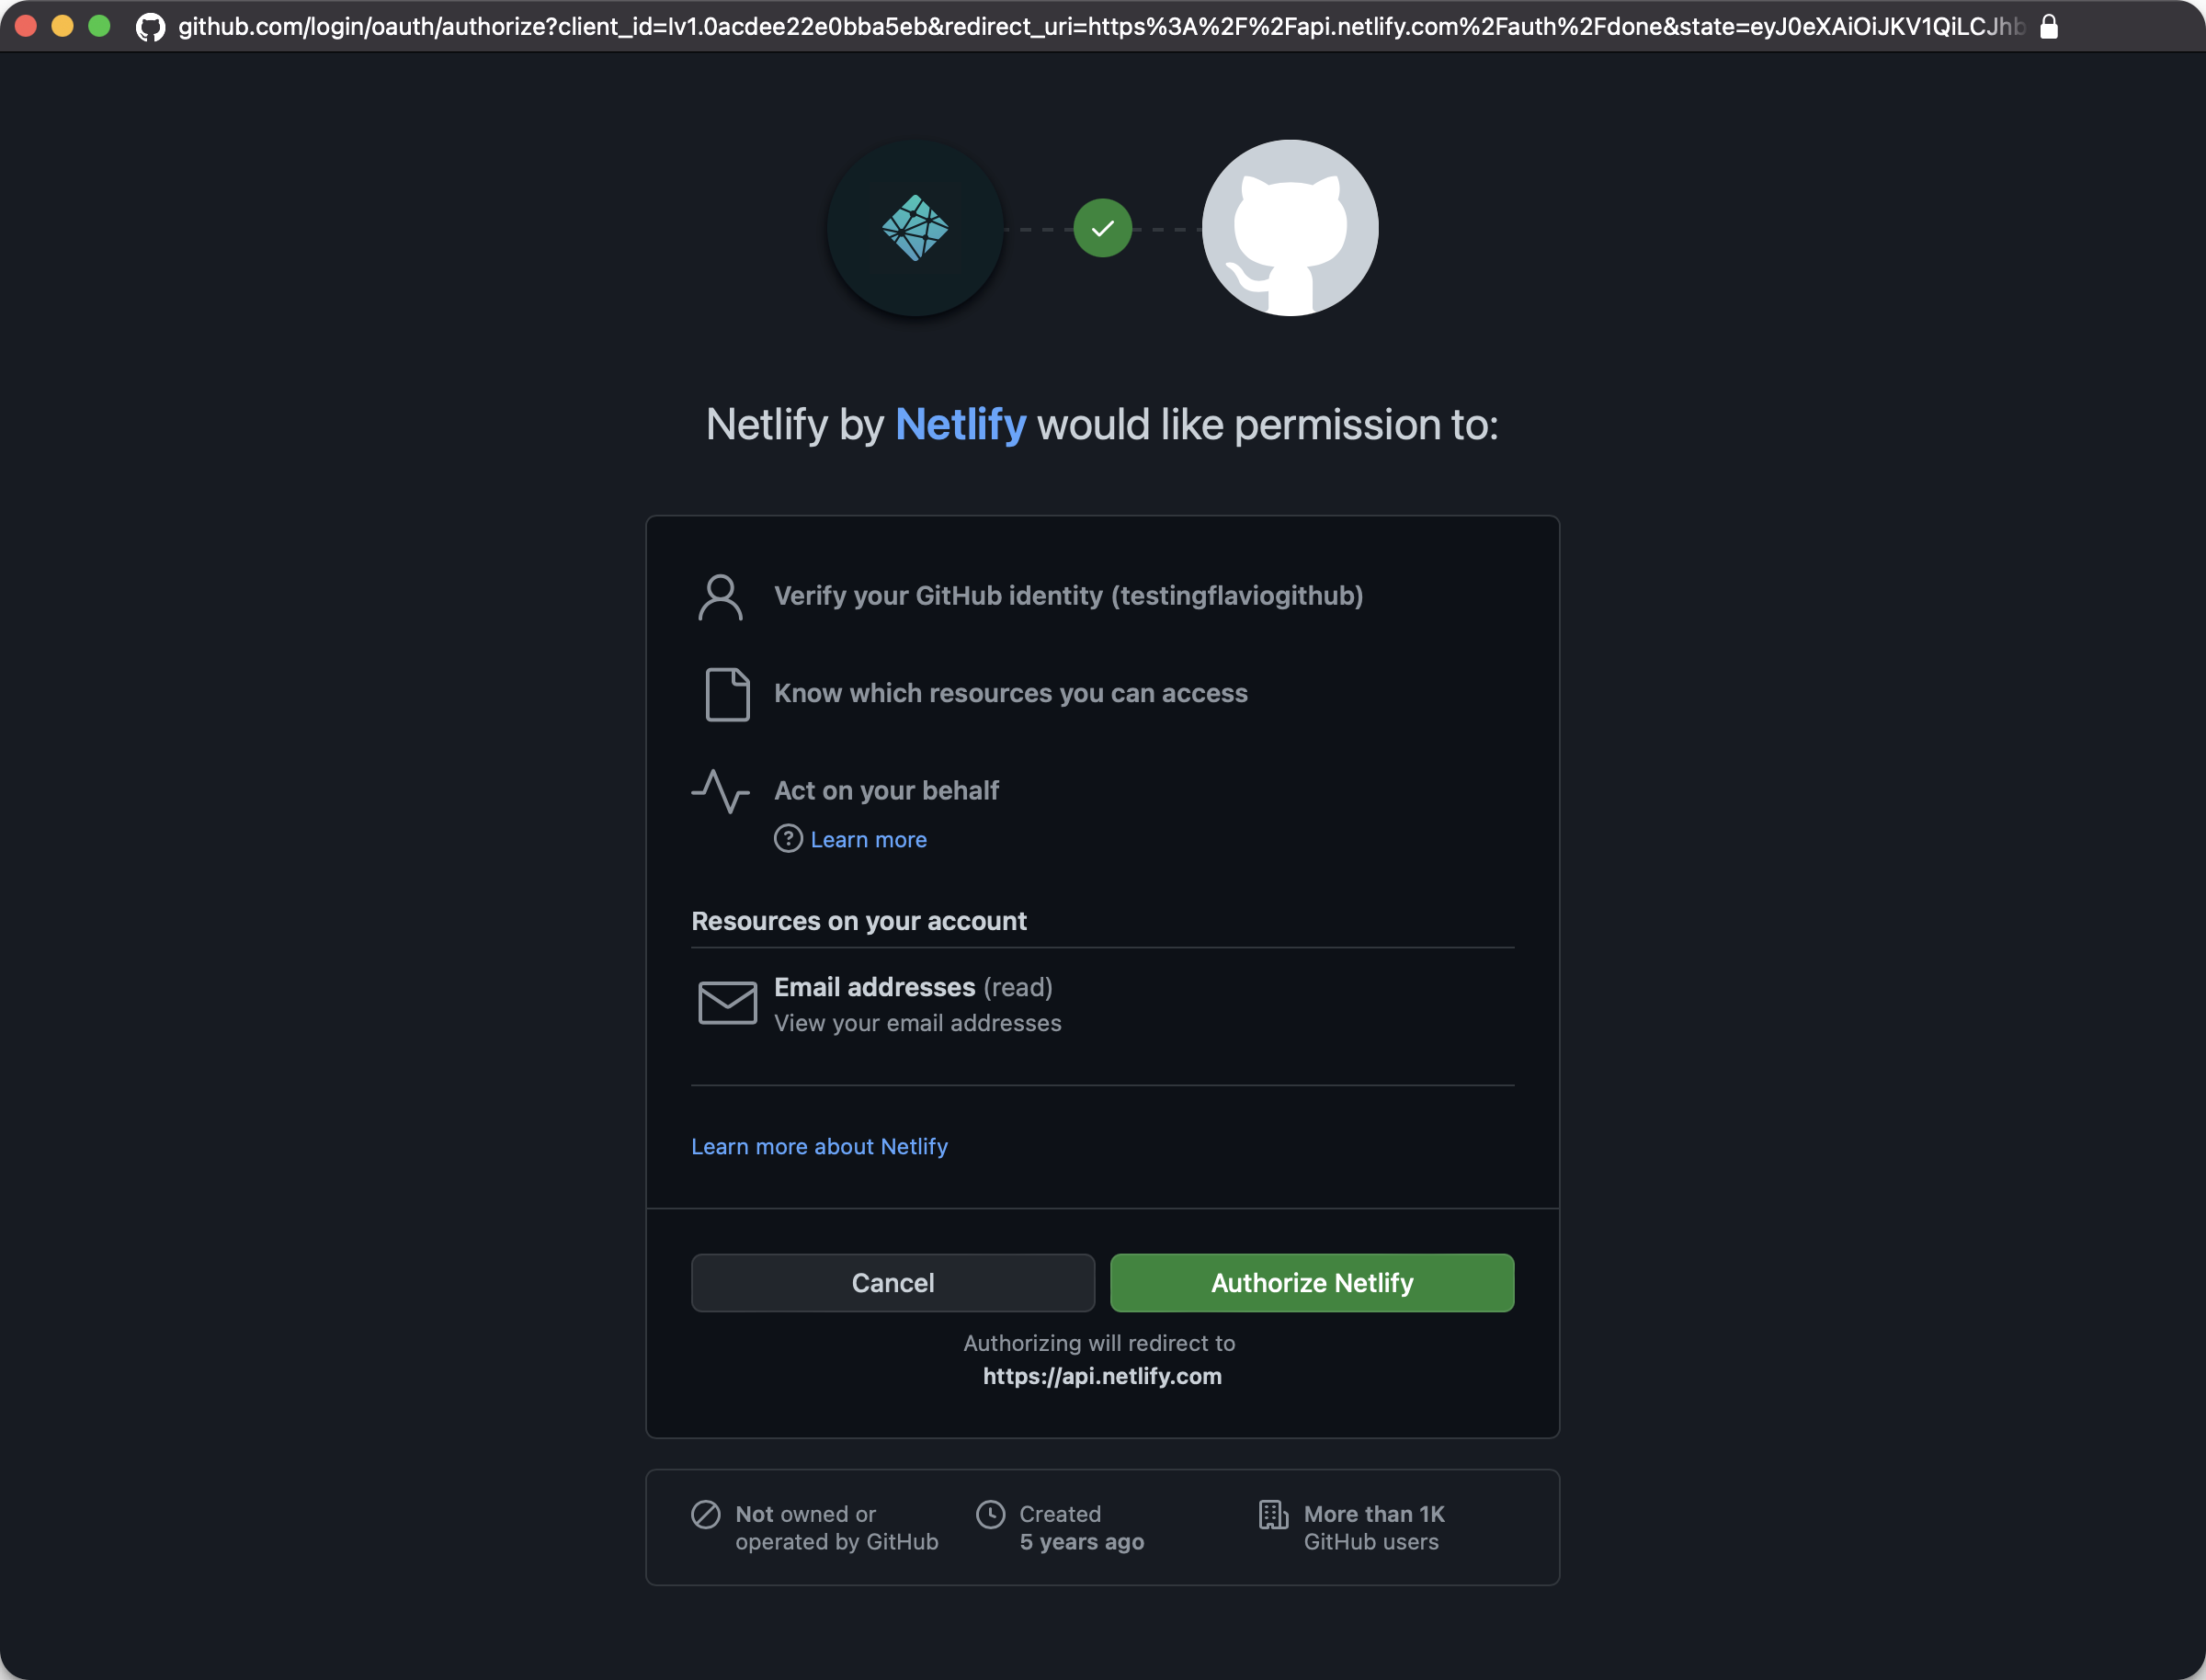
This prompts you to authorize Netlify on GitHub again because this time we ask it to access the code repositories:
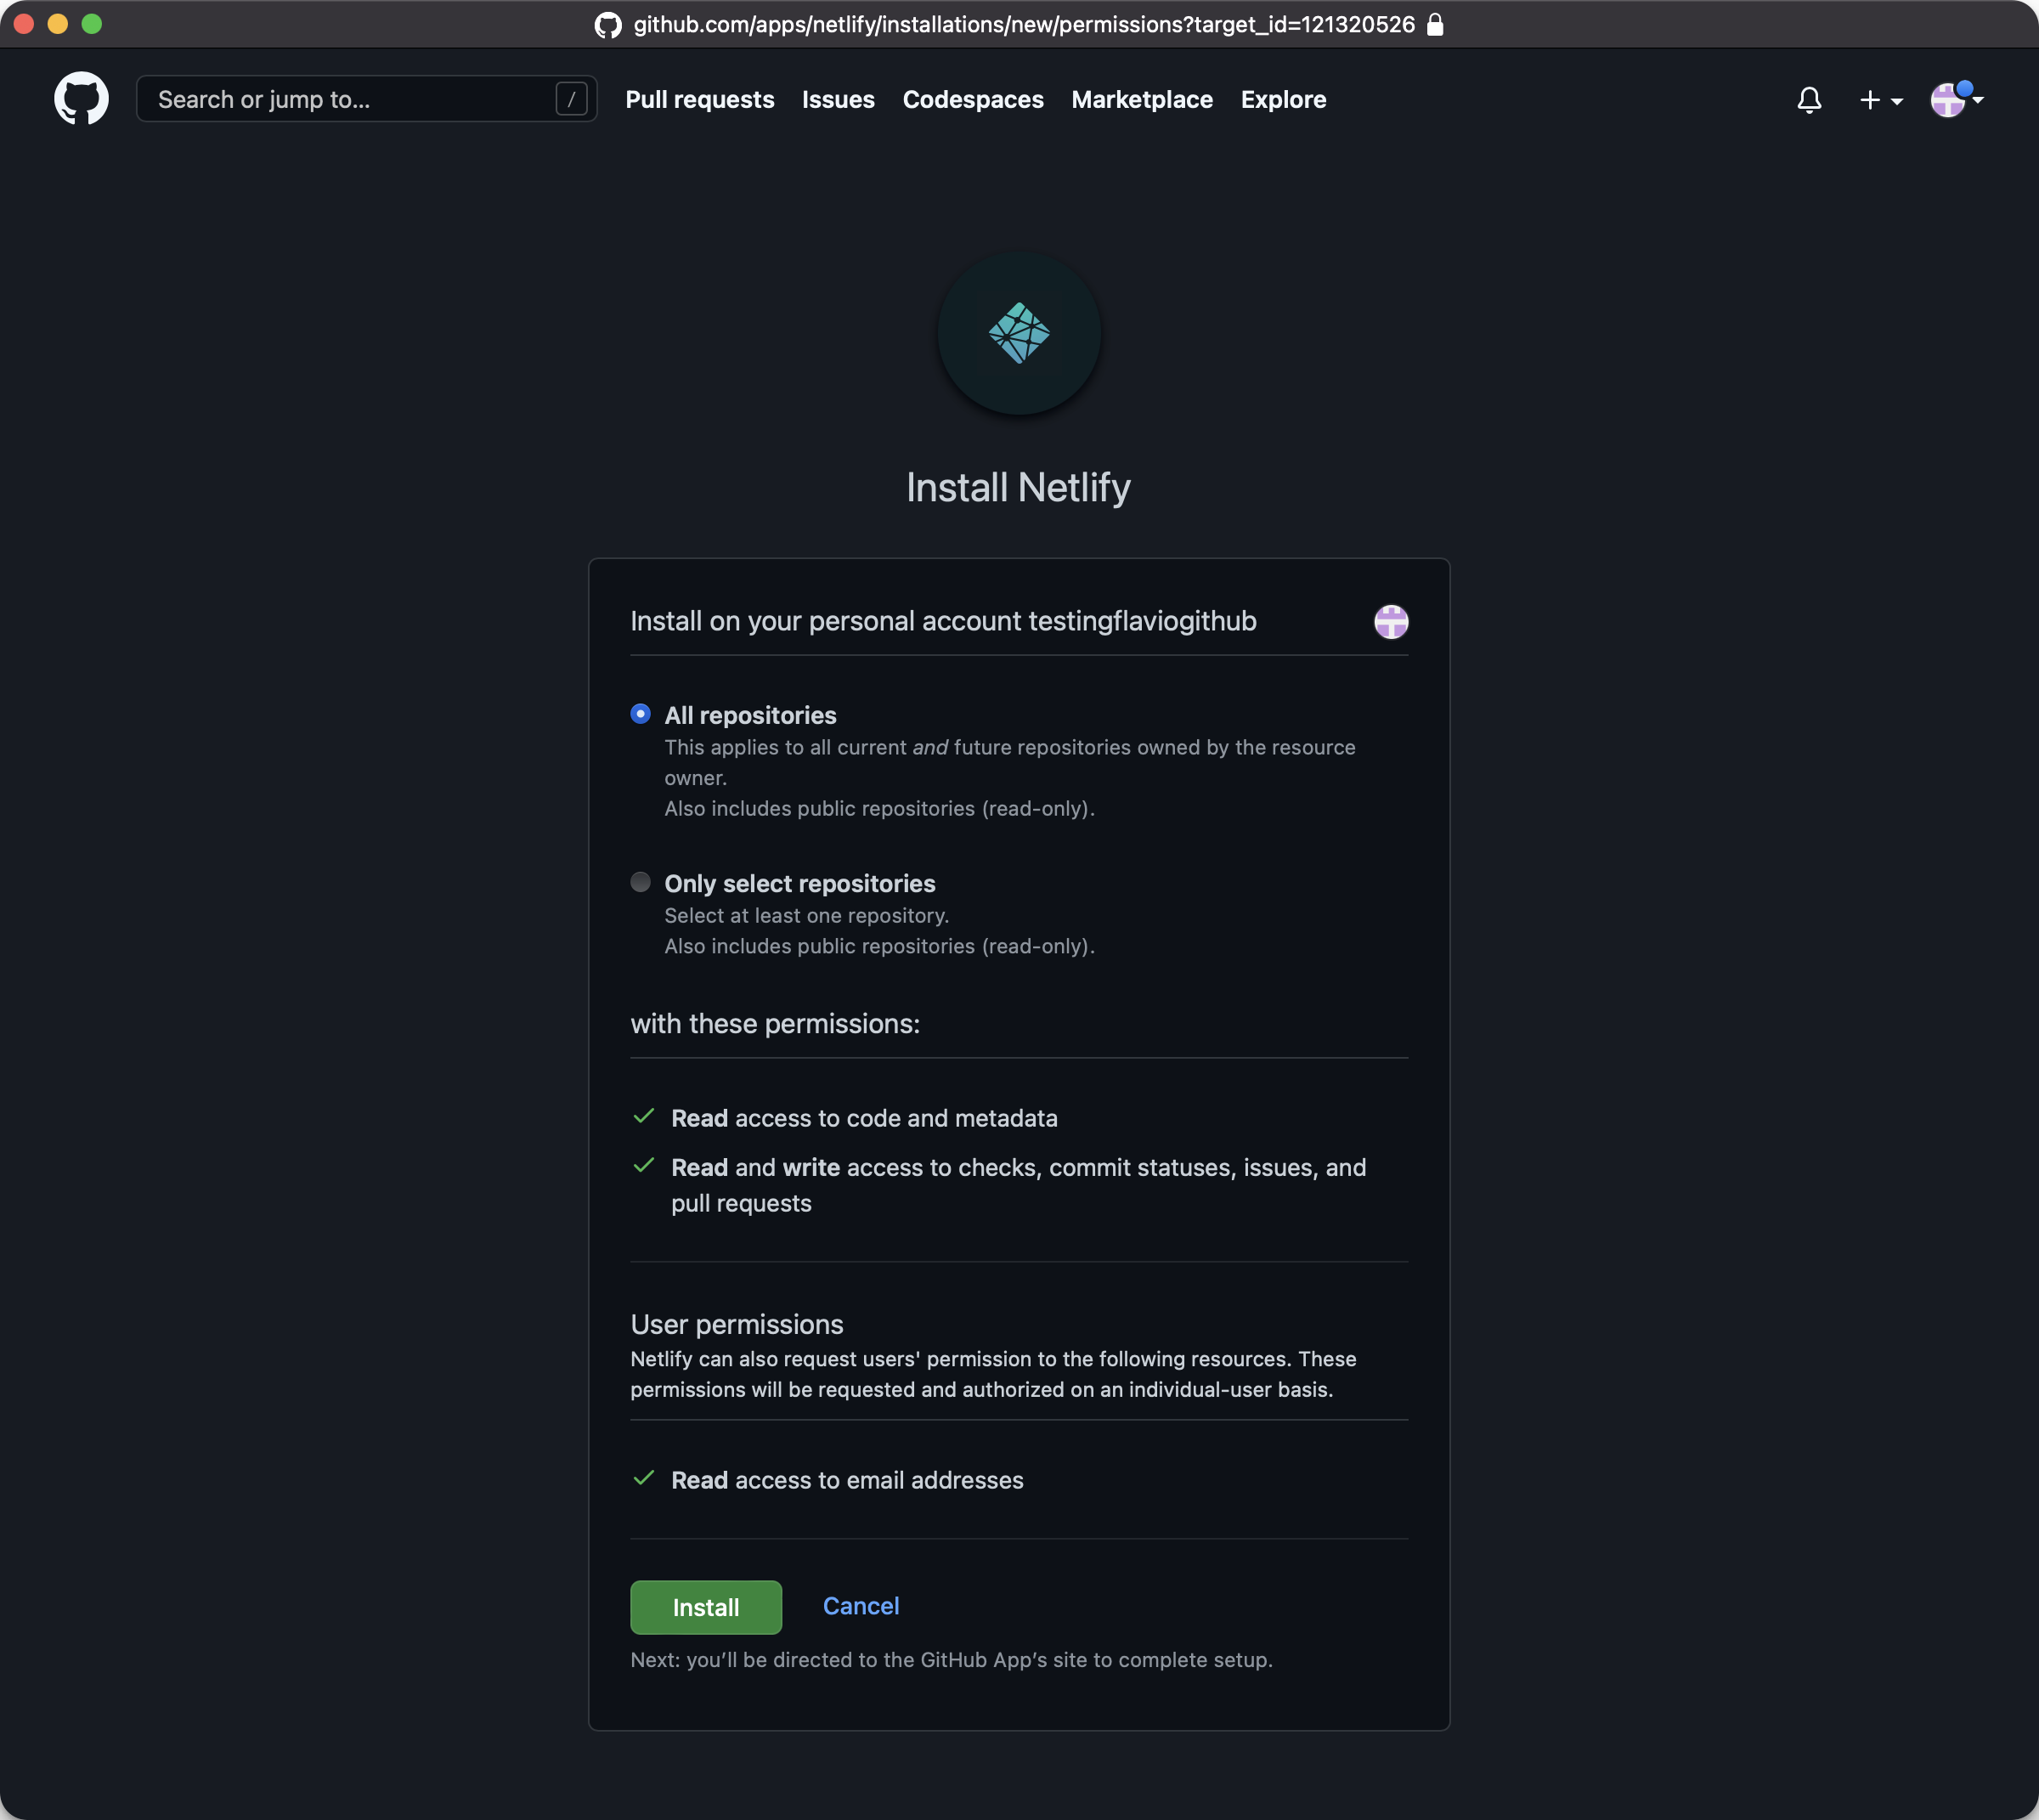
In this screen, you can authorize it to access all repositories or just some specific ones. To keep things simple I would choose “All repositories”. Click Install:
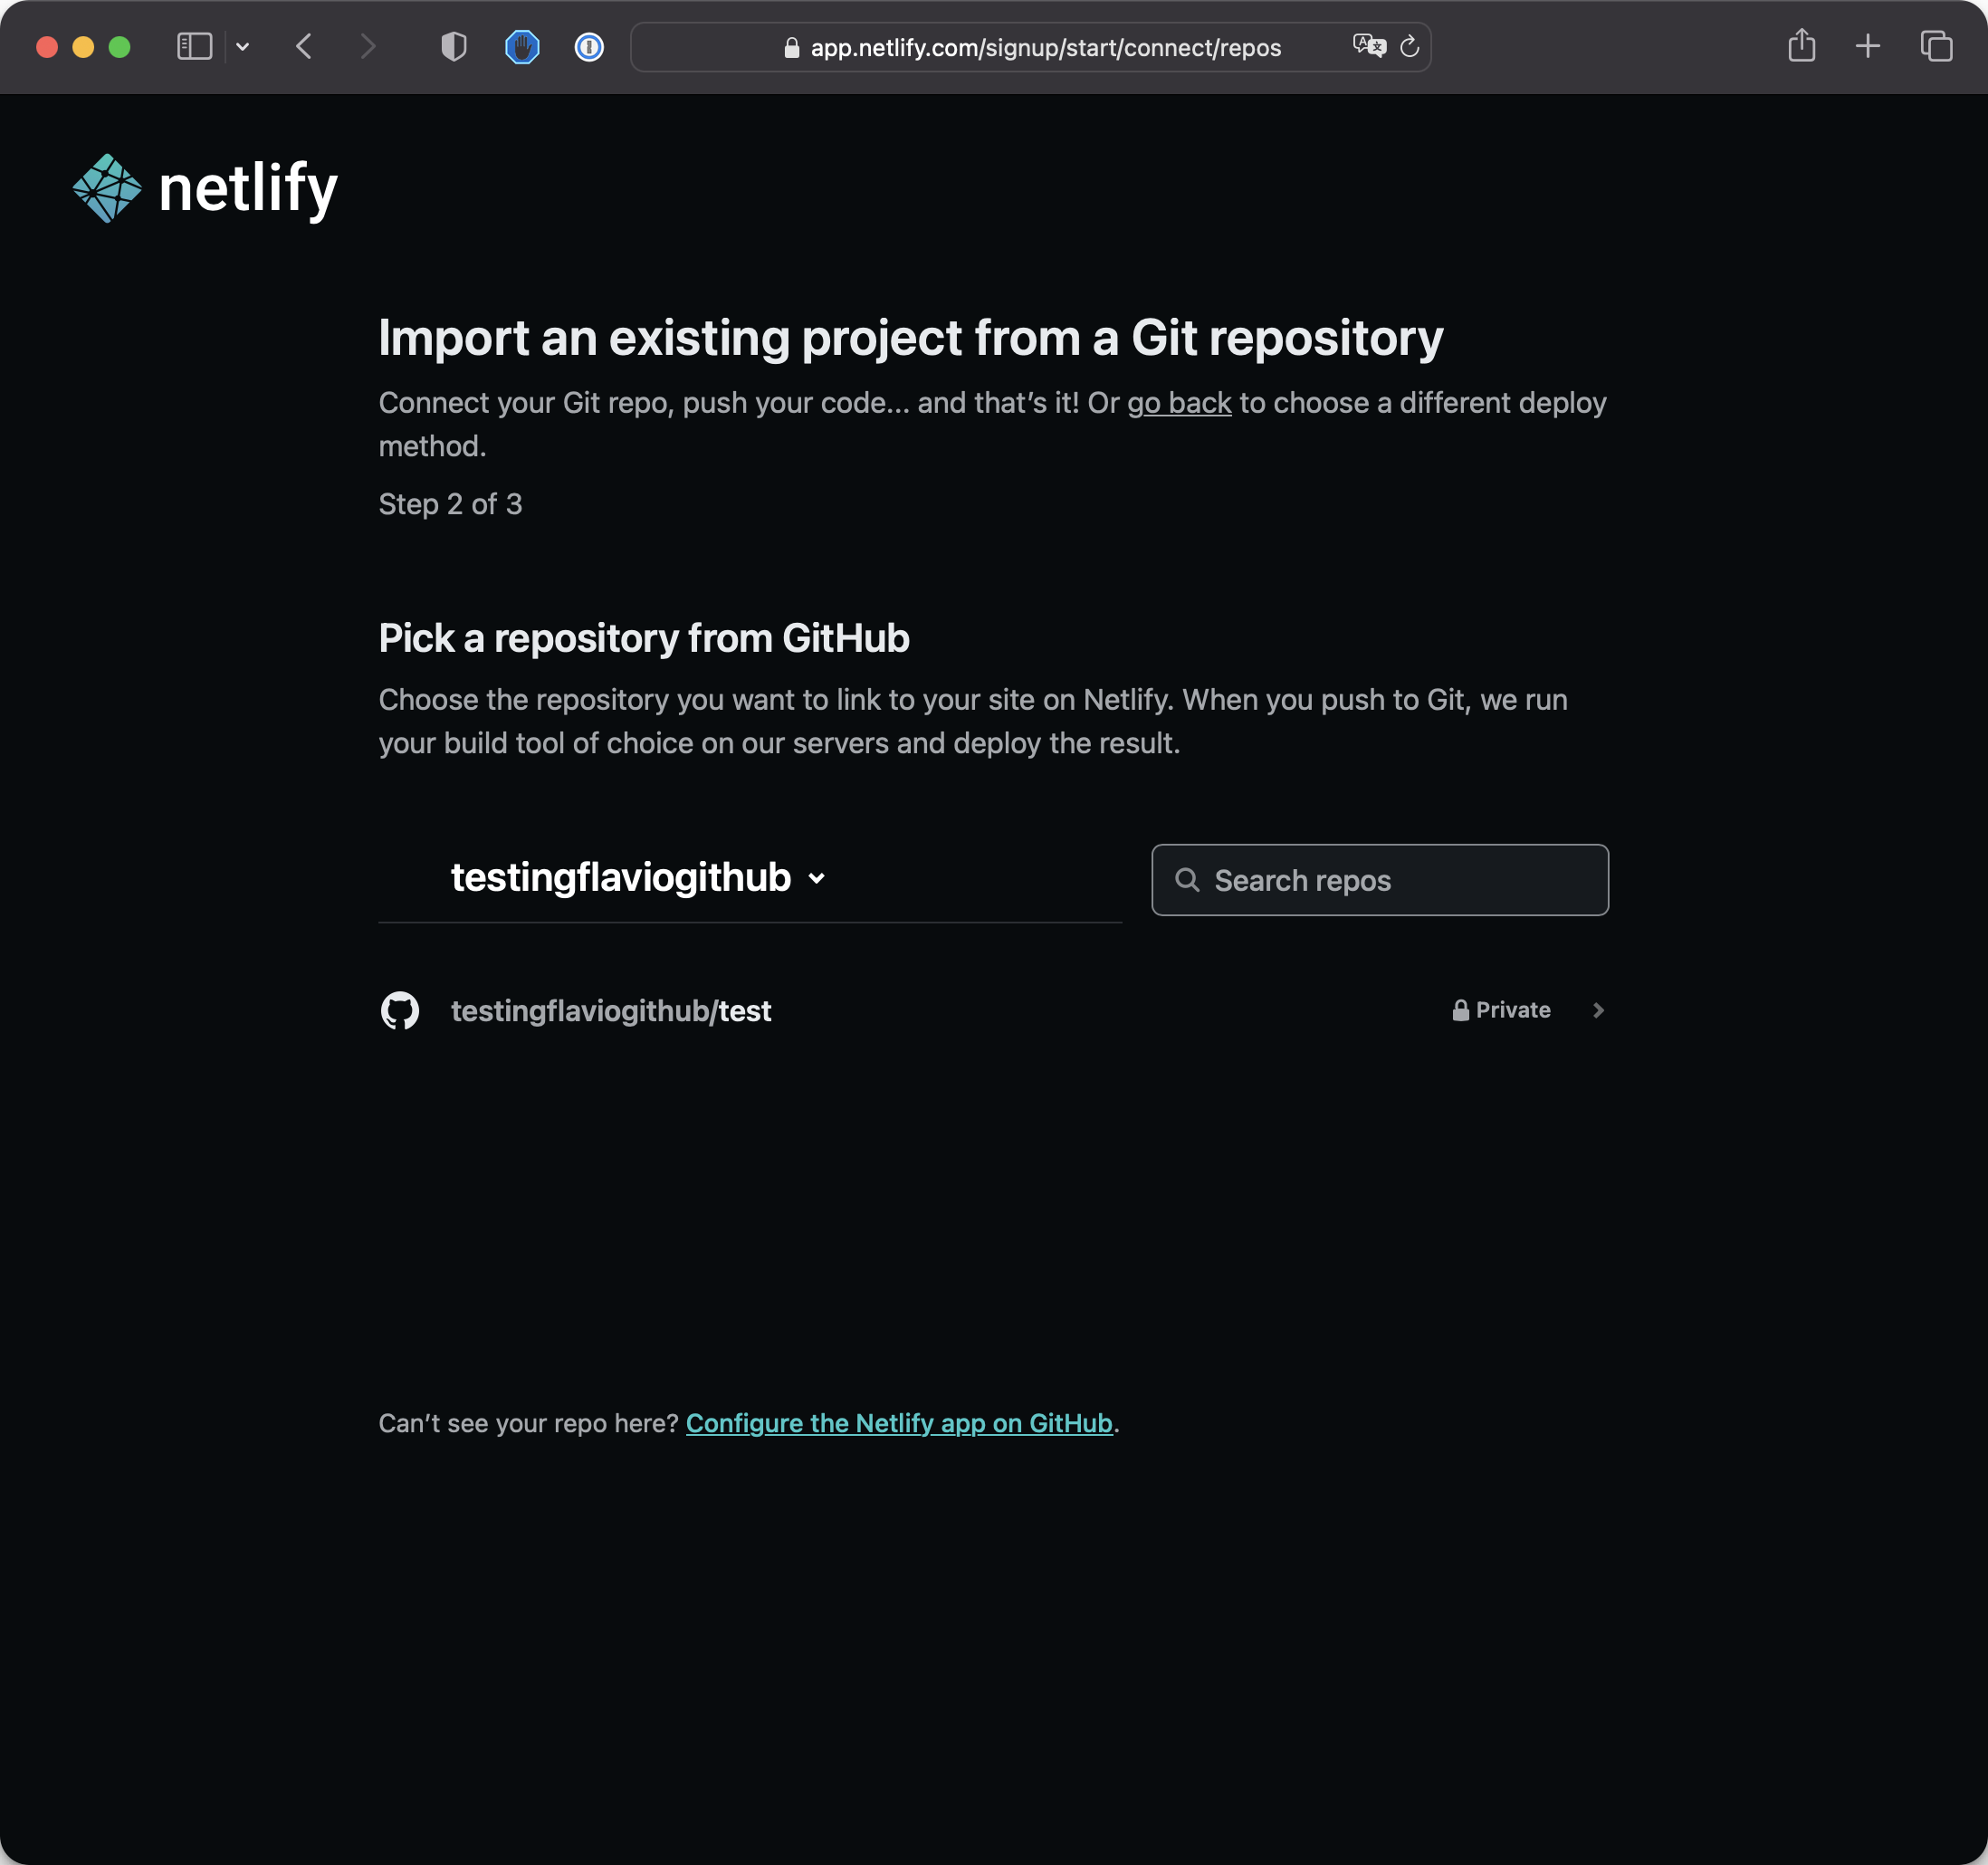
Now we’re back at Netlify and we can pick which repository we want to use for our first project on Netlify.
I only have 1 repo in this GitHub account, so I’ll choose that:
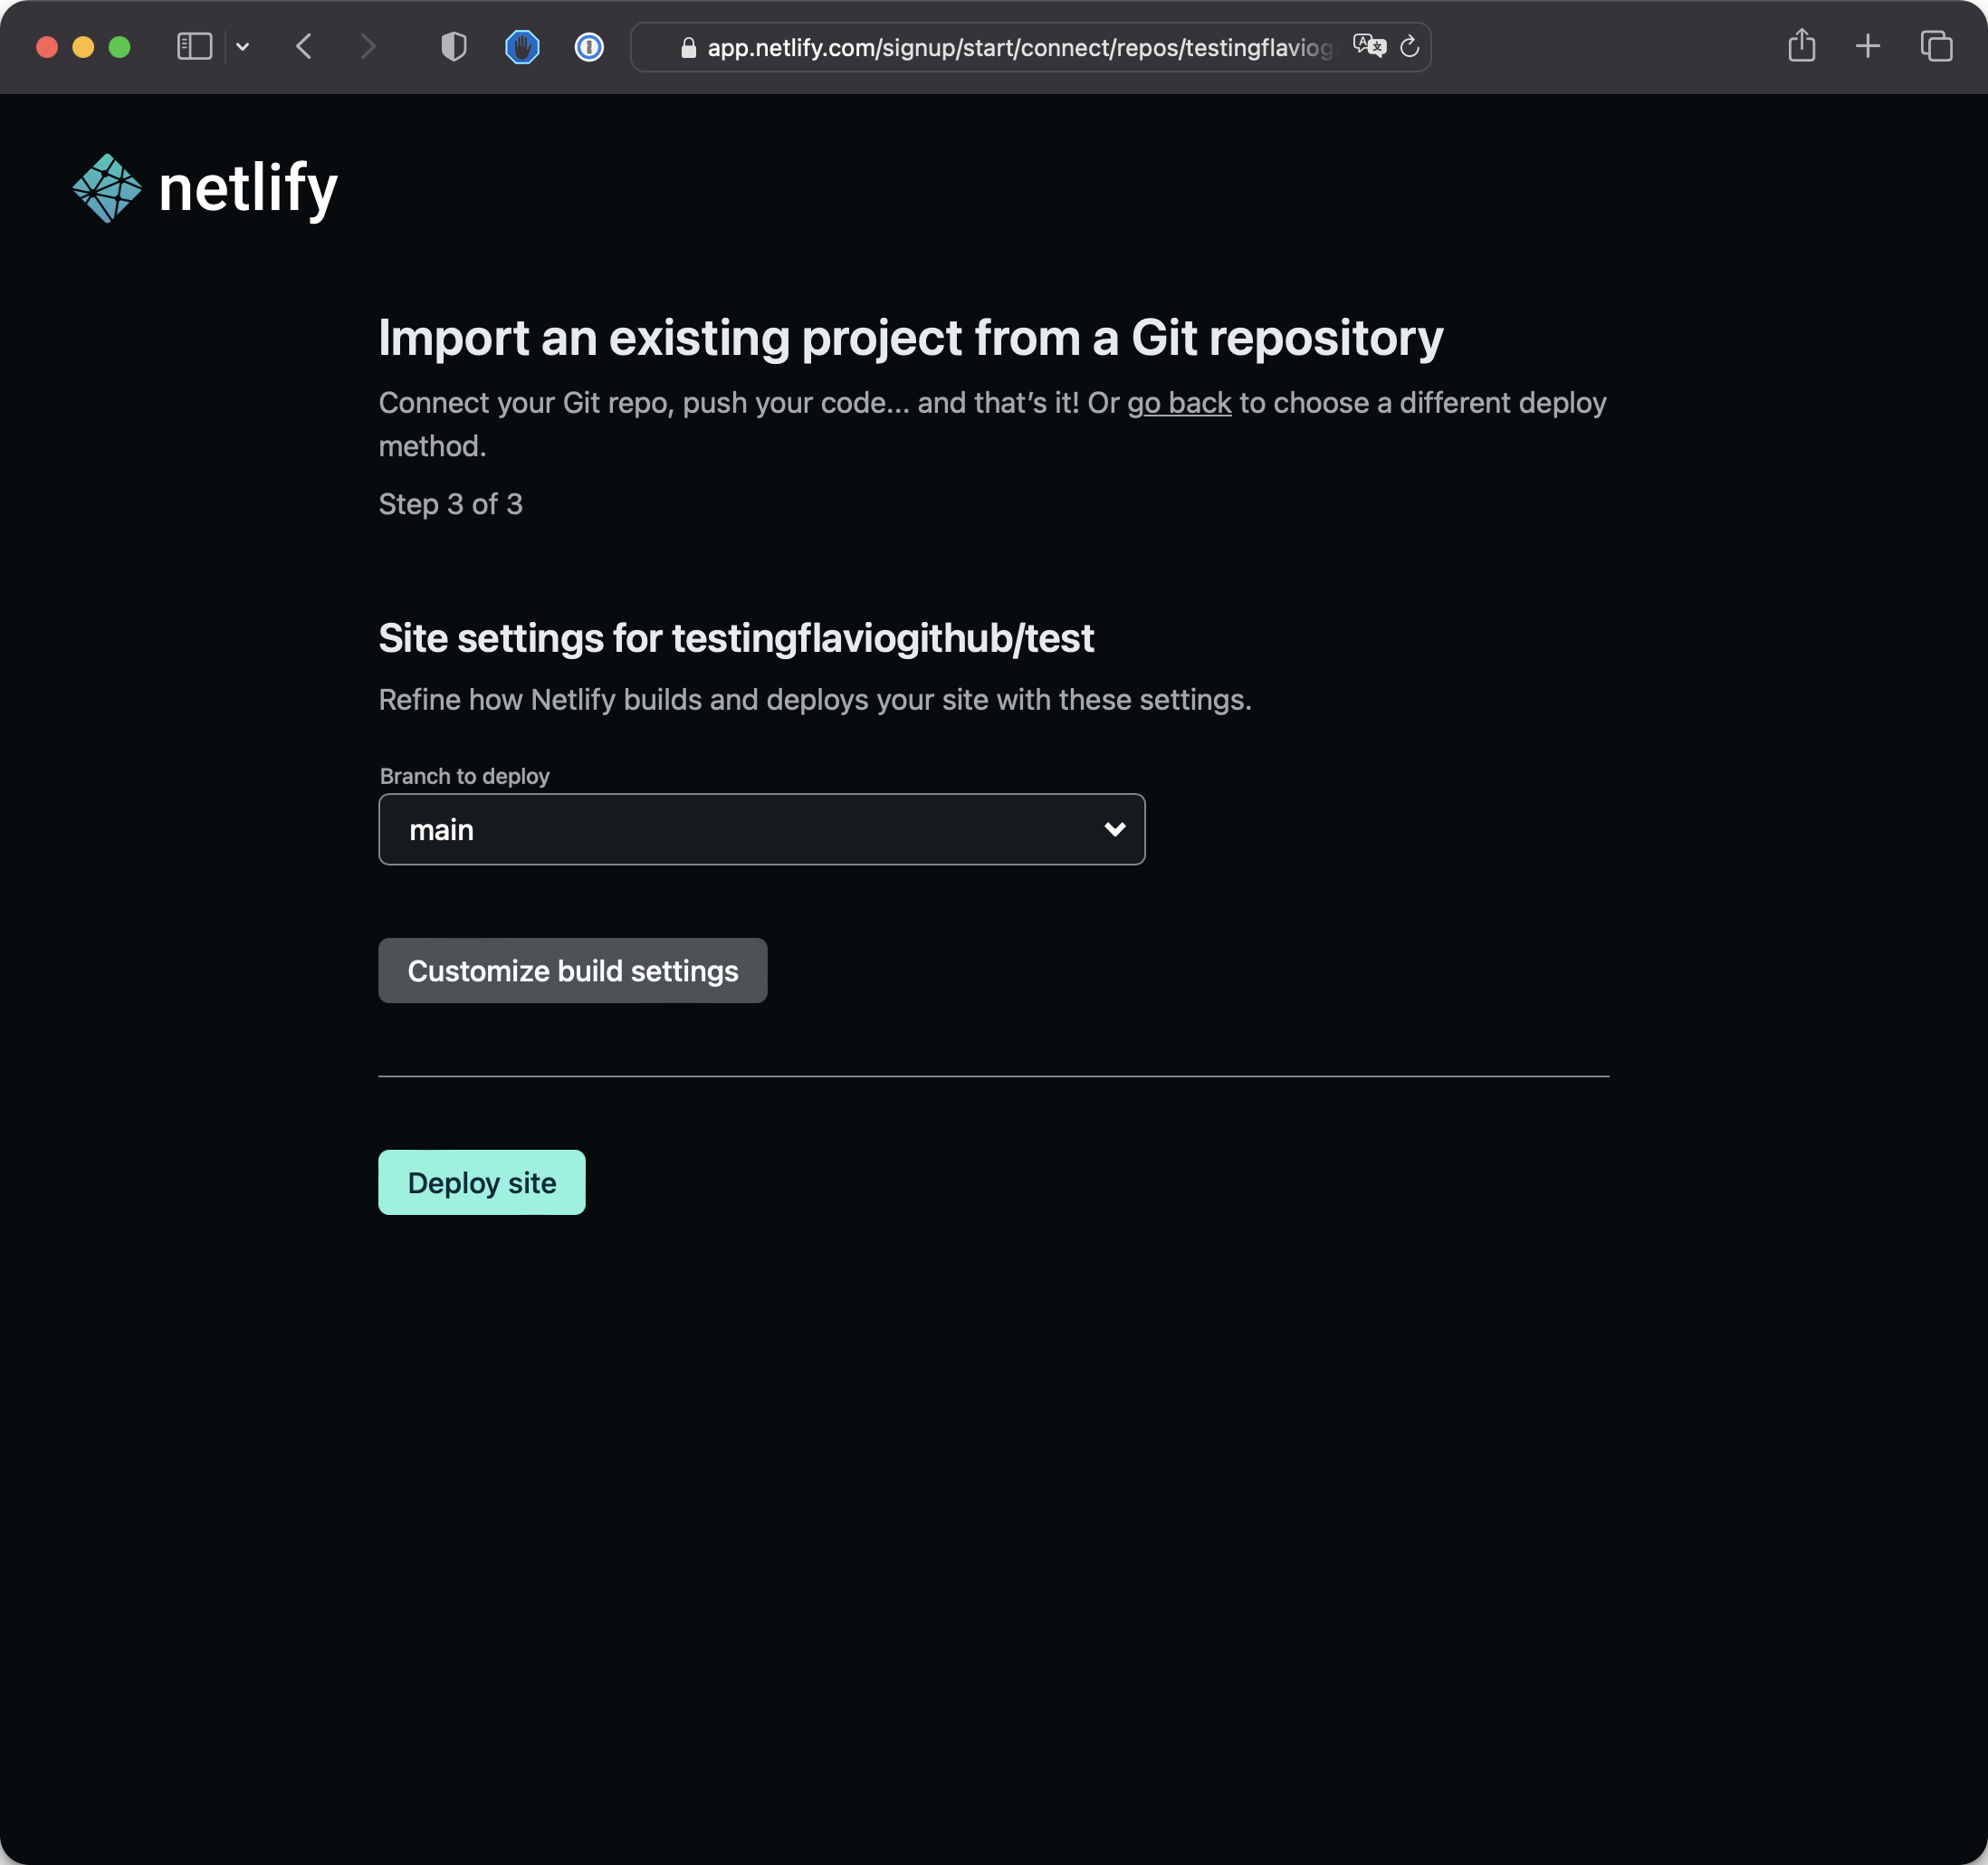
In the next screen, just click “Deploy site”:
Netlify will proceed to deploy the site using the code in the GitHub repo:
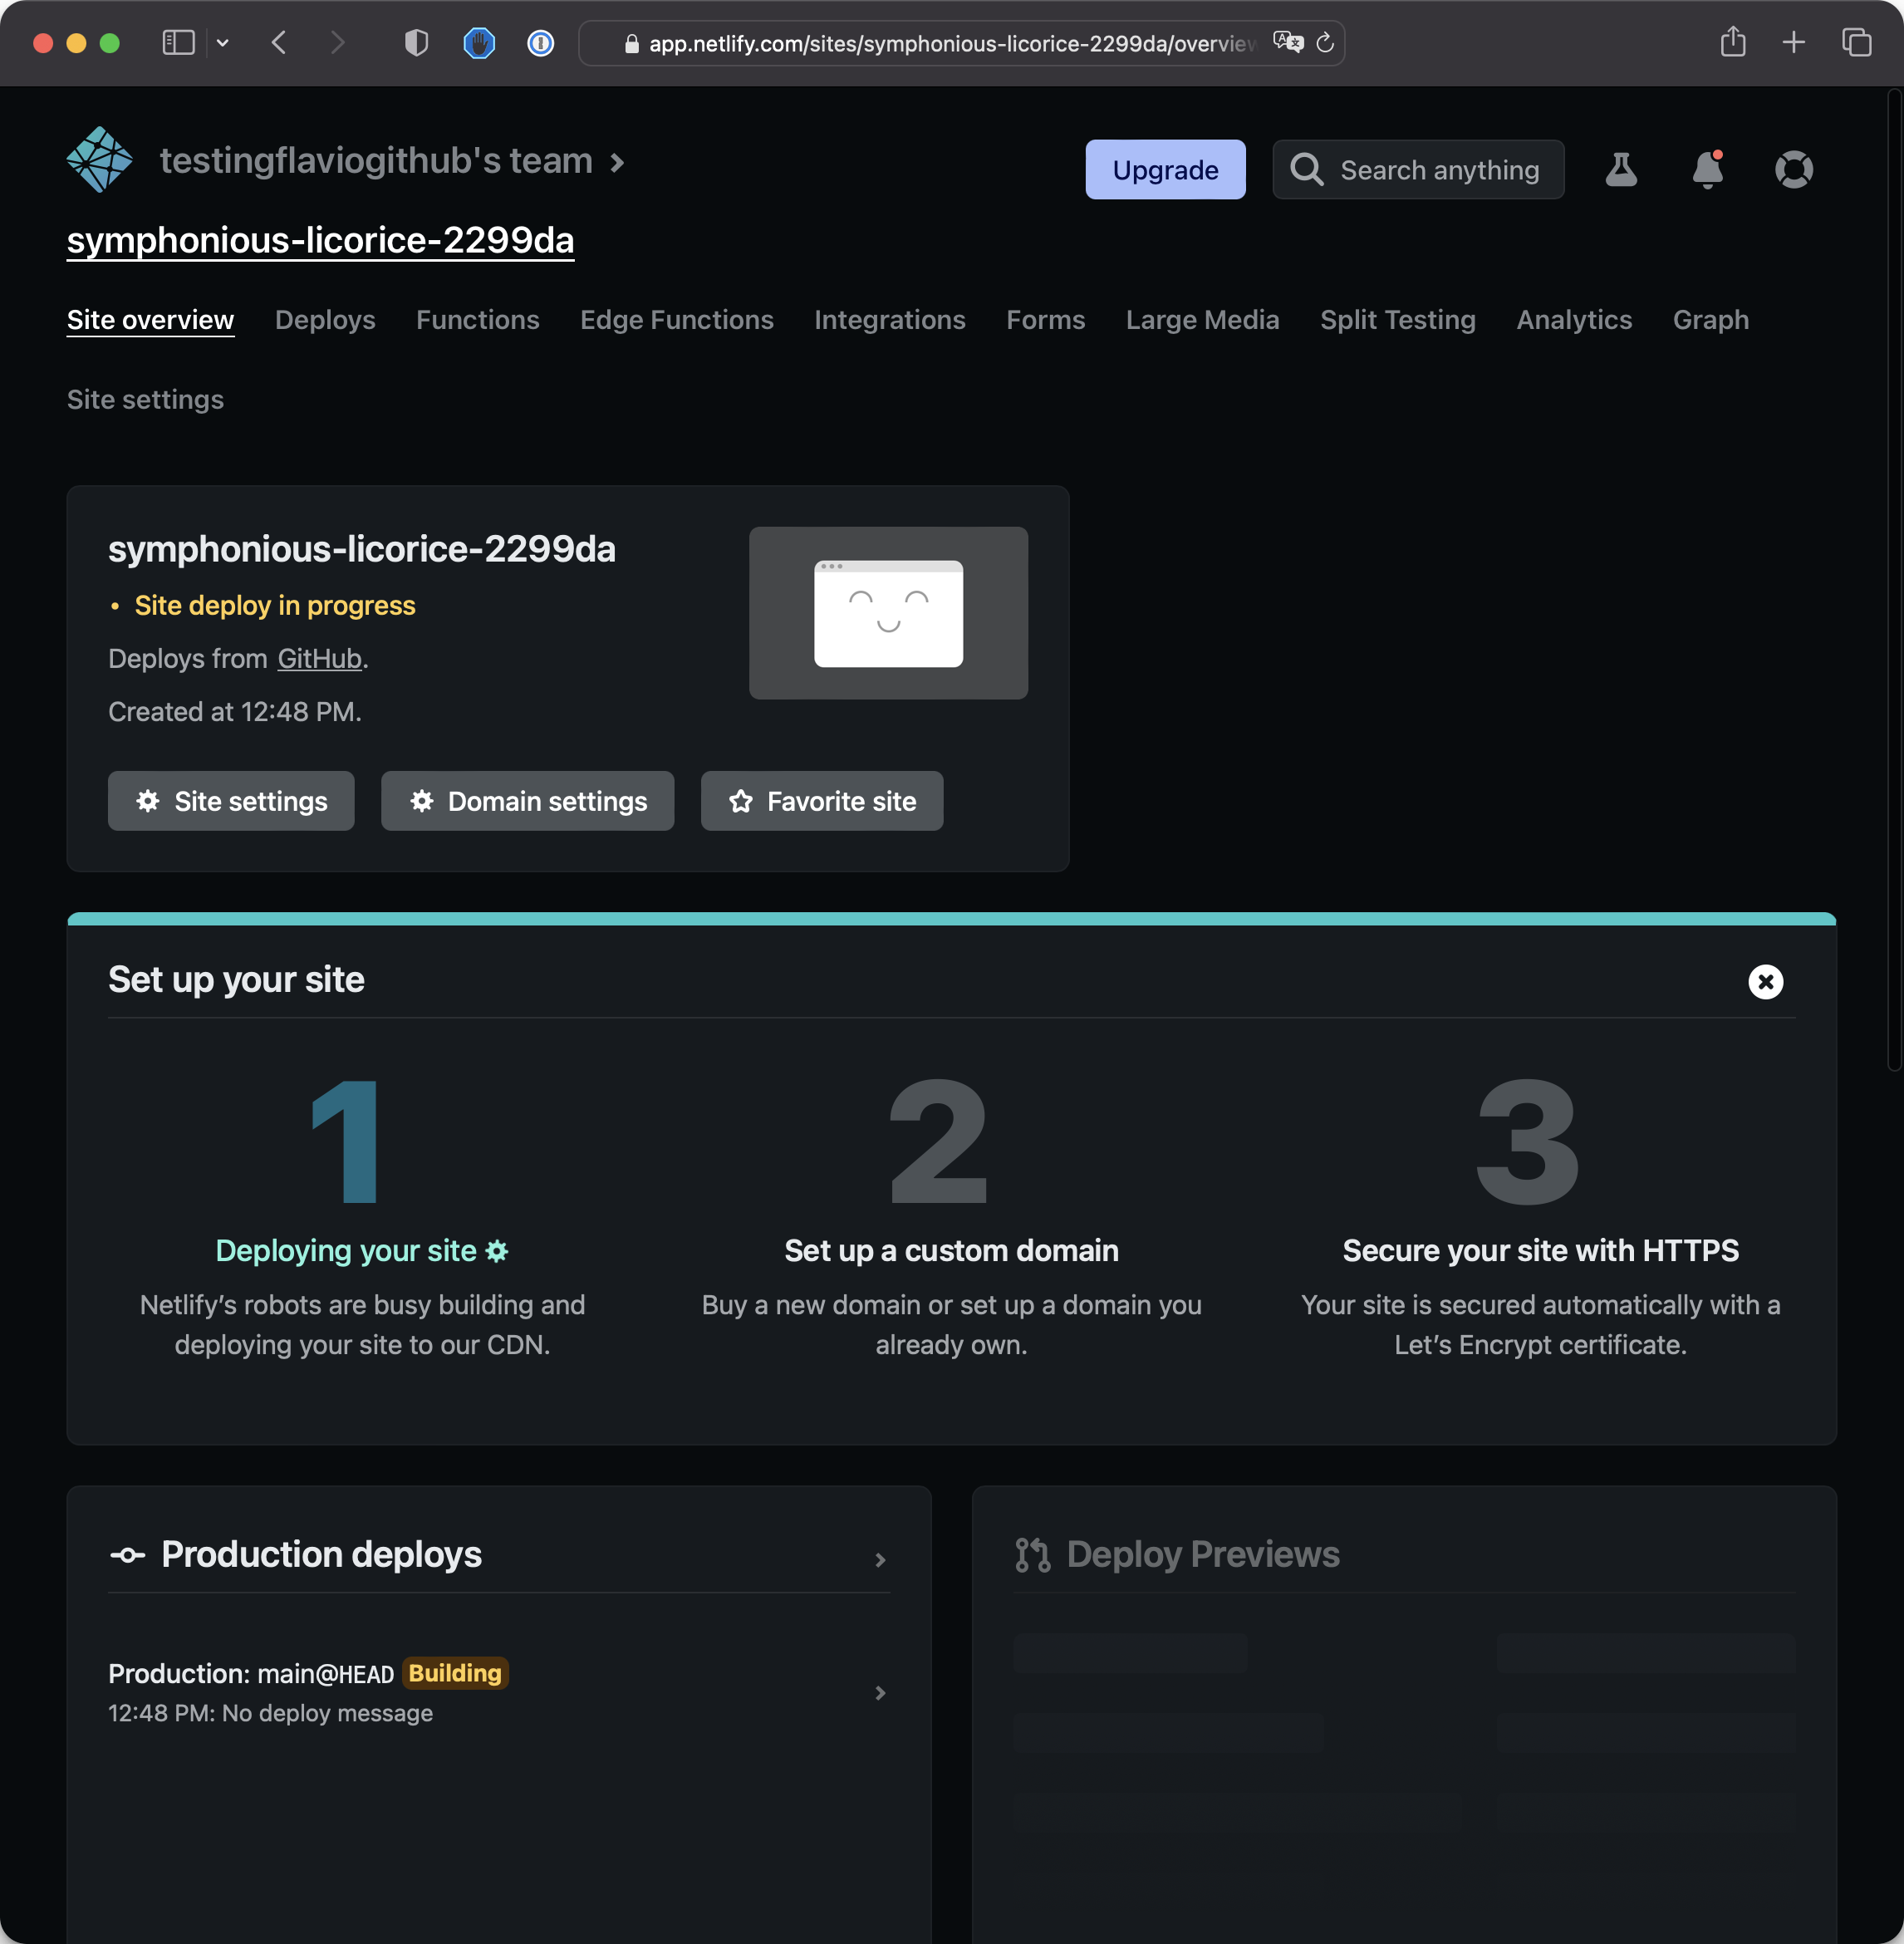
You’ll see a screen with a “Site deploy in progress” step, and after a few seconds, you’ll see the site deployed successfully on a .netlify.app domain, in my case https://symphonious-licorice-2299da.netlify.app
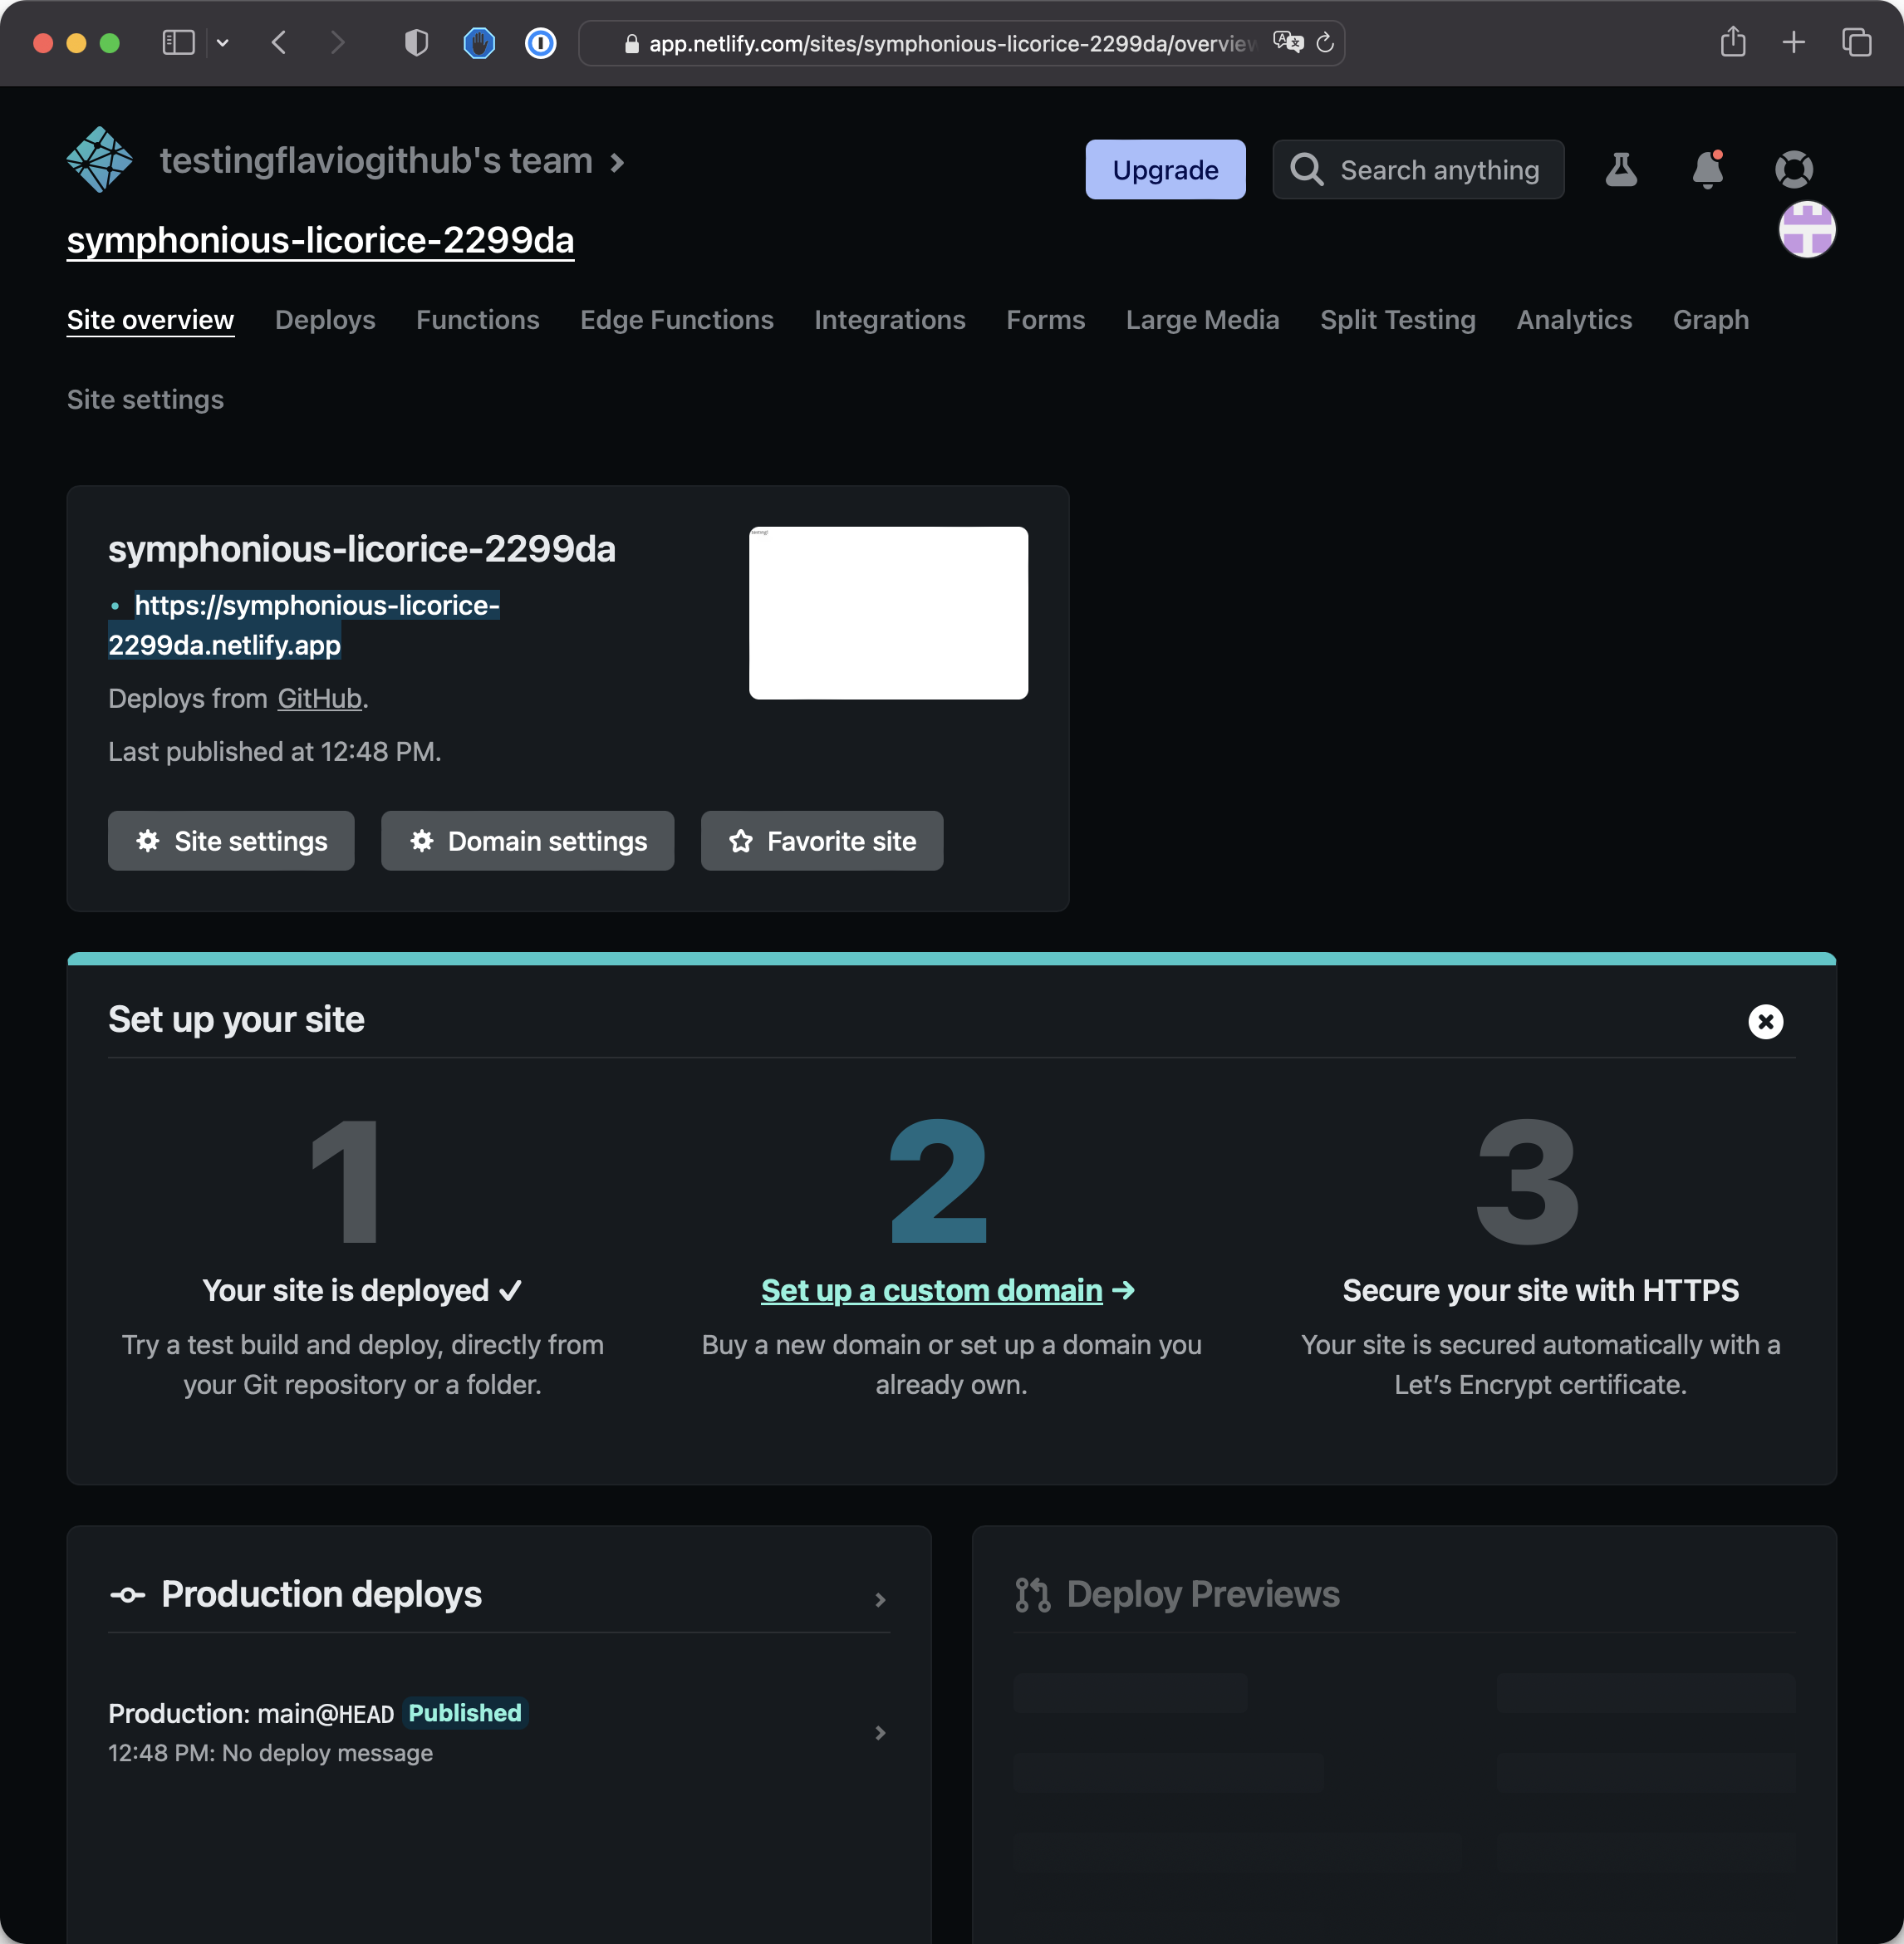
And here’s our site live:
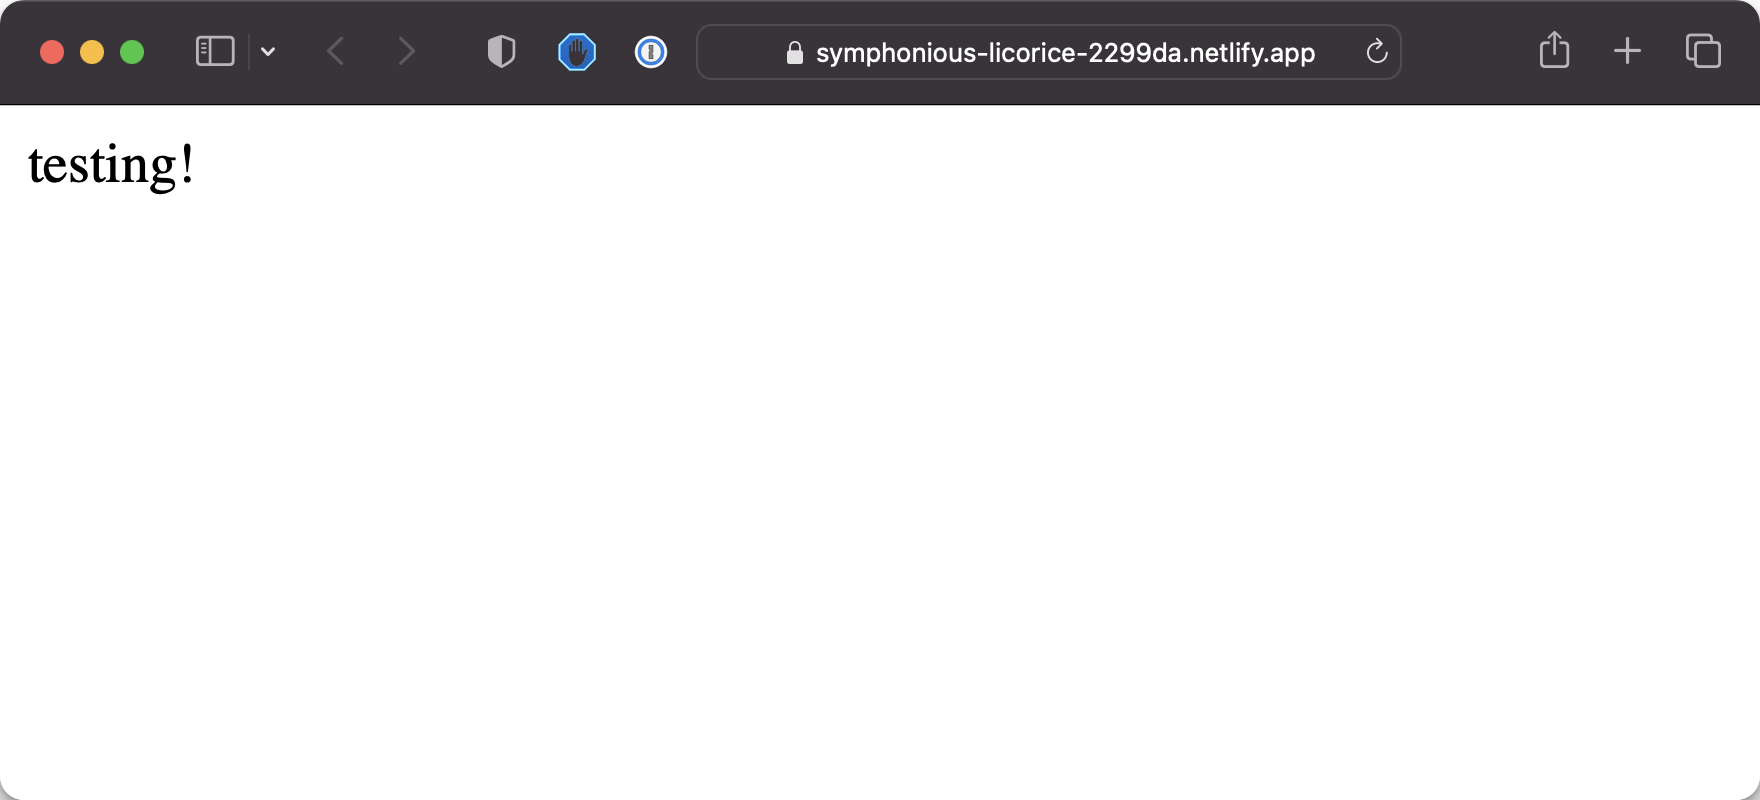
This is it!
Now you could buy and assign a custom domain name, like mygreatlandingpage.com, but it’s not required now.
You should do this step if it’s a serious project. Like the ones I have on flaviocopes.com, bootcamp.dev, and others.
Your site is live on the Internet and anyone can see it if you hand them your .netlify.app domain.
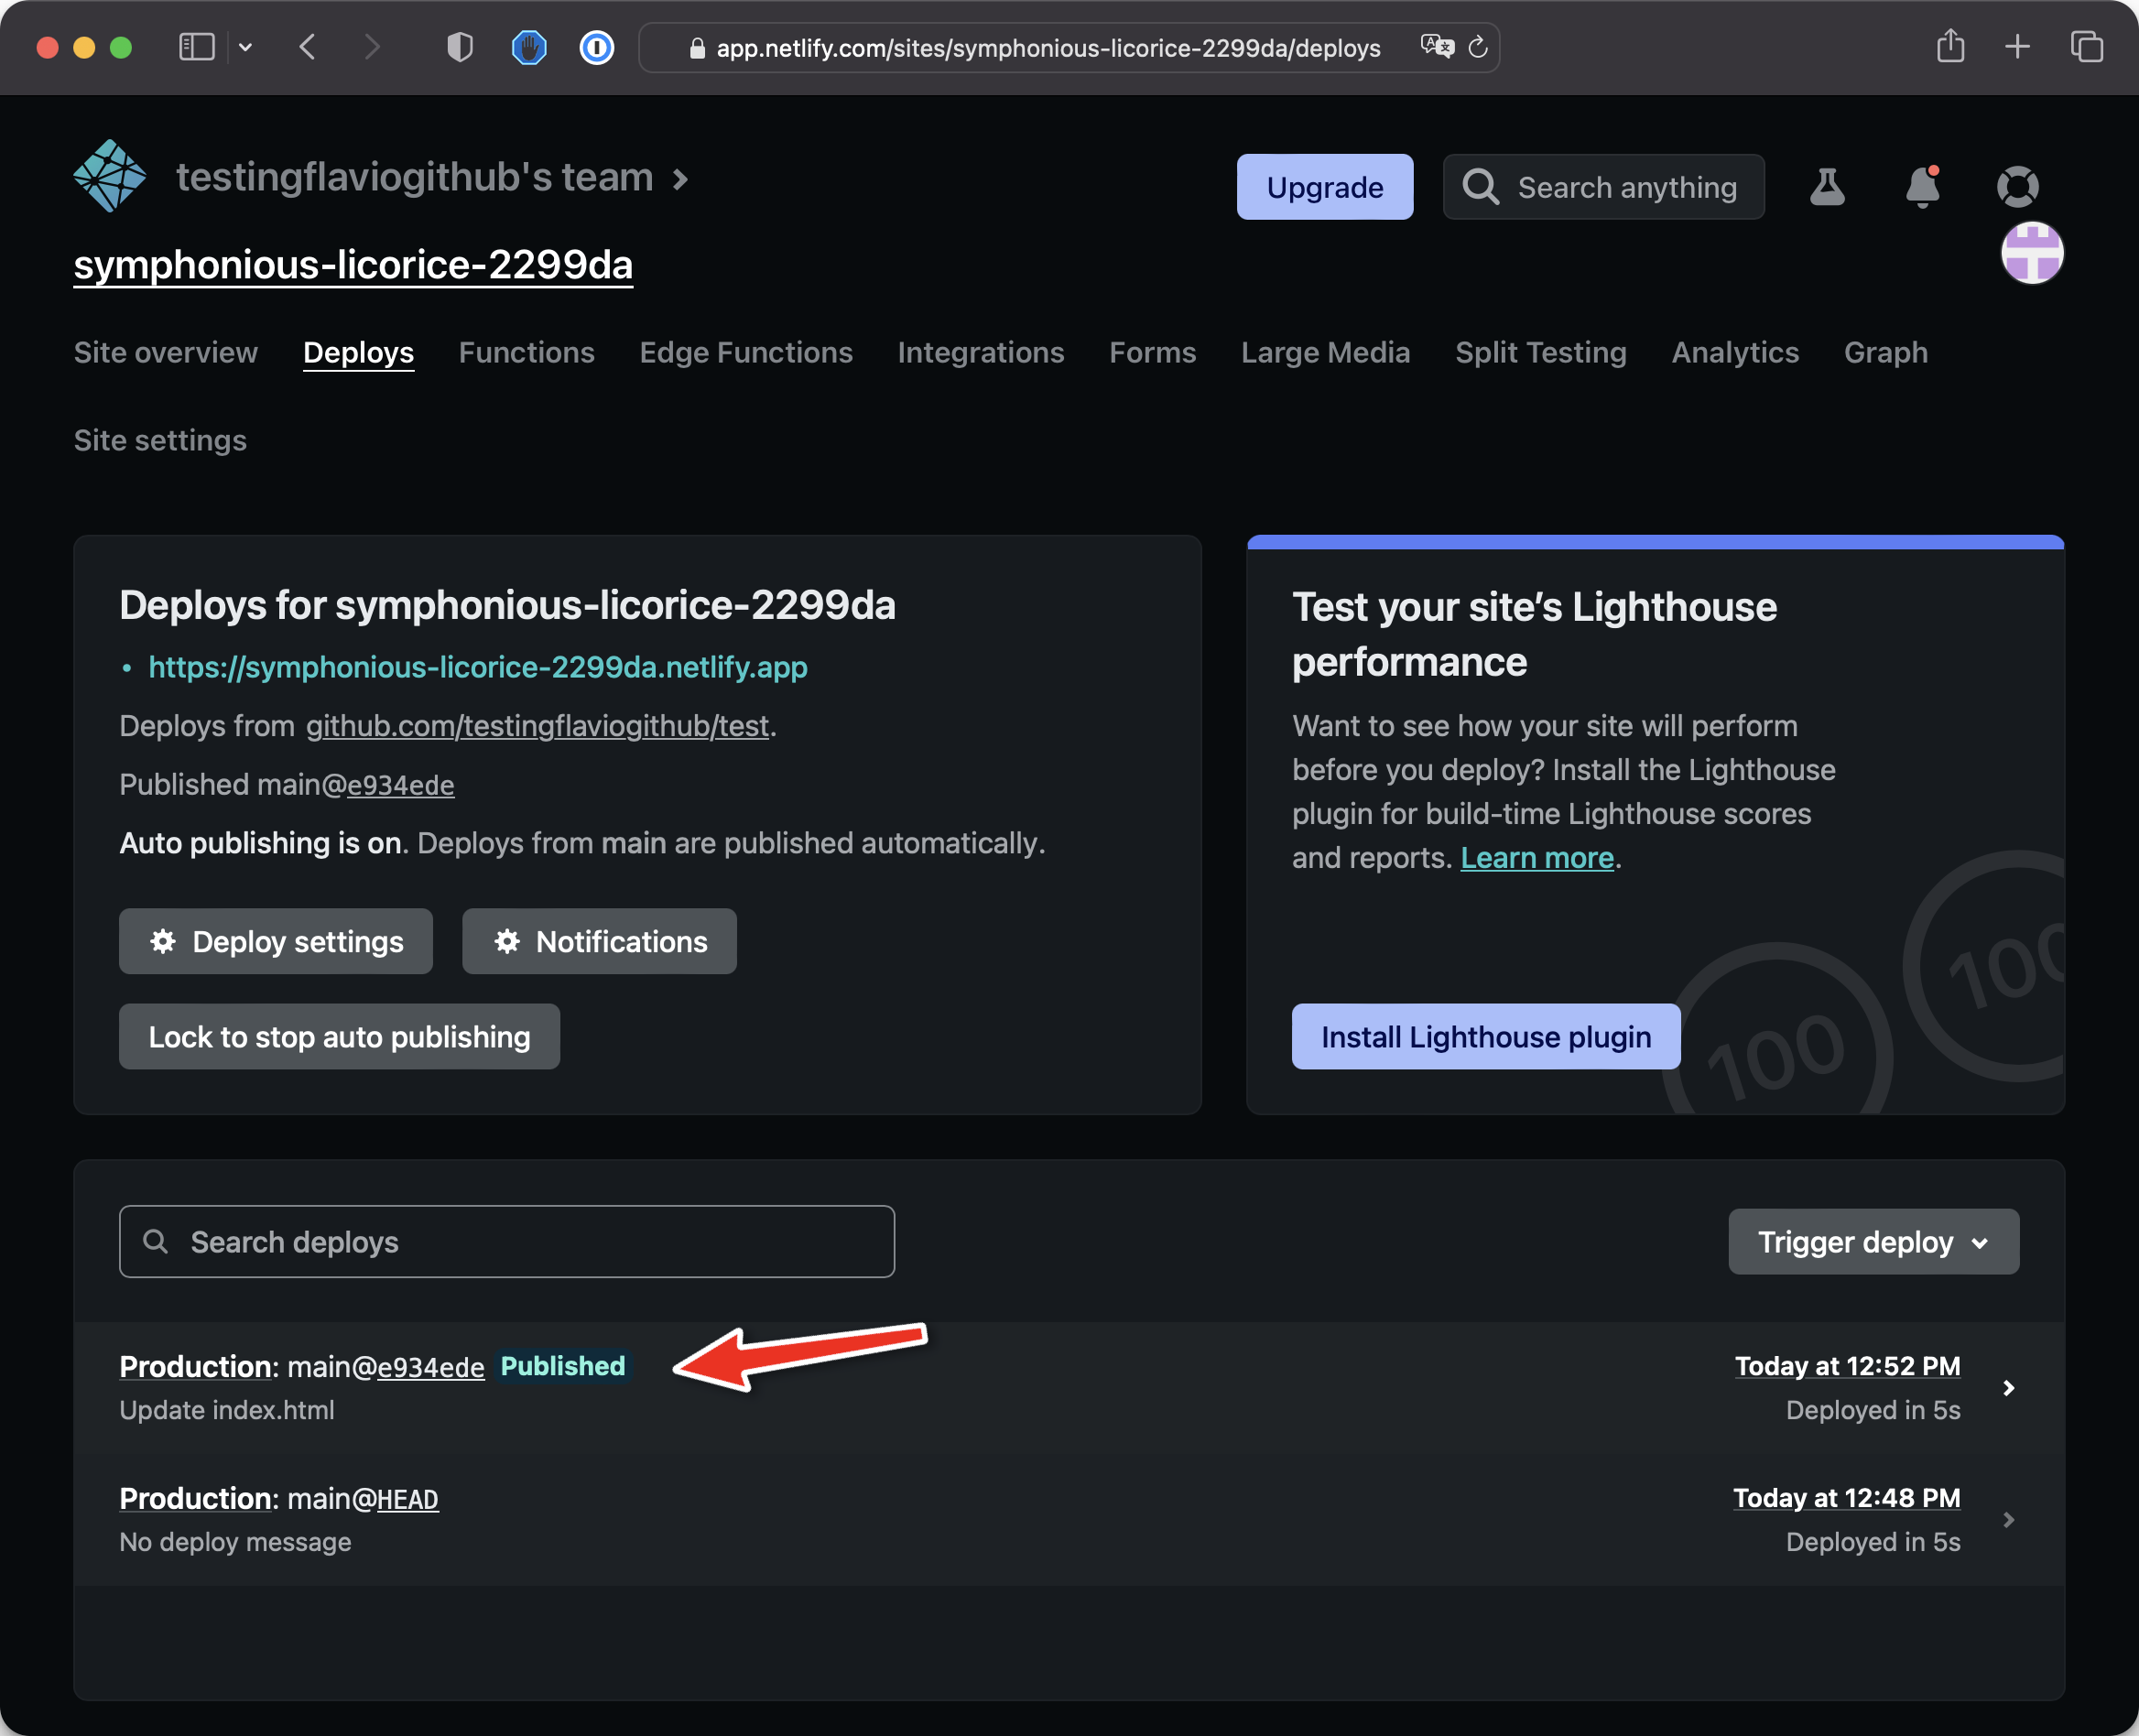
The process was a bit complicated, but once you’re done with setting up the repository on GitHub and connecting to Netlify, now every time you do any change, create a commit, and push this commit to GitHub, Netlify will automatically deploy the changes you’ve made.
This is great for productivity. You just push, and the machines take care of all the rest.
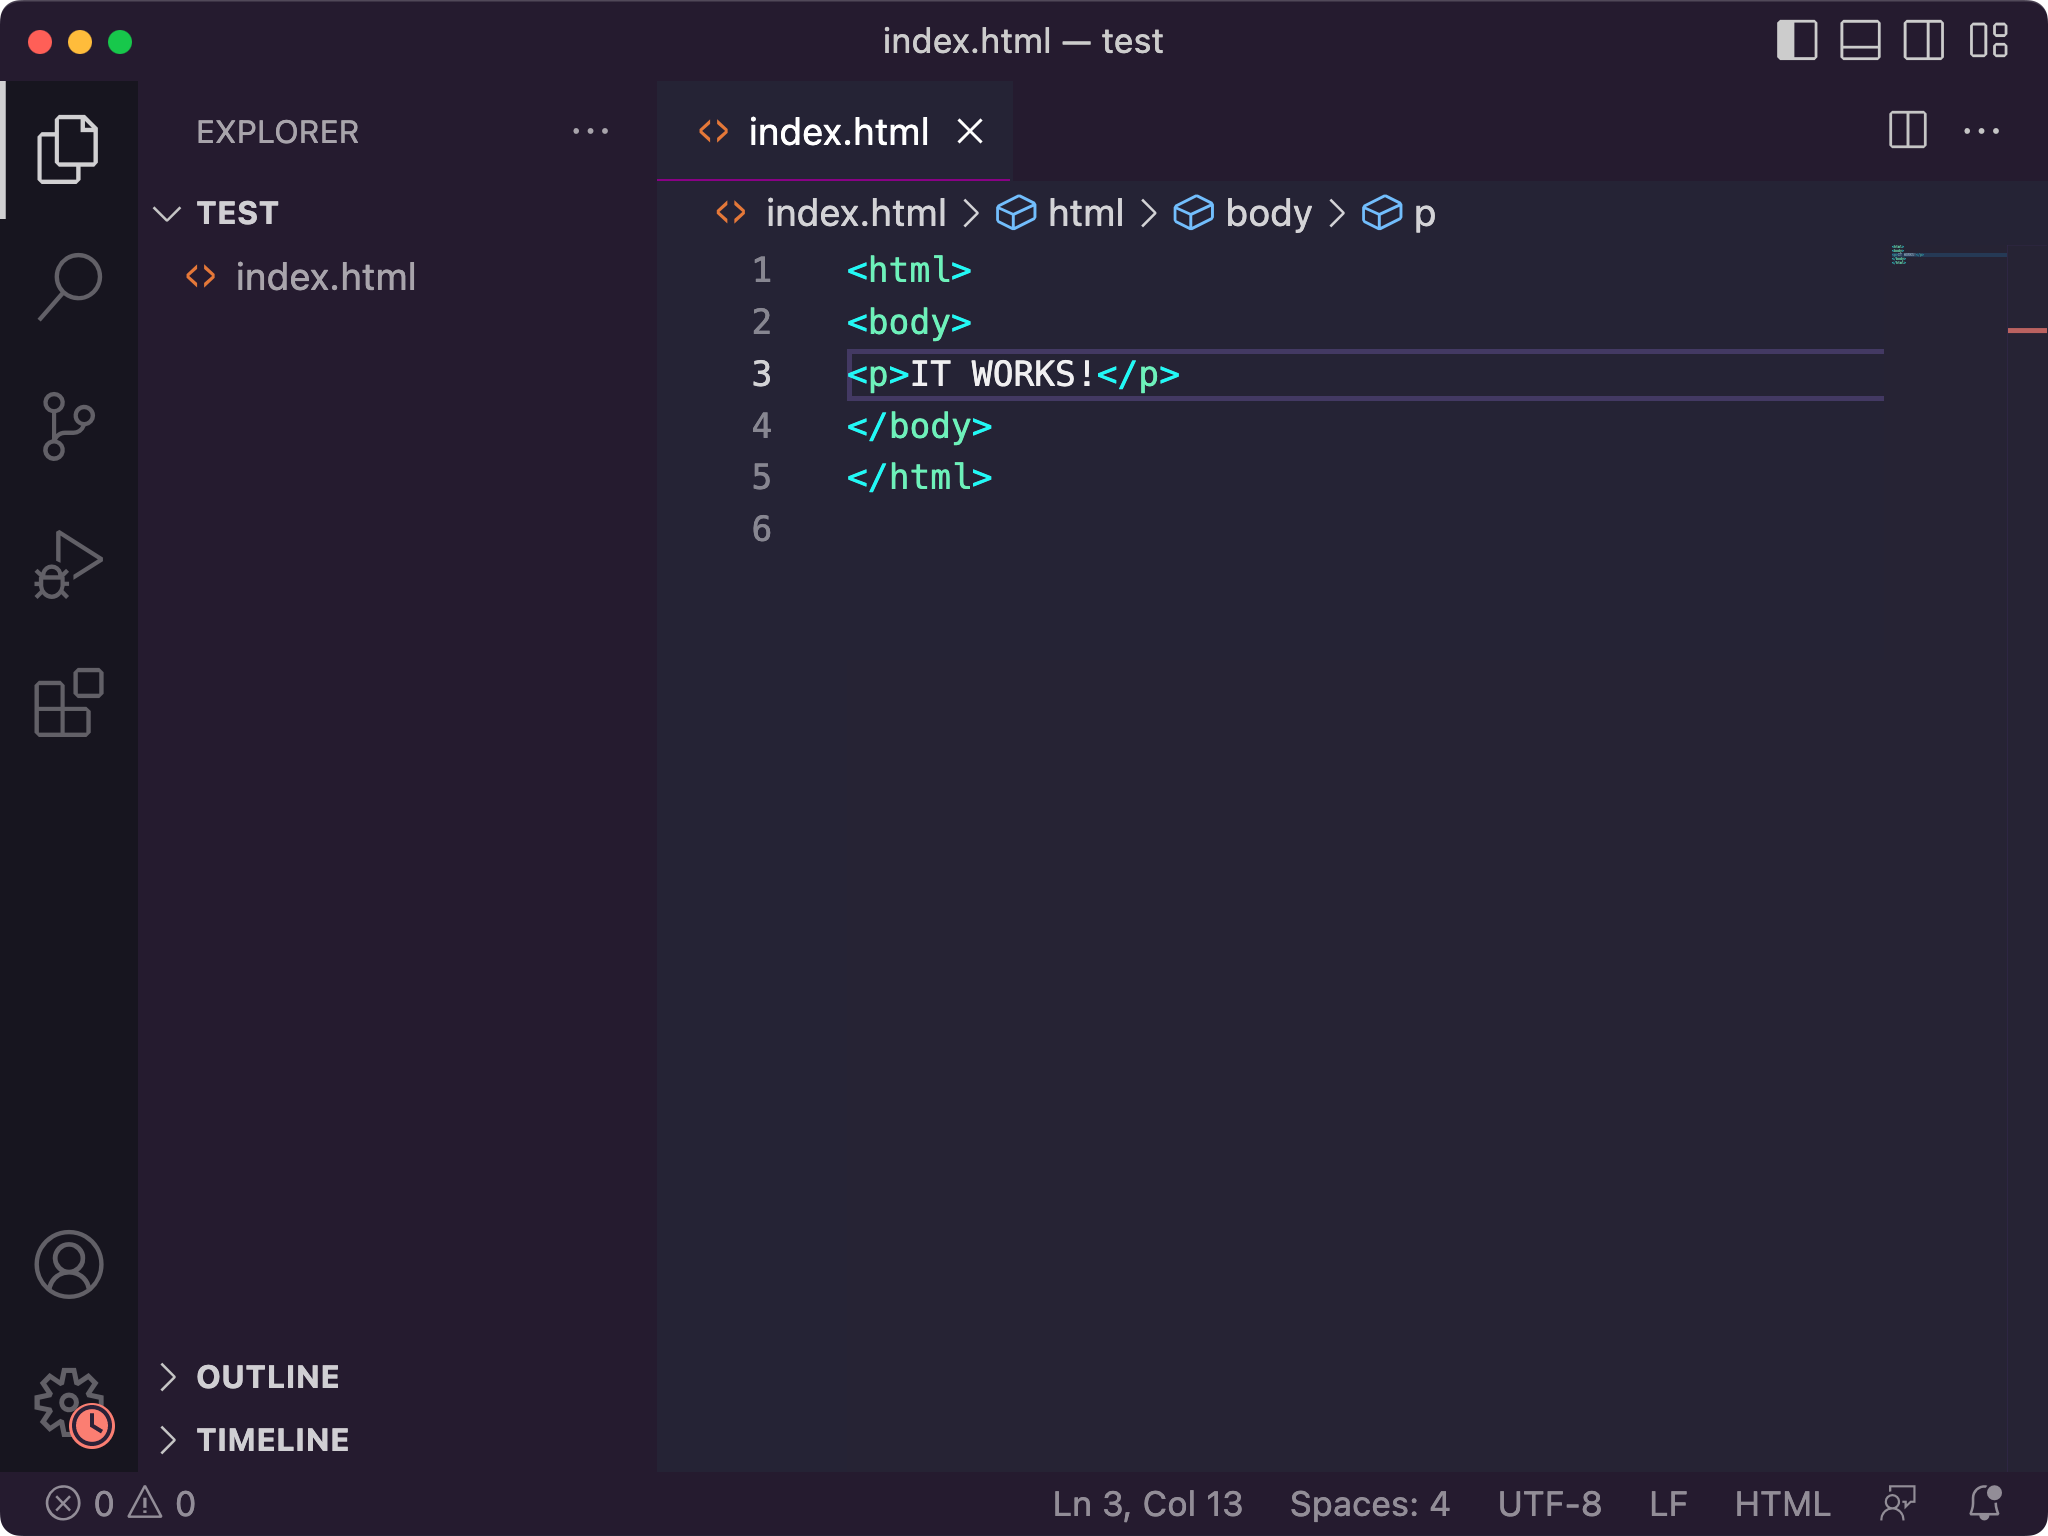
Let’s try it!
Open VS Code again, and change testing to IT WORKS!:
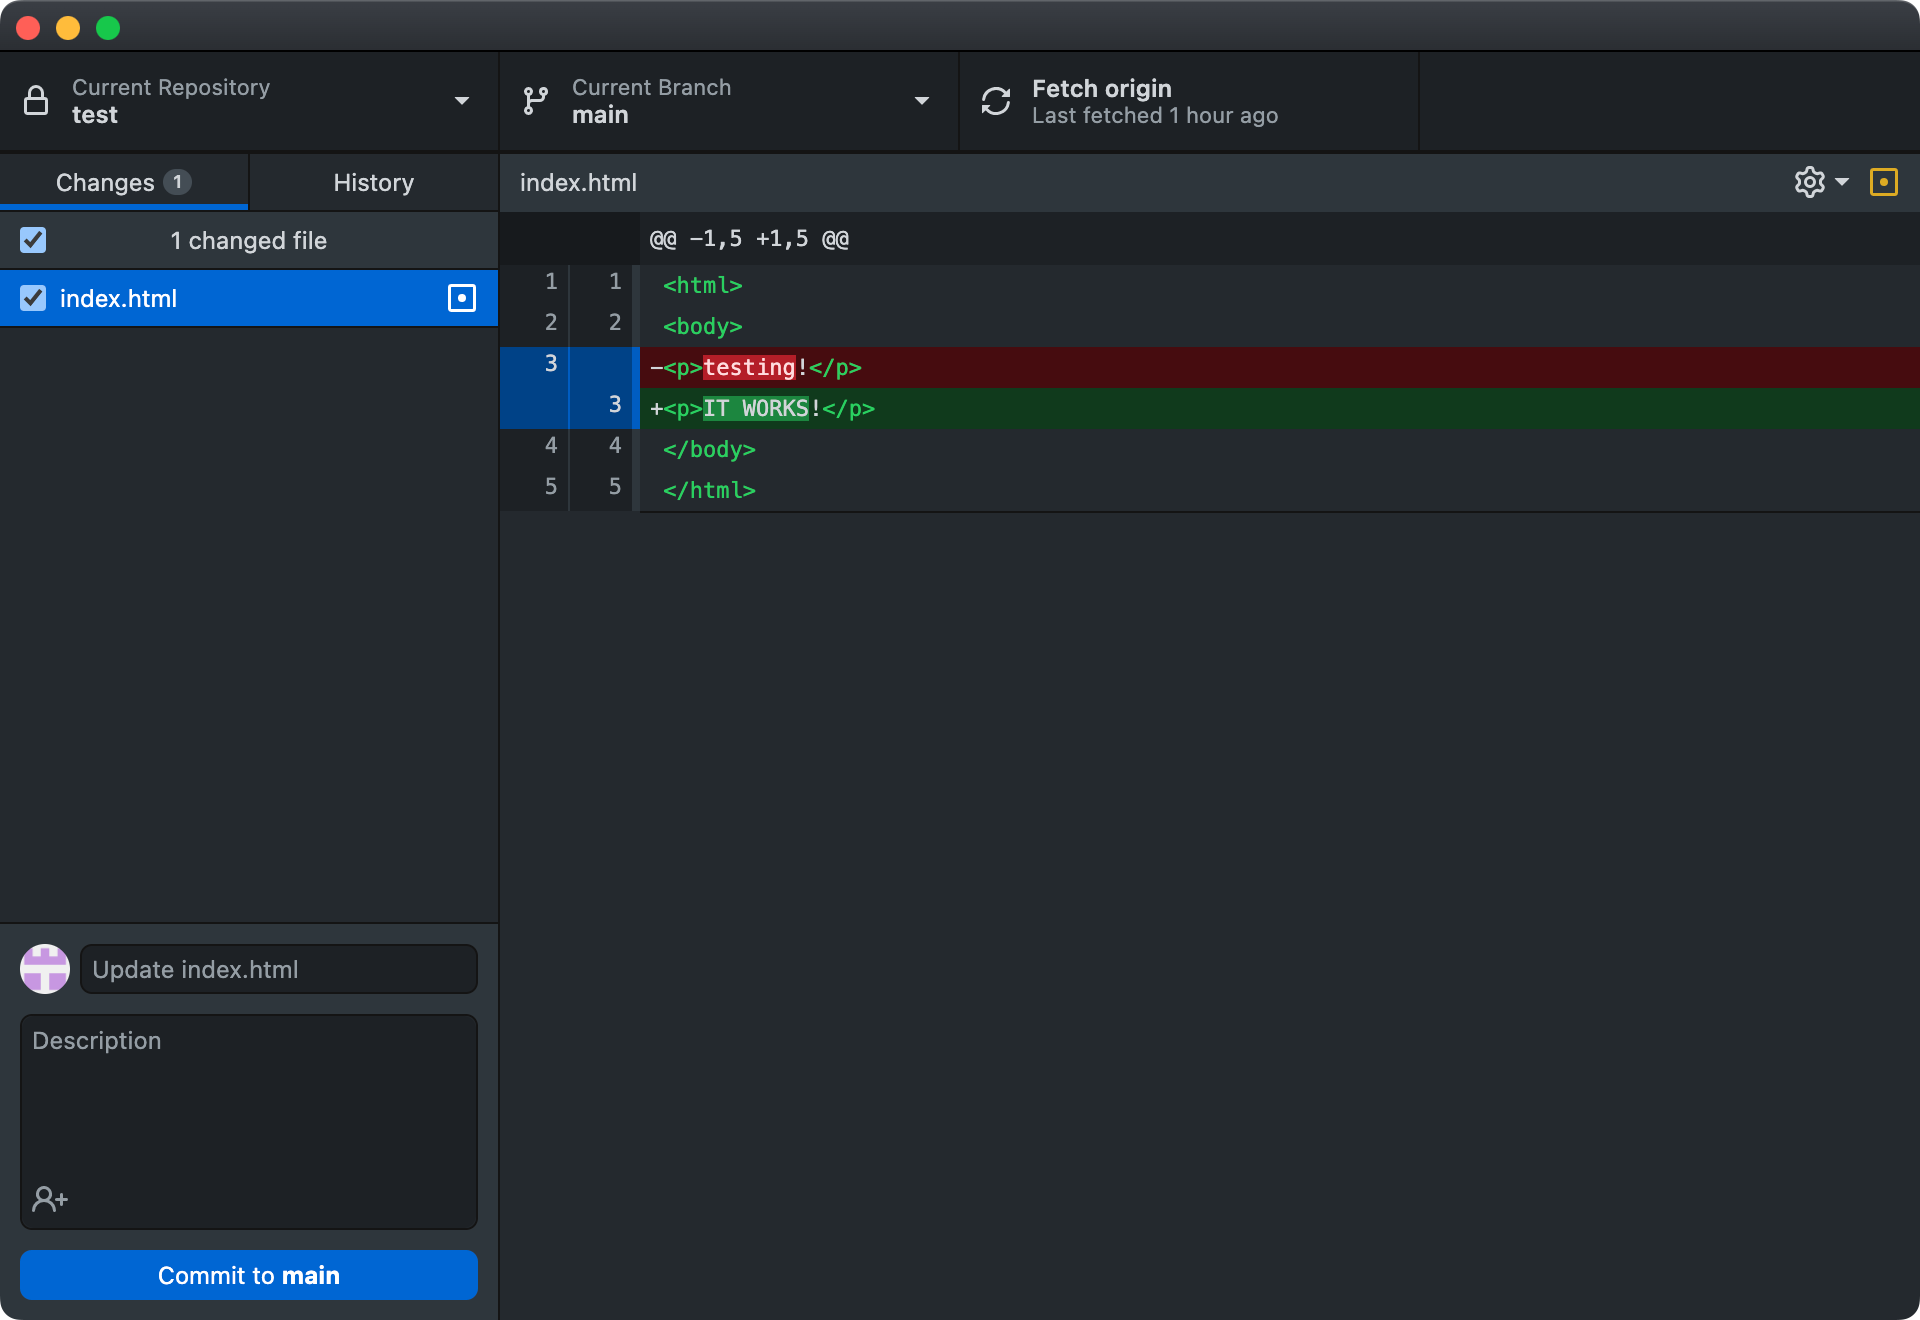
Push the change to GitHub:
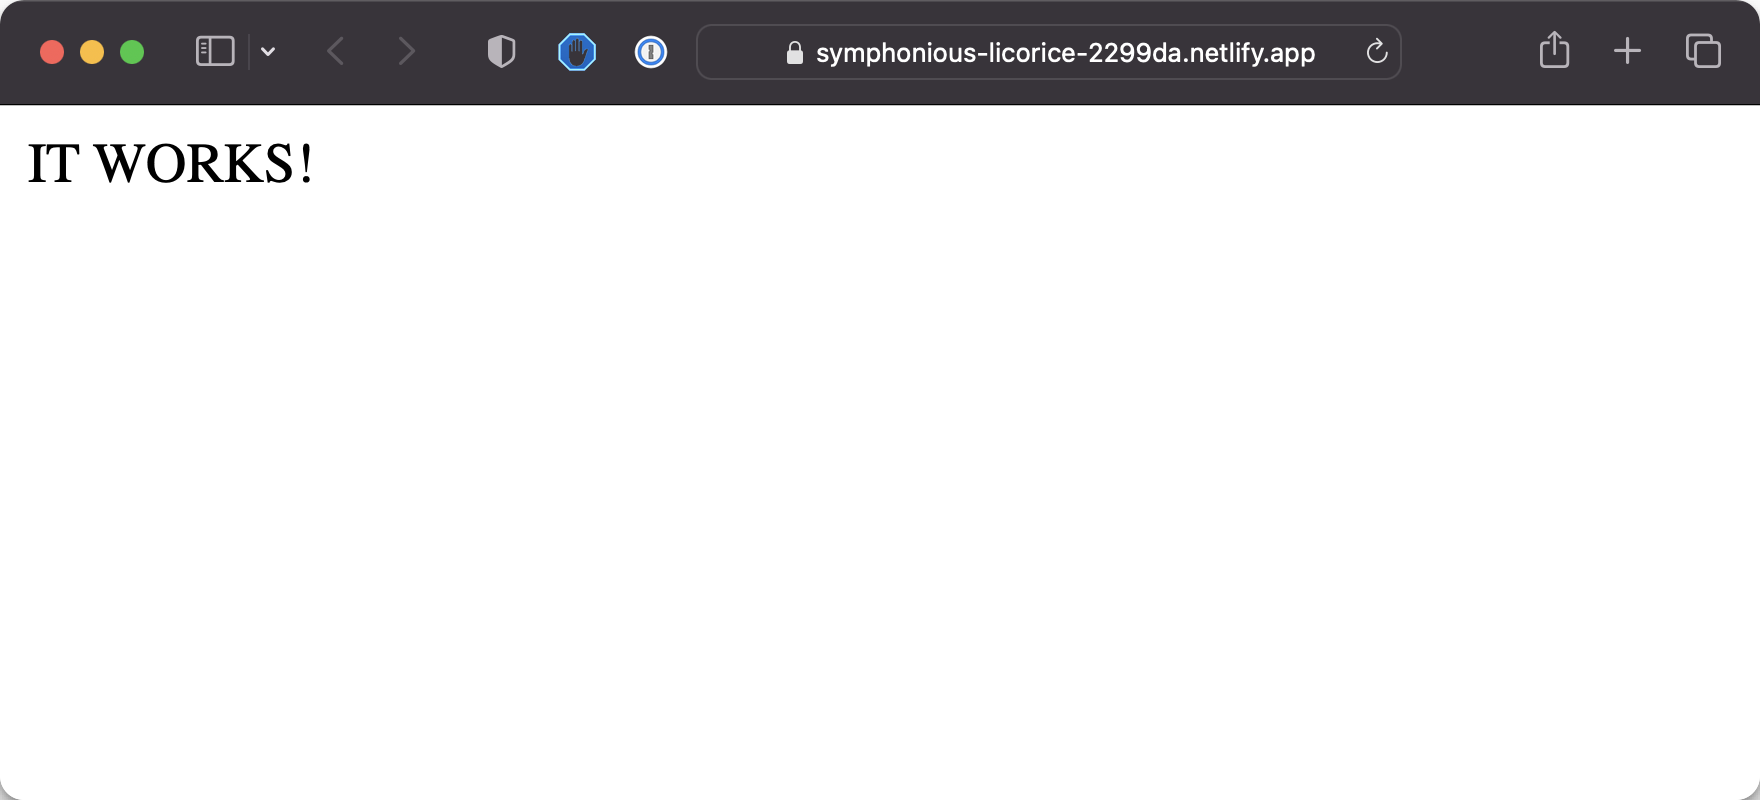
And in a few seconds, you should see the changes live!
And on Netlify you will see the new deployment show up as the newly published production deployment: