Join the AI Workshop and learn to build real-world apps with AI. A hands-on, practical program to level up your skills.
You can search Terminal in Spotlight, or go to the Applications folder, open the Utilities subfolder, and look for the Terminal app.
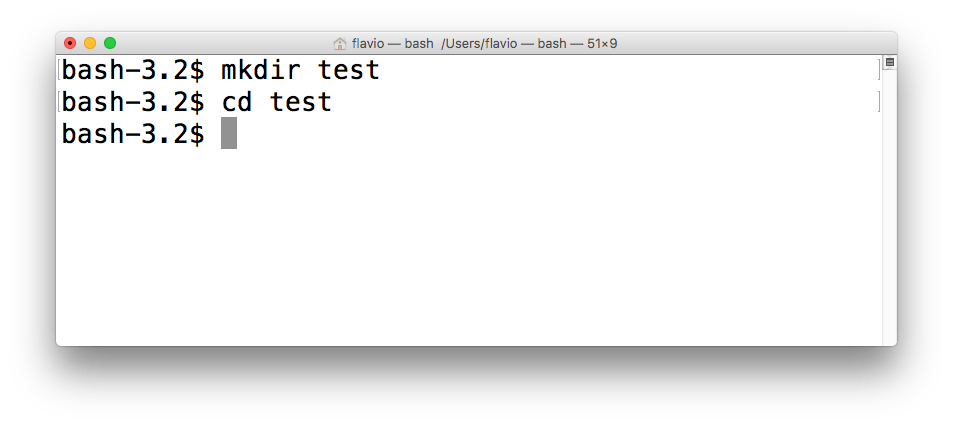
When you open it, you’ll get this screen - or something really similar:
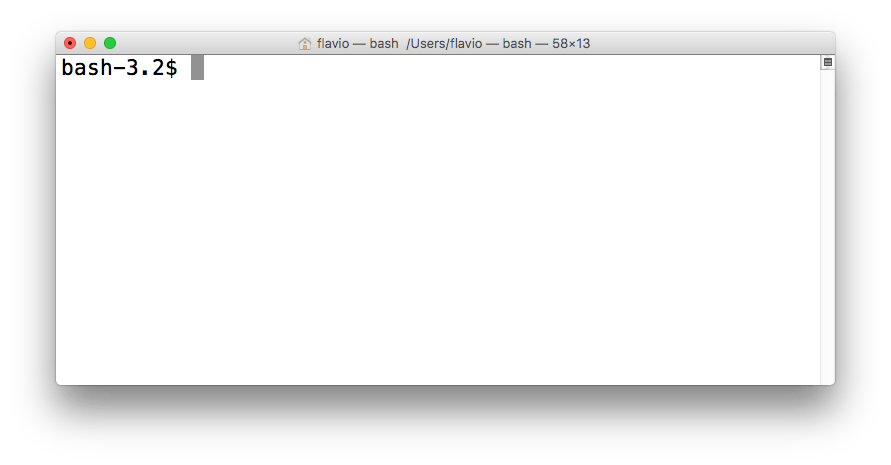
The bash-3.2 indicates the type of shell, and its version. New term here - shell. What is a shell? A shell is a program that allows us to interact with the operating system and its applications.
Note: Current macOS (since Catalina) uses zsh. Nothing else in this tutorial changes.
There are different kinds of shells: Bash is one of the most popular. Some people use Fish (like me), some use Z Shell, some use other ones.
The shell is basically the program that allows us to enter our commands.
File system commands
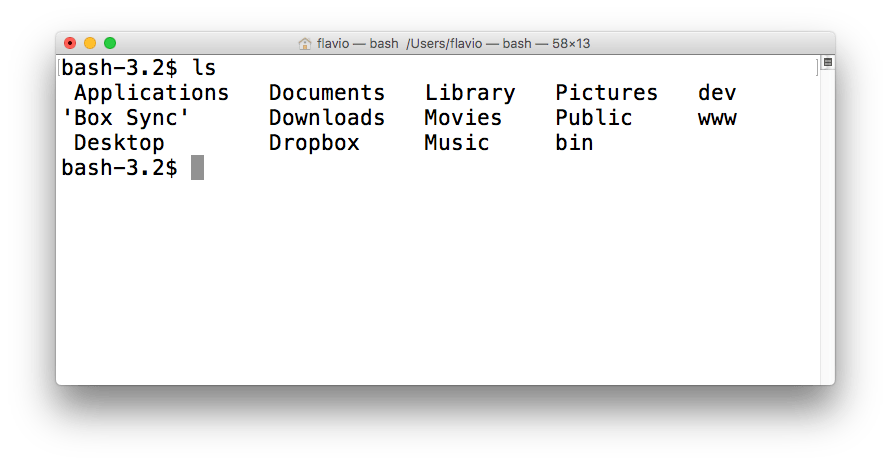
We can start by entering the ls command, and when we press enter the shell shows us the files contained in the current folder.
The shell normally starts from your home folder, which on a Mac is in /Users/yourname.
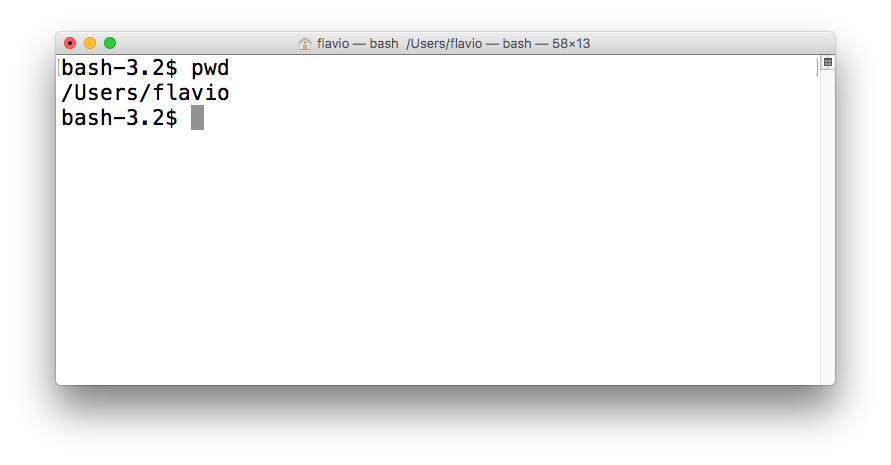
How do we know in which folder we currently are? You can get it using the pwd command:
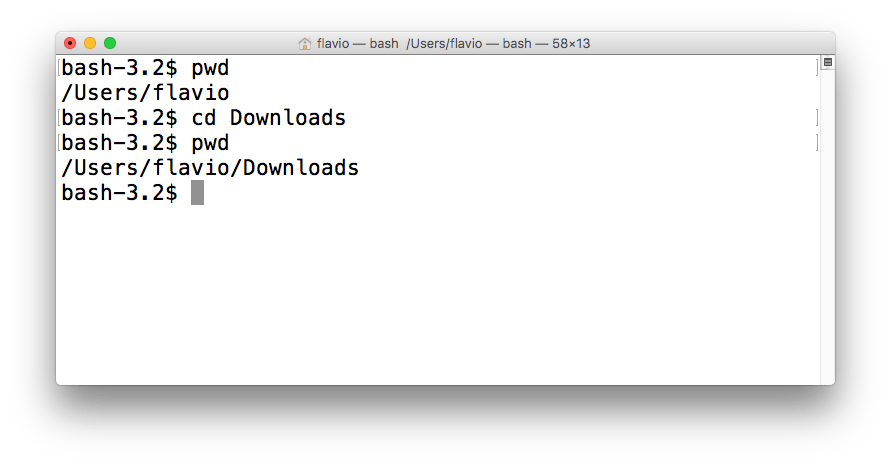
You can change the current folder using cd:
If you just type cd, the shell will get back to your home folder.
You can create a new folder using mkdir:
Running commands
In the shell you have access to all the programs and files installed on your computer. A lot of stuff.
One task you might be required to do, especially when programming in Node and JavaScript, is to use npm.
npm is not a command that’s available out of the box, you need to install it from https://www.npmjs.com/get-npm, but when you get it, you can access it from the command line.
Once you do so, you can go into any empty folder and run npm init to initialize a Node.js project.
Once you are ready you can start any Node.js program by running node filename.js.
There’s a lot more to it!
This post can get you started quickly to do the job, and you can explore more advanced features and capabilities of the shell later.