Join the AI Workshop and learn to build real-world apps with AI. A hands-on, practical program to level up your skills.
The tar command is used to create an archive, grouping multiple files in a single file.
Its name comes from the past and means tape archive. Back when archives were stored on tapes.
This command creates an archive named archive.tar with the content of file1 and file2:
tar -cf archive.tar file1 file2The
coption stands for create. Thefoption is used to write to file the archive.
To extract files from an archive in the current folder, use:
tar -xf archive.tarThe
xoption stands for extract
and to extract them to a specific directory, use:
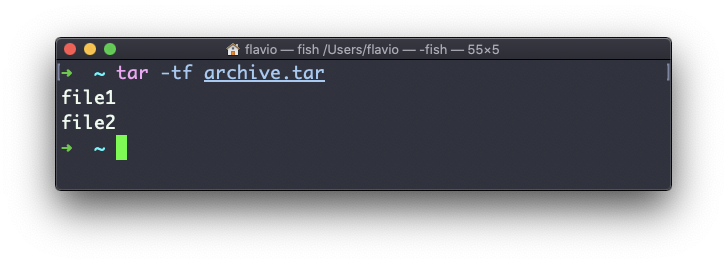
tar -xf archive.tar -C directoryYou can also just list the files contained in an archive:
tar is often used to create a compressed archive, gzipping the archive.
This is done using the z option:
tar -czf archive.tar.gz file1 file2This is just like creating a tar archive, and then running gzip on it.
To unarchive a gzipped archive, you can use gunzip, or gzip -d, and then unarchive it, but tar -xf will recognize it’s a gzipped archive, and do it for you:
tar -xf archive.tar.gzThe tar command works on Linux, macOS, WSL, and anywhere you have a UNIX environment