Now that we got data working, let’s clean up the routes a bit, add a more beautiful design.
I have this list of views we used in our tests:
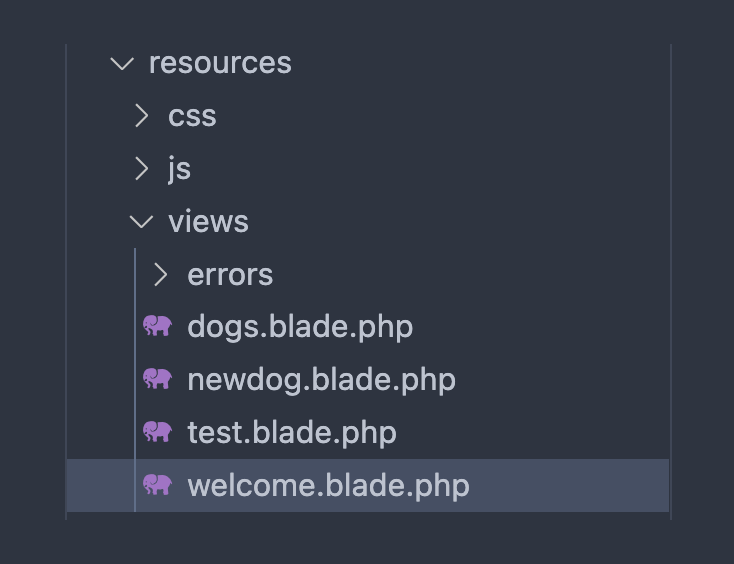
Remove test.blade.php and welcome.blade.php.
In routes/web.php we’re going to show the dogs view on /, which we name the index route, and we show the form to add a new dog on /newdog. Doing a POST request on that route will trigger the create method on the DogController to save the dog to the database. Remove all the other routes.
<?php
use Illuminate\Support\Facades\Route;
use App\Models\Dog;

/*
|-------------------------------------------------------------------------
| Web Routes
|-------------------------------------------------------------------------
|
| Here is where you can register web routes for your application. These
| routes are loaded by the RouteServiceProvider and all of them will
| be assigned to the "web" middleware group. Make something great!
|
*/
Route::get('/newdog', function () {
    return view('newdog');
});

Route::post(
    '/dogs',
    [DogController::class, 'create']
)->name('dog.create');

Route::get('/', function () {
    $dogs = Dog::all();
    return view('dogs', ['dogs' => $dogs]);
})->name('index');
Ok!
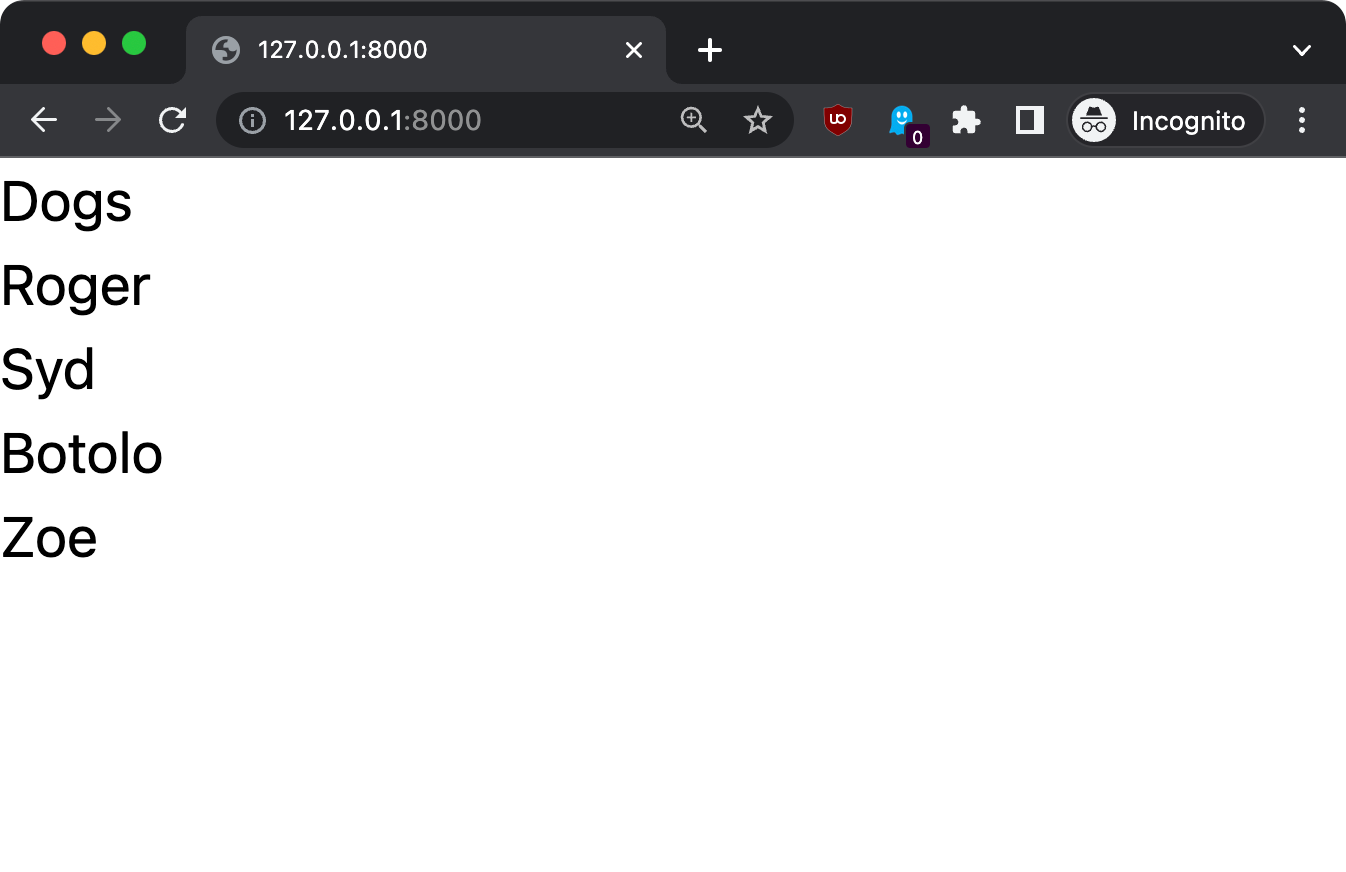
Now you should see the list of dogs on the / route:
In resources/views/dogs.blade.php we now have a super simple
@foreach ($dogs as $dog)
    {{ $dog->name }}
@endforeach
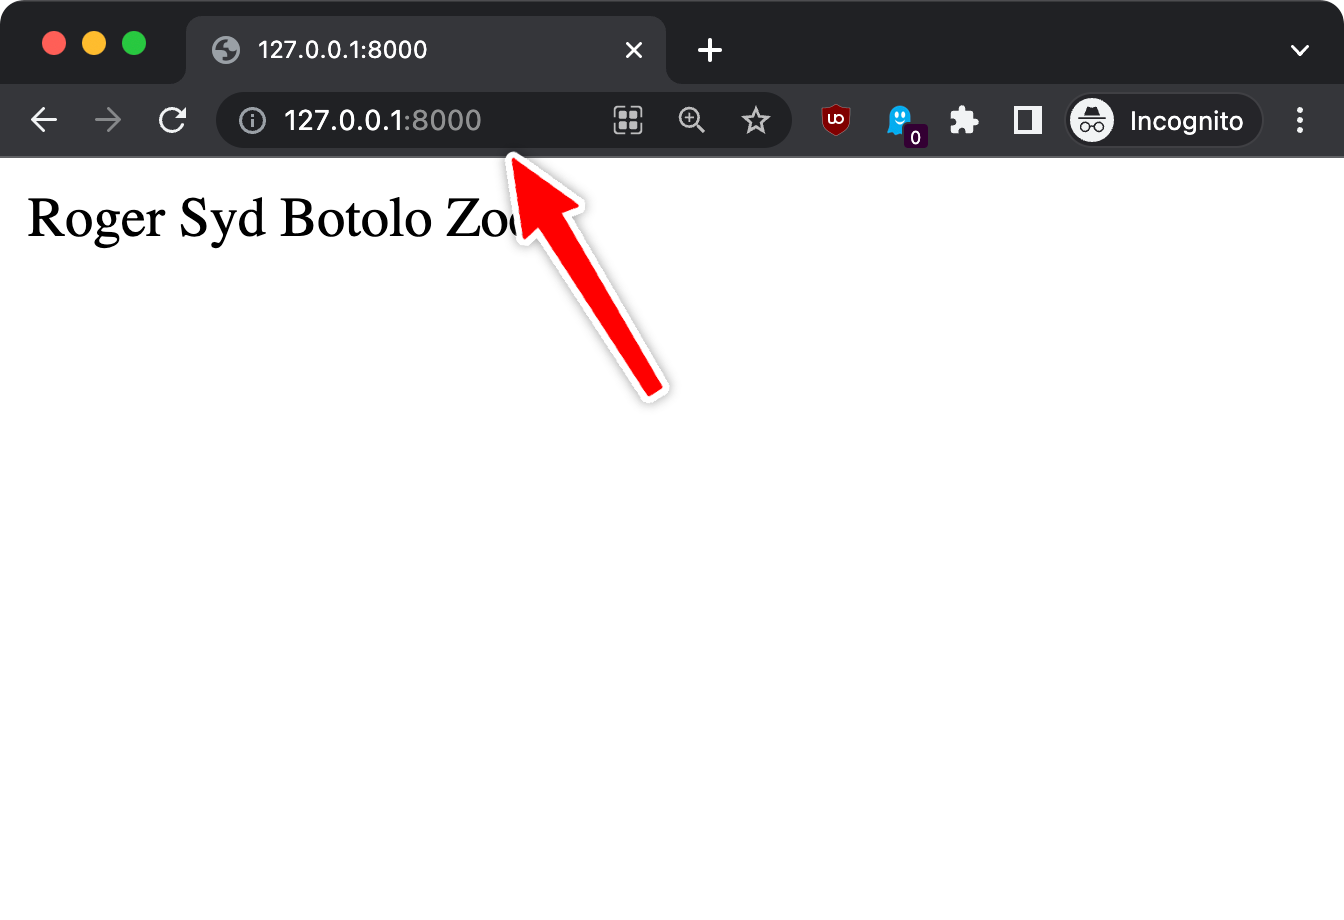
which does not even contain any HTML.
The browser renders that because it tries its best to display something useful, but let’s do things properly.
Here’s a start: we add the proper HTML structure and we wrap the dogs list in an unordered list:
<!doctype html>
<html>
    <head>
        <meta charset="utf-8">
        <meta name="viewport"
        content="width=device-width, initial-scale=1.0">
    </head>
    <body>
        <h1>
            Dogs
        </h1>
        <ul>
            @foreach ($dogs as $dog)
                <li>{{ $dog->name }}</li>
            @endforeach
        </ul>
    </body>
</html>
The next thing we’ll do is configure Vite, so we can enable styling using Tailwind CSS, a very useful library.
First go back to the terminal.
Run this:
npm install -D tailwindcss postcss autoprefixer
If you don’t have npm installed yet, install Node.js first.
This command will create a package.json file, a package-lock.json and a node_modules folder.
Then run this:
npx tailwindcss init -p
This will create the tailwind.config.js and the postcss.config.js files.
(see my npx tutorial if you’re new to that, it’s installed automatically with Node.js, as npm).
Now open tailwind.config.js and add this:
/** @type {import('tailwindcss').Config} */
export default {
    content: ["./resources/**/*.blade.php"],
    theme: {
        extend: {},
    },
    plugins: [],
};
In resources/css/app.css add this:
@tailwind base;
@tailwind components;
@tailwind utilities;
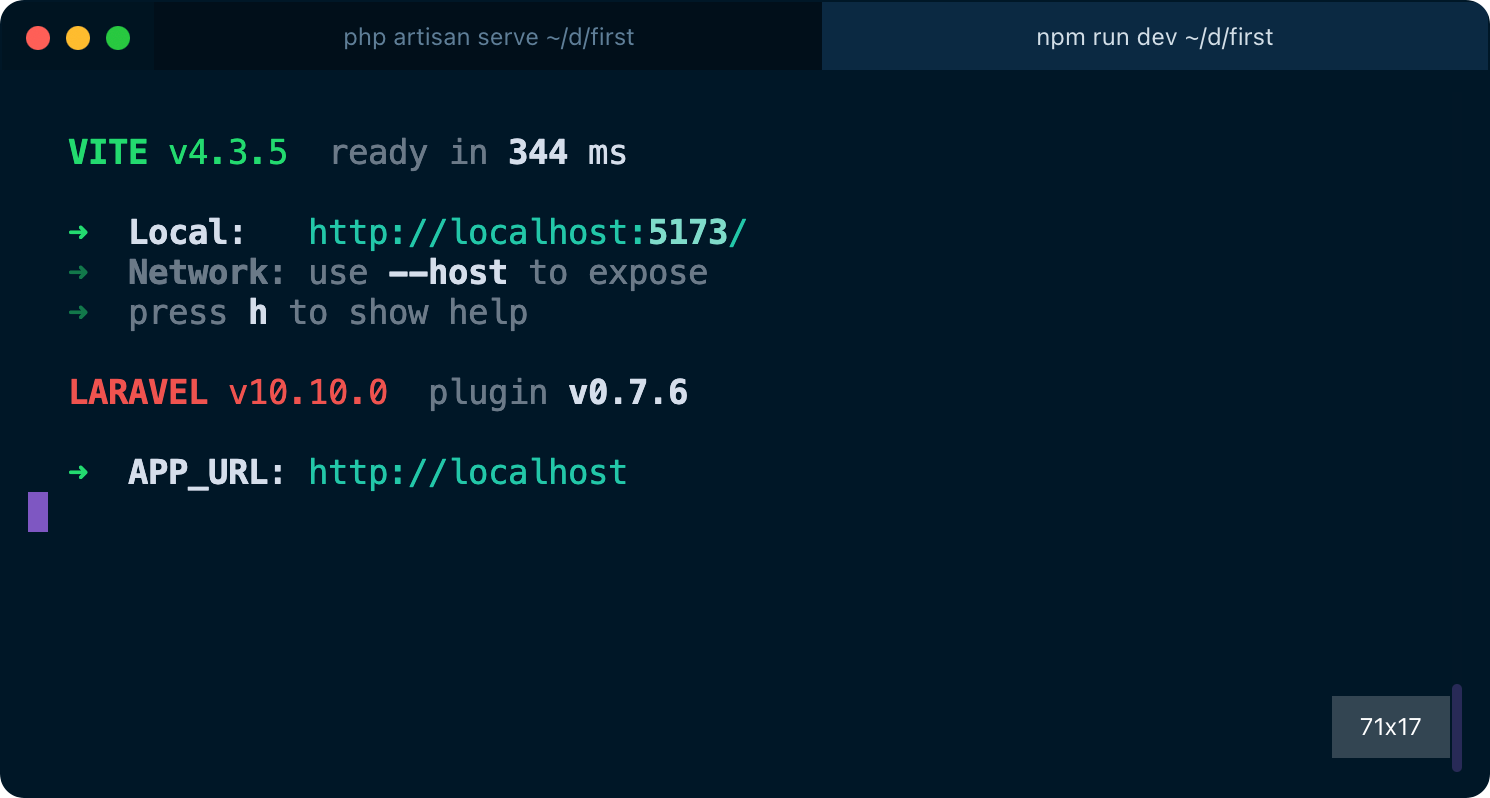
Finally, back to the terminal, run npm run dev and keep it running while developing the site, as php artisan serve (run both in 2 different terminal windows).
Now we’re ready to use Tailwind CSS in our Blade templates!
Add this line to the page head:
<!doctype html>
<html>
<head>
    <meta charset="utf-8">
    <meta name="viewport" content="width=device-width, initial-scale=1.0">
    @vite('resources/css/app.css')
If you refresh the page, you can see immediately that something changed. It’s Tailwind adding some default normalization, so that’s a sign it’s working!
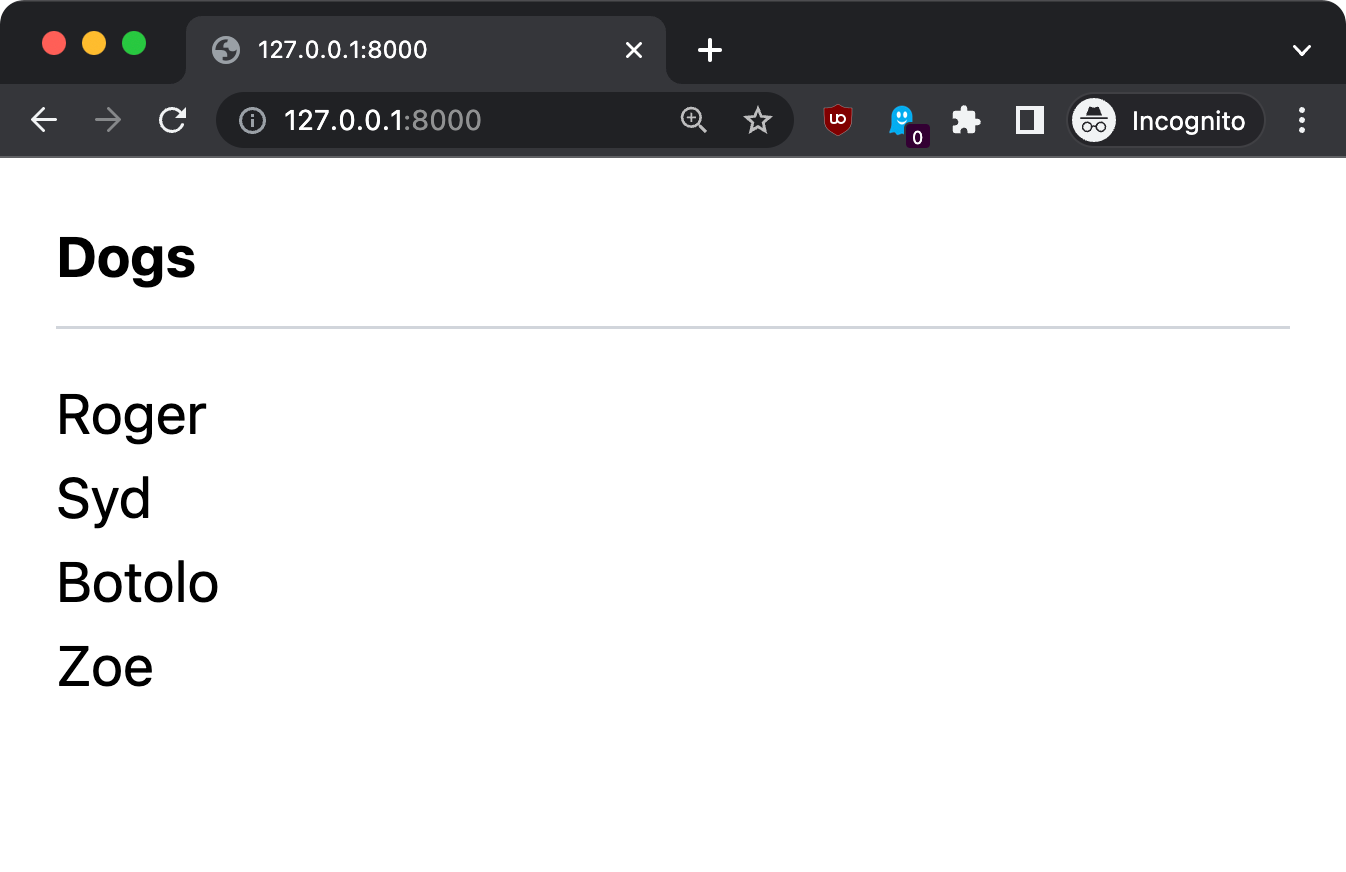
Now we can add classes to our HTML body to style the page a bit:
<body class="p-4">
    <h1 class="font-bold border-b-gray-300 border-b pb-2 mb-3">
        Dogs
    </h1>
    <ul>
        @foreach ($dogs as $dog)
            <li>{{ $dog->name }}</li>
        @endforeach
    </ul>
</body>
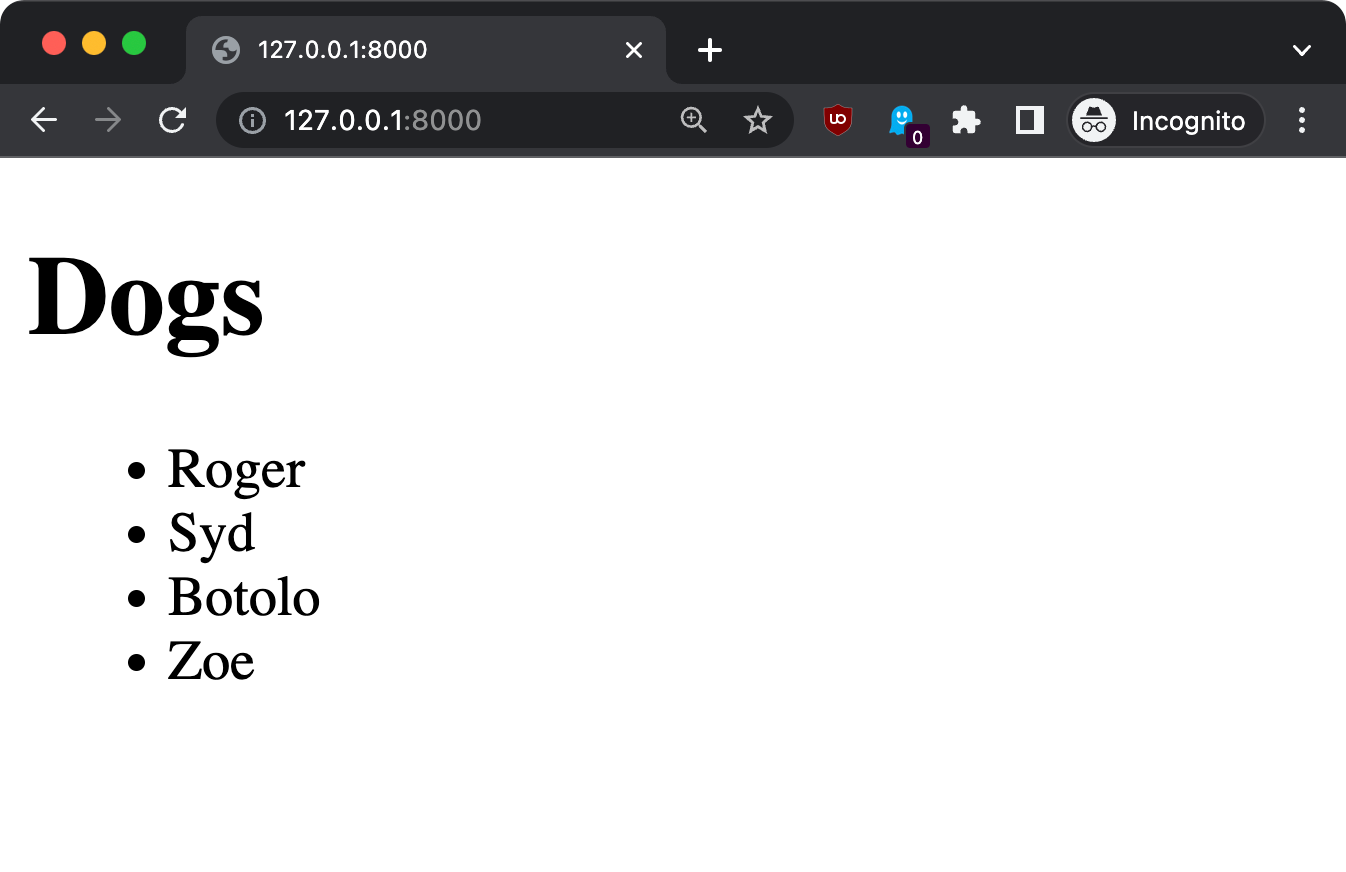
Here’s the result, much better!
Notice that changes are applied automatically when you save the file in VS Code, without refreshing the page. Both changes in the Blade template, and in the Tailwind CSS classes. That’s some “magic” provided by Vite and Laravel in development mode.