Join the AI Workshop and learn to build real-world apps with AI. A hands-on, practical program to level up your skills.
This lesson is part of the Johnny Five series. See the first lesson here.
When you run a program using Johnny Five, you’ll see that in the terminal we have access to a REPL (Read-Evaluate-Print-Loop).

In other words, we can type commands there.
Let’s try by creating a repl.js file with this code:
const { Board } = require("johnny-five")
const board = new Board()
I am going to play with the LCD circuit made in the previous lesson.
Run the program with node repl.js:

Next, we’re going to write some commands in the REPL.
Start by requiring the LCD class:
const { LCD } = require("johnny-five")
Then initialize an lcd object from it:
const lcd = new LCD({ pins: [7, 8, 9, 10, 11, 12] })
Now write to the LCD display:
lcd.print("Hello!")You’ll see a large object returned:
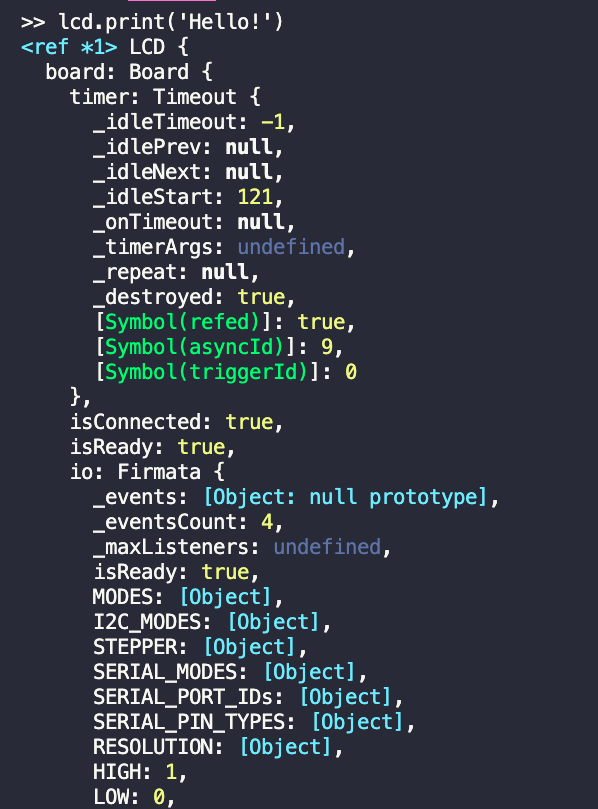
Because the command returns a reference to the LCD object. This is to let us chain commands together, like this:
lcd.clear().print("Hello!")If you don’t run clear(), any new thing you write is going to be appended to the one already there.
To write to the second row, you call cursor(1, 0) (the first parameter is the row — 0 is the first row, 1 is the second):
lcd.clear().print("Hello from")
lcd.cursor(1, 0).print("Johnny-Five!")
Lessons in this unit:
| 0: | Introduction |
| 1: | Tutorial |
| 2: | ▶︎ How to use a REPL |
| 3: | How to light a LED |
| 4: | How to work with an LCD Screen |
| 5: | Receiving input from the device |
| 6: | Control a browser game with Arduino and a joystick |