Join the AI Workshop and learn to build real-world apps with AI. A hands-on, practical program to level up your skills.
GitHub supports several authentication methods. Understanding when to use each one will help you work more securely and efficiently.
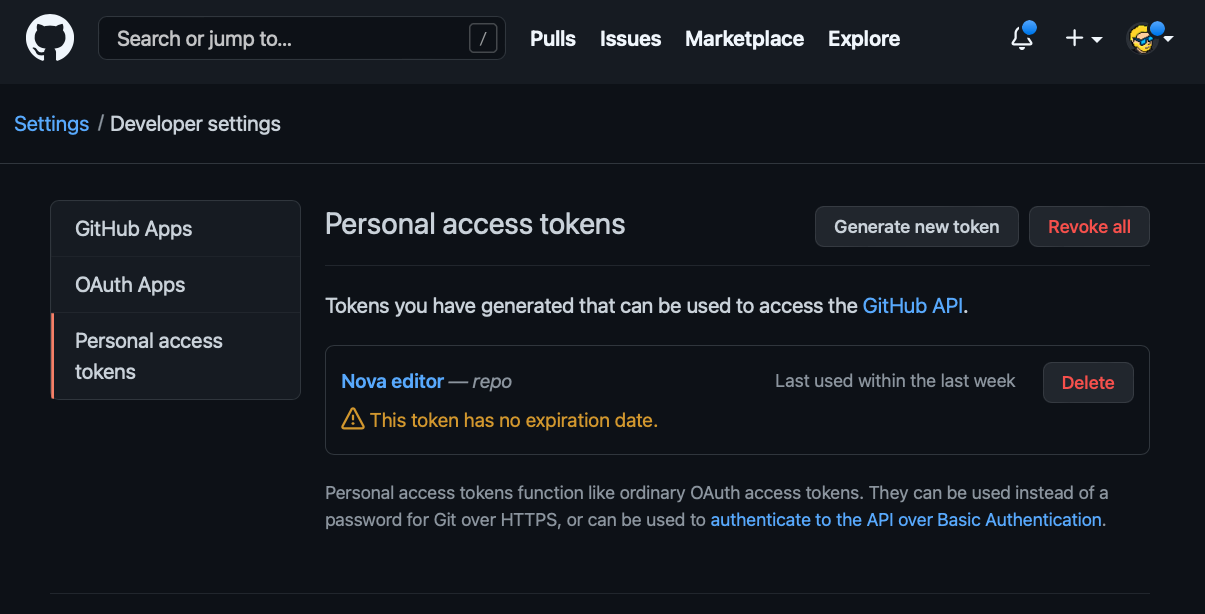
Personal Access Tokens
When you have 2FA set up on GitHub (which you should!), you can’t just log in using your username and password from the command line or from editors.
What you need to do is create a personal access token that’s tied to the app, with the permission needed.
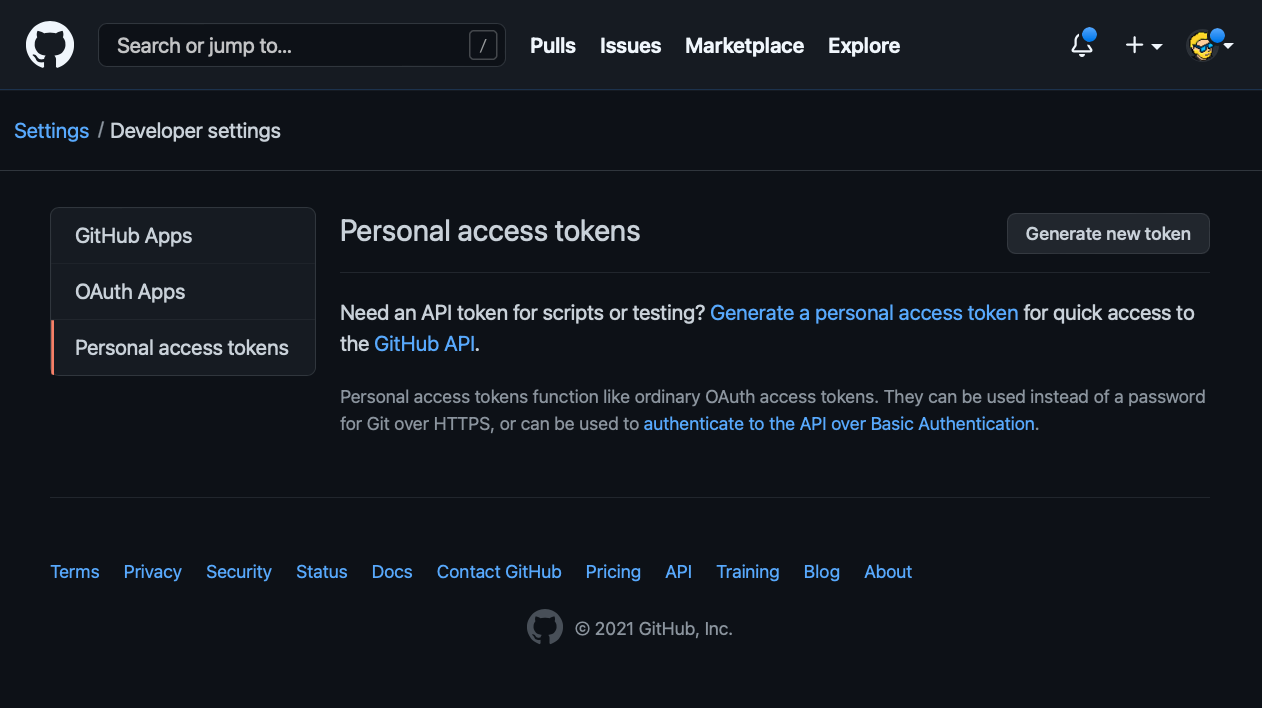
Go to the GitHub settings, locate Developer Settings:
Click Personal access tokens:
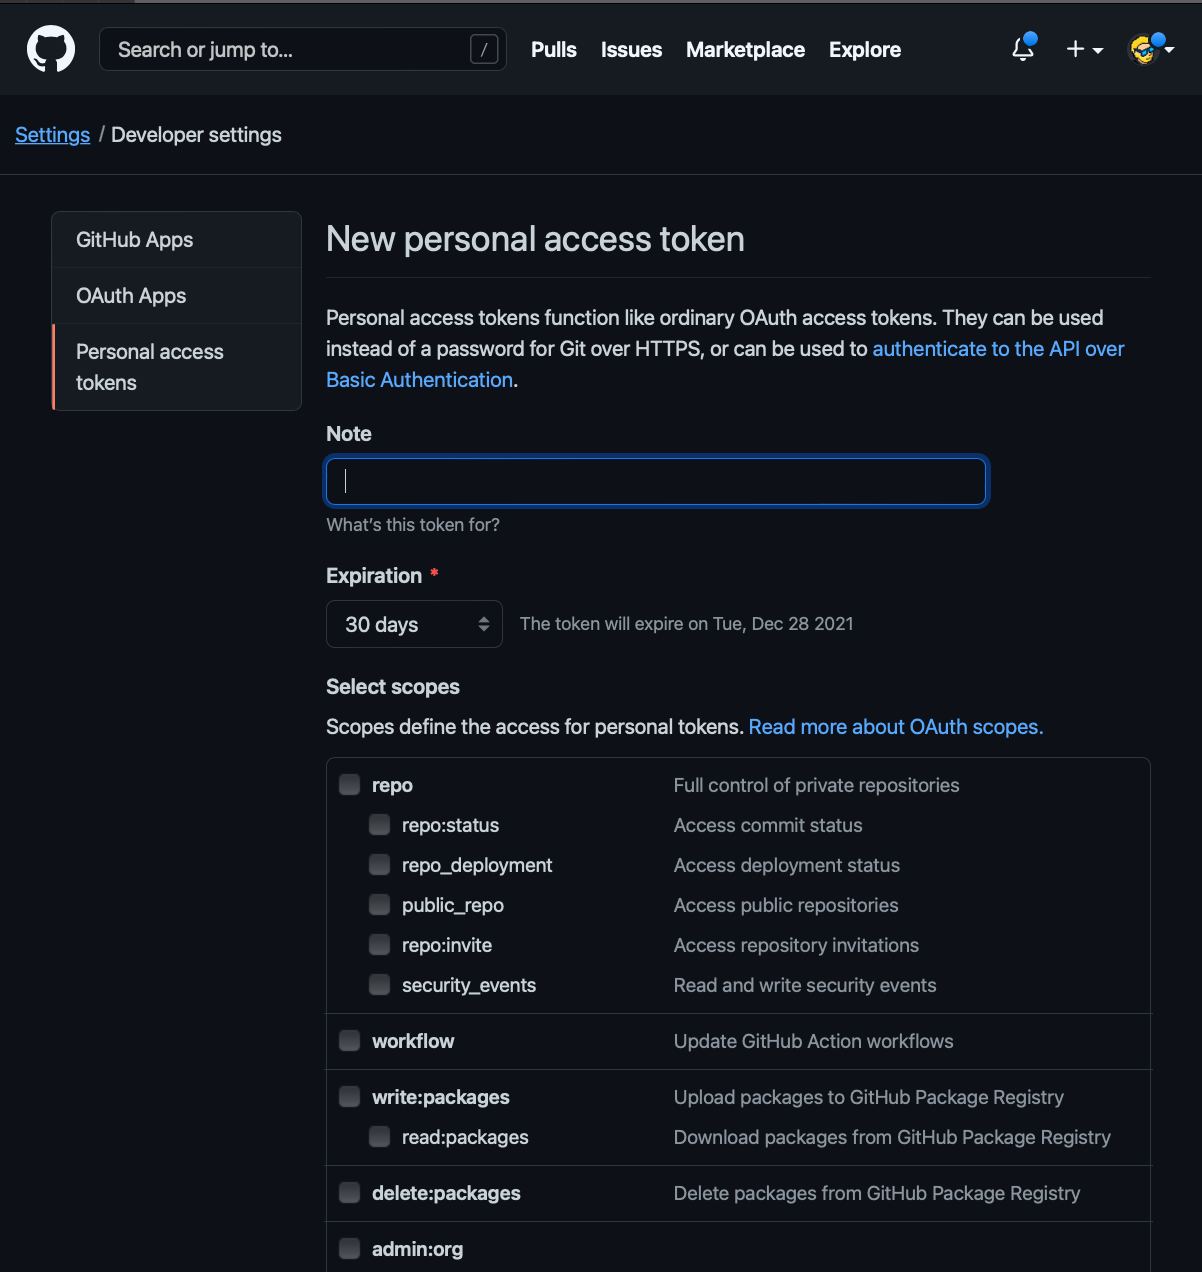
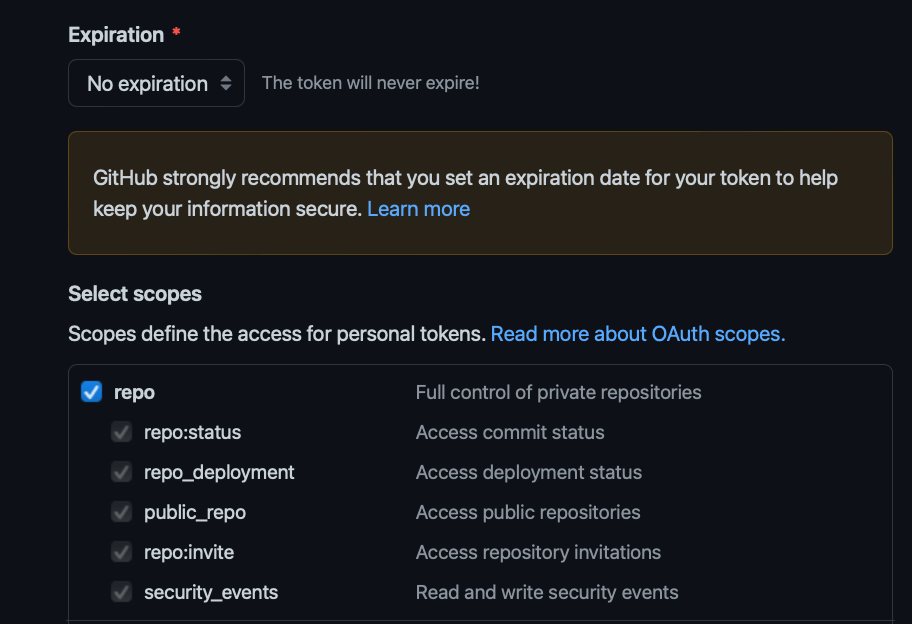
Now add a name so you’ll remember what this token is for, set the expiration to “No expiration” and enable the repo scope. That’s the only one you need:
Save and you’ll be able to see the token.
Now enter this token as the password in the username/password dialog window.
You’re set.
SSH Keys
When working with Git using the command line, the most common way to handle authentication is through the use of SSH keys.
Most GUI-based clients like GitHub Desktop will handle this for you, but sometimes you need the command line, and so it’s very useful to have an SSH key setup in place.
Also, sometimes you’ll need an SSH key to do useful things like pulling a repository from a remote server.
Keys on your computer
SSH keys are stored in the ~/.ssh folder.
You can have more than one key in there, because SSH keys are used for things other than Git.
You can list all your SSH keys by typing:
ls -al ~/.sshIf you have existing keys you’ll notice that they sit in pairs, one file and another similarly named file ending with .pub:
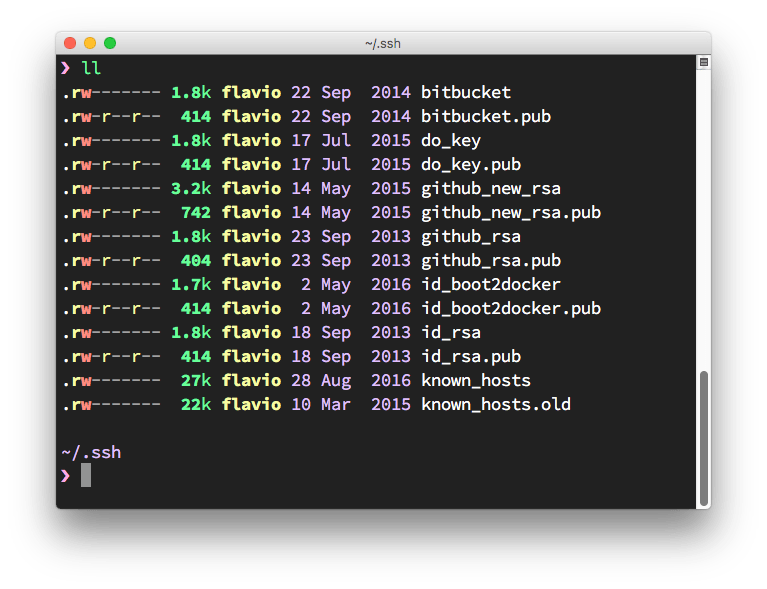
The .pub file contains the public key, while the other file contains the private key which should never be shared anywhere.
You should never share the private key anywhere. If you lose the private key, you’ll have to regenerate a new private/public key pair, as the authentication cannot be successfully completed without the private key part.
Generating a new key
You generate a new SSH key using the command ssh-keygen, which is available on all macOS, Linux and modern Windows computers with the Linux subsystem or the Git for Windows package.
Here’s the command you use:
ssh-keygen -t rsa -b 4096 -C "your_email@example.com"The last part, which in this example is filled with an email address, is a comment. You can enter any email you want, it does not have to be your GitHub account or it can even be a random string. It can be useful to know who generated the key if there is potential for ambiguity.
The key generation program will ask you where you want to save the key. If this is the first key, the default is id_rsa as the filename, but you’d better choose a file name that reminds you of the service you’re generating it for, like github_rsa.
You can optionally add a password. I highly recommend setting the password. macOS will store the password in the Keychain so you don’t have to repeat it every time.
Add the key to GitHub
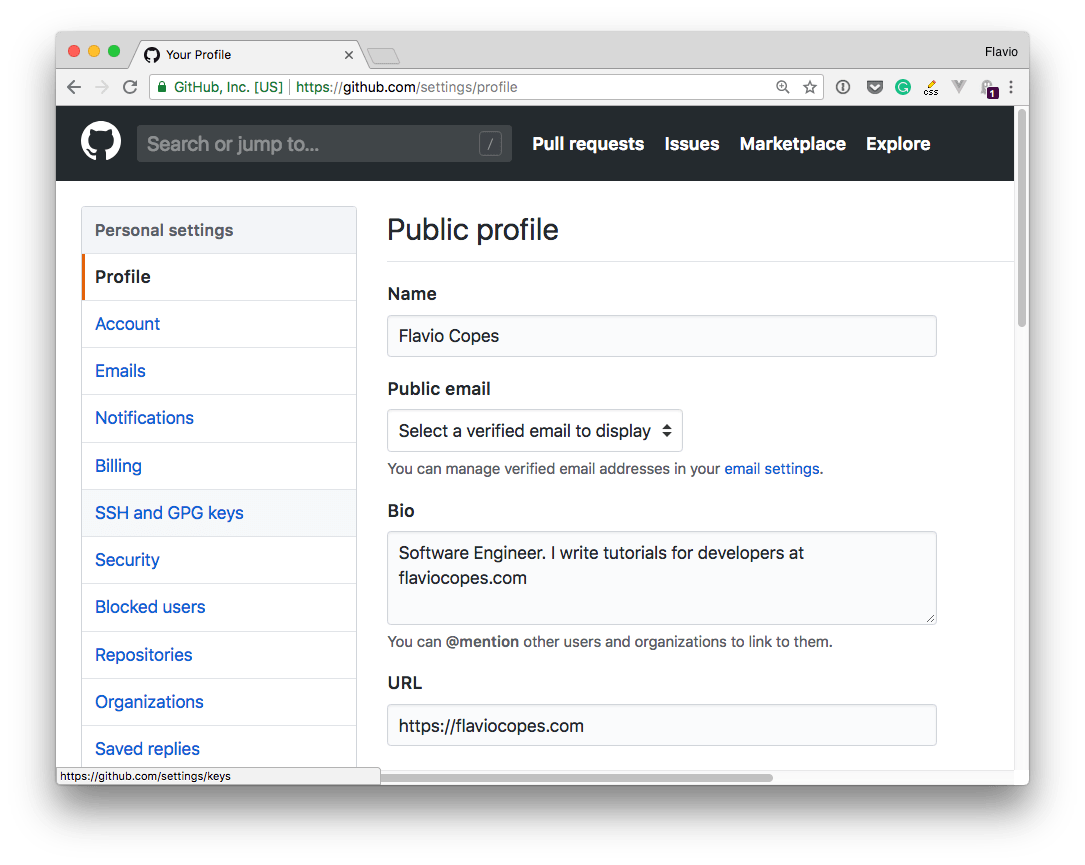
In the GitHub settings you’ll find the “SSH and GPG keys” menu:
Clicking it reveals your current setup:
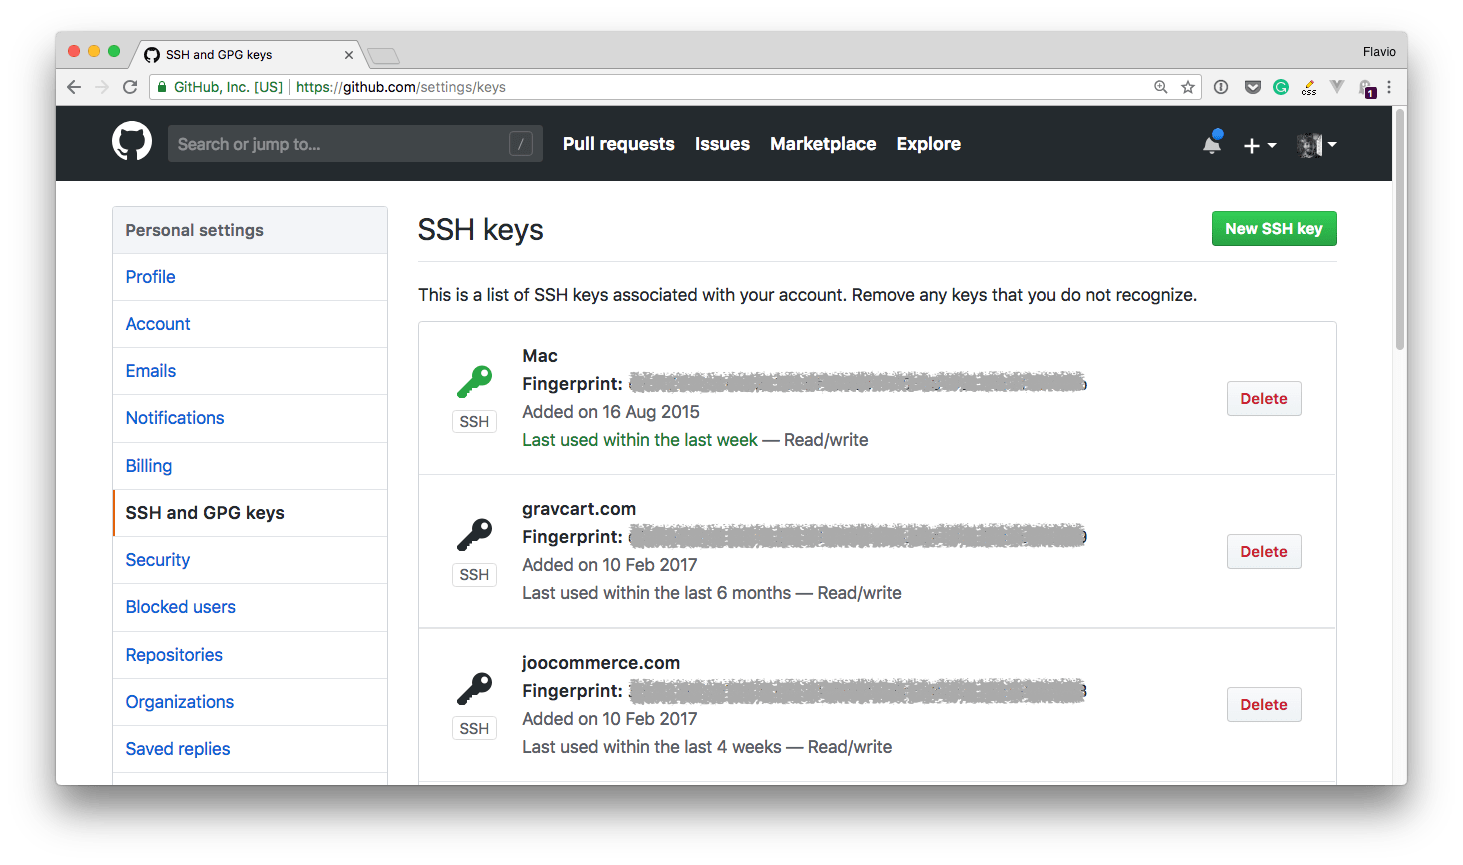
As you can see here, I’ve defined 3 SSH keys: one I use locally on my Mac, and two I use on the remote servers to pull the website code.
Pressing “New SSH key” lets you add a new one:
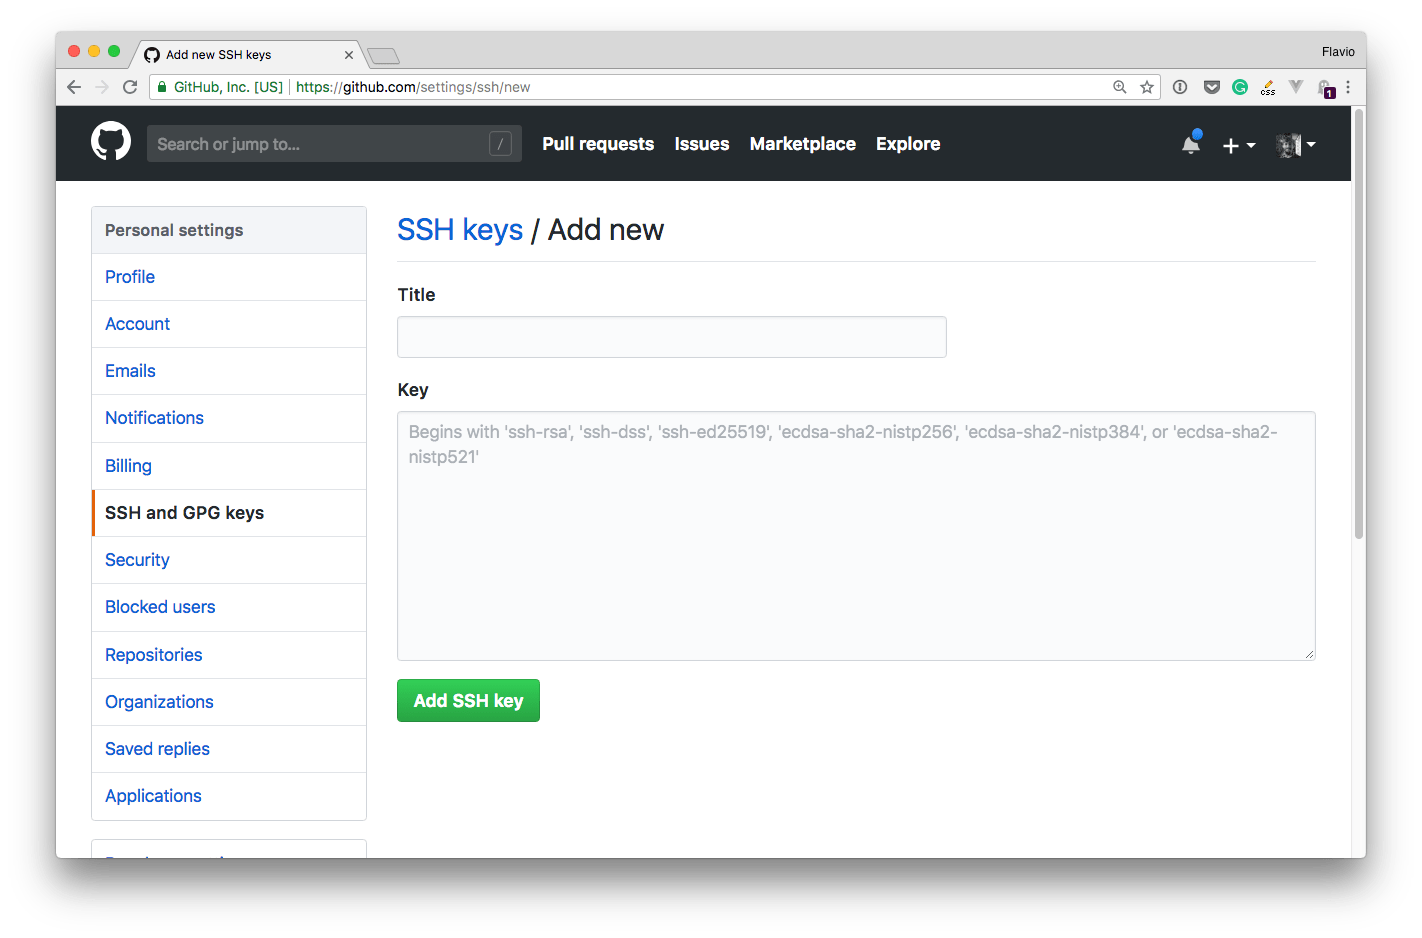
You set the title to be something meaningful, which you’ll remember 2 years+ from now.
The key is the one you generated before.
You can open the .pub file of the key, copy its content and paste it in this box.
You can do so using any CLI command like cat id_rsa.pub and you copy/paste the whole key code with the mouse.
Once you save that string to GitHub (or any other service, as the concept is the same for everyone), your Git client will have the credentials it needs to communicate with the remote server, and you should be good to go!
Using multiple keys
It’s recommended to use a different SSH key for every service you intend to use.
This makes it very easy to invalidate a key on a specific service without having to change it on all the services you use if you decide to renew it, either because it was compromised or publicly exposed, or for some other reason.
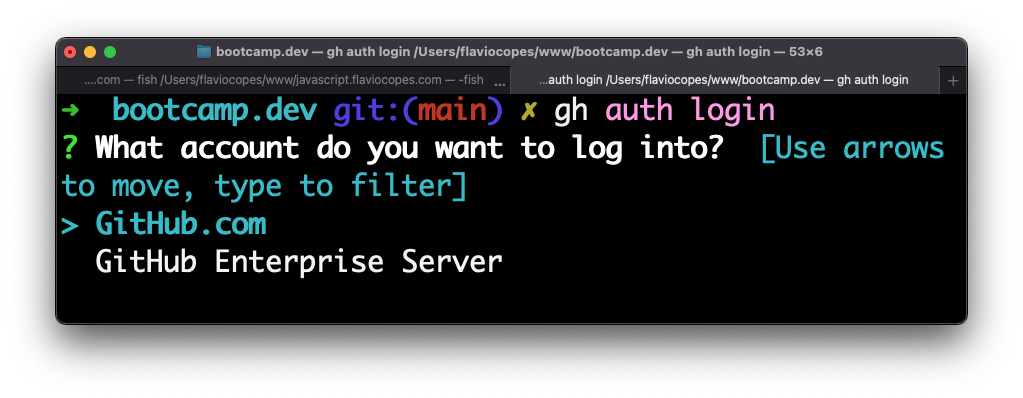
GitHub CLI (gh)
The GitHub CLI is a modern way to authenticate with GitHub, especially on macOS.
I normally use the GitHub Desktop app to interact with my GitHub account, the only place I use for Git repositories for all my code and websites.
But there are times you need to use the git command line, or perhaps the Git integration in VS Code.
Without these steps, you’d get an authentication issue if you try.
Let’s set it up. I assume you have Homebrew installed.
From the command line, run:
brew install ghand then use the gh tool:
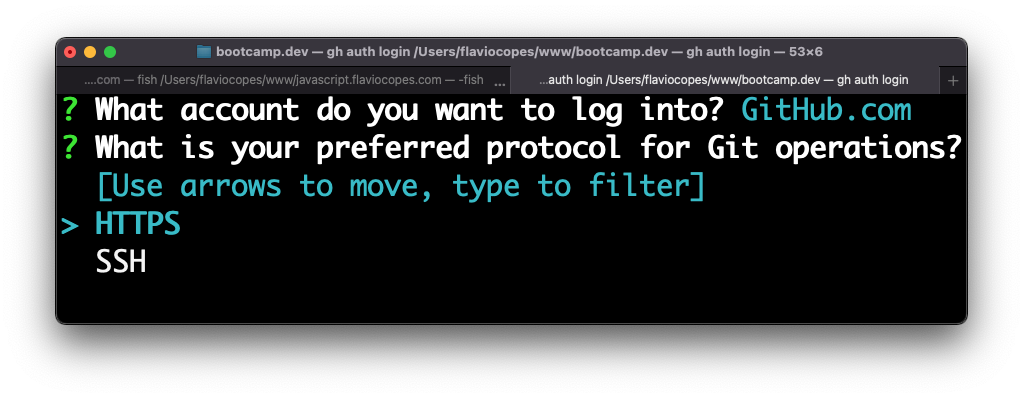
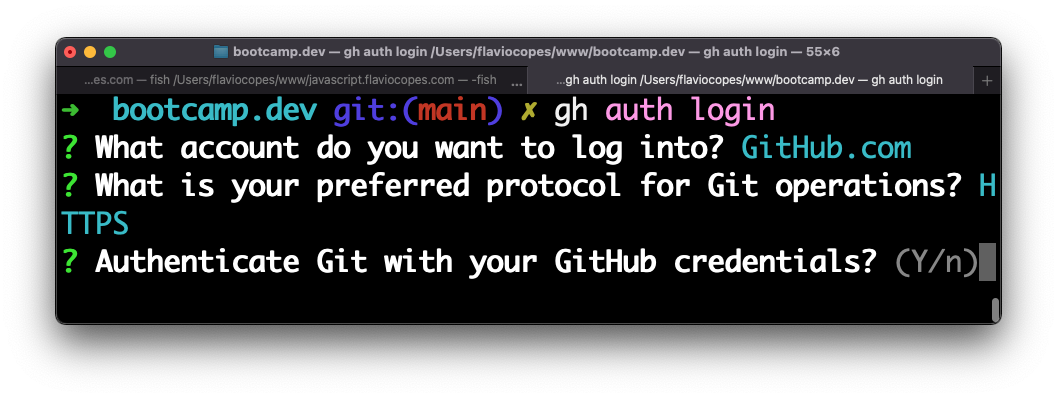
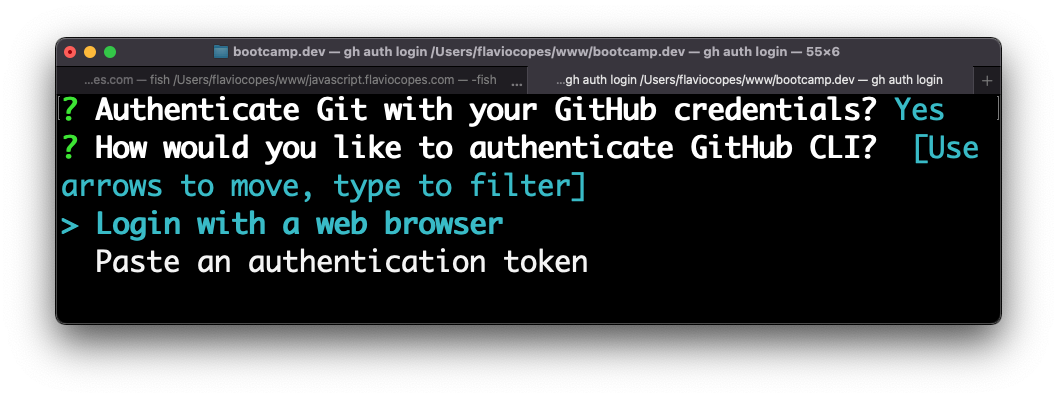
gh auth loginThen answer a few questions.
Choose HTTPS:
Choose Y:
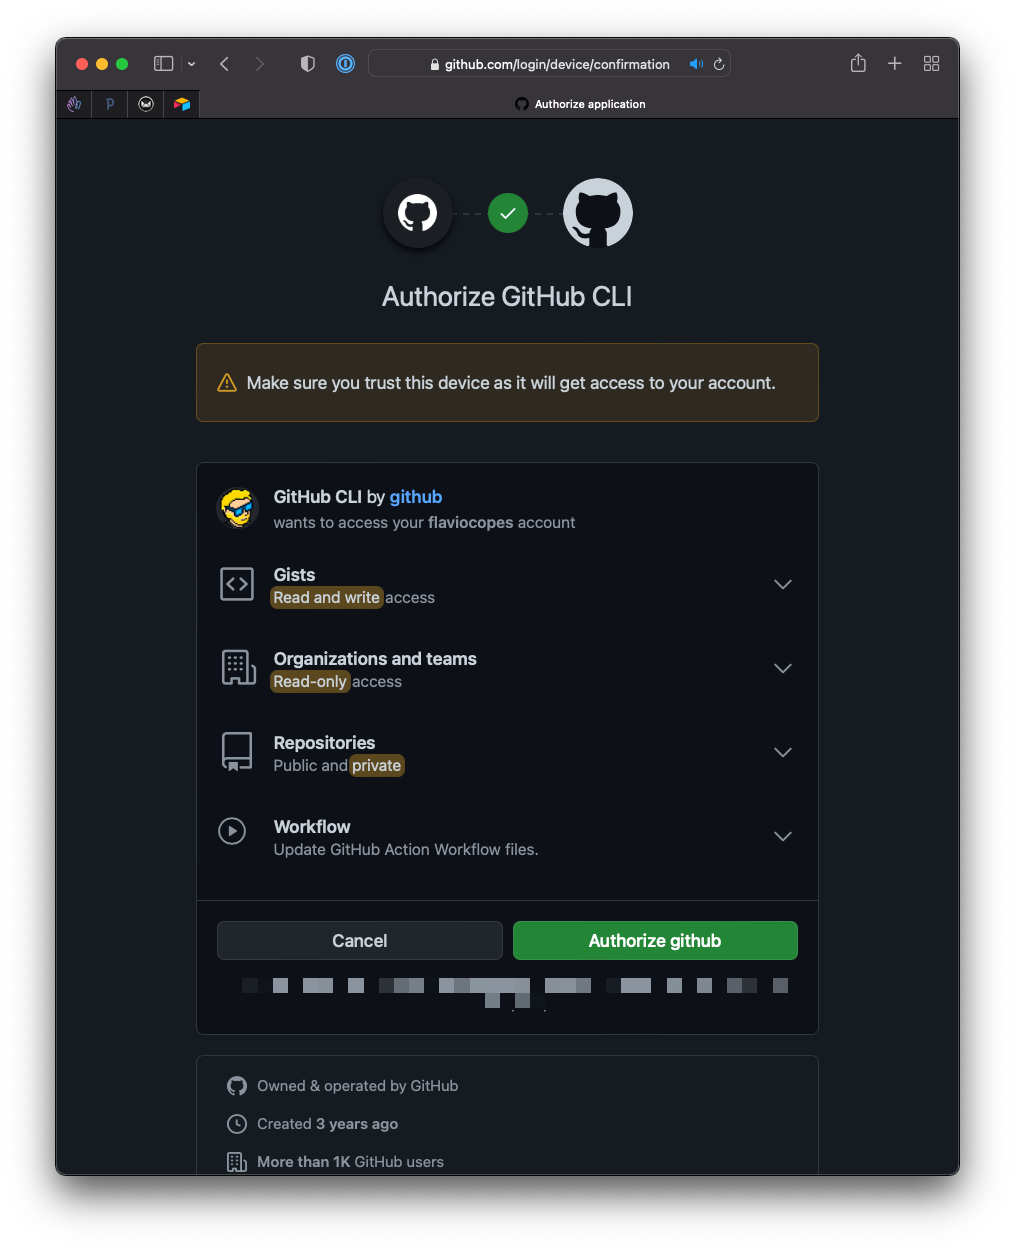
And proceed to log in with the browser:
Click Authorize GitHub:
And you’re set:

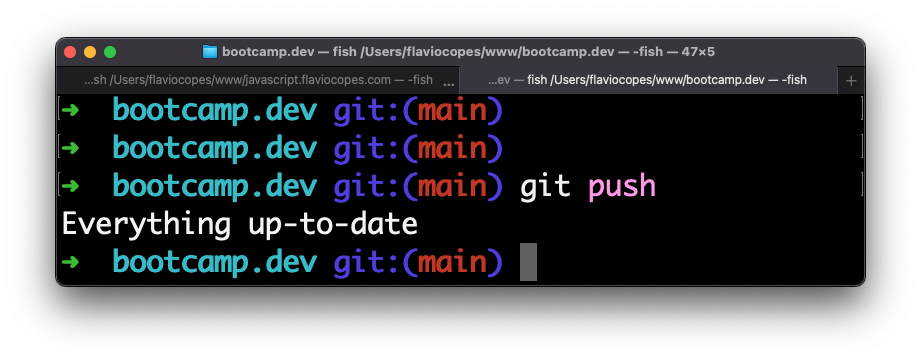
Go back to your terminal or VS Code, and things will work as expected.
Lessons in this unit:
| 0: | Introduction |
| 1: | Setting up Git and GitHub from scratch |
| 2: | ▶︎ Authentication methods |
| 3: | Making your first pull request |
| 4: | GitHub Actions for CI/CD |