Join the AI Workshop and learn to build real-world apps with AI. A hands-on, practical program to level up your skills.
Select is another input field you use all the time, and it lets people choose options from a drop-down menu.
It starts with a <select> tag:
<select>

</select>
then we add options into it:
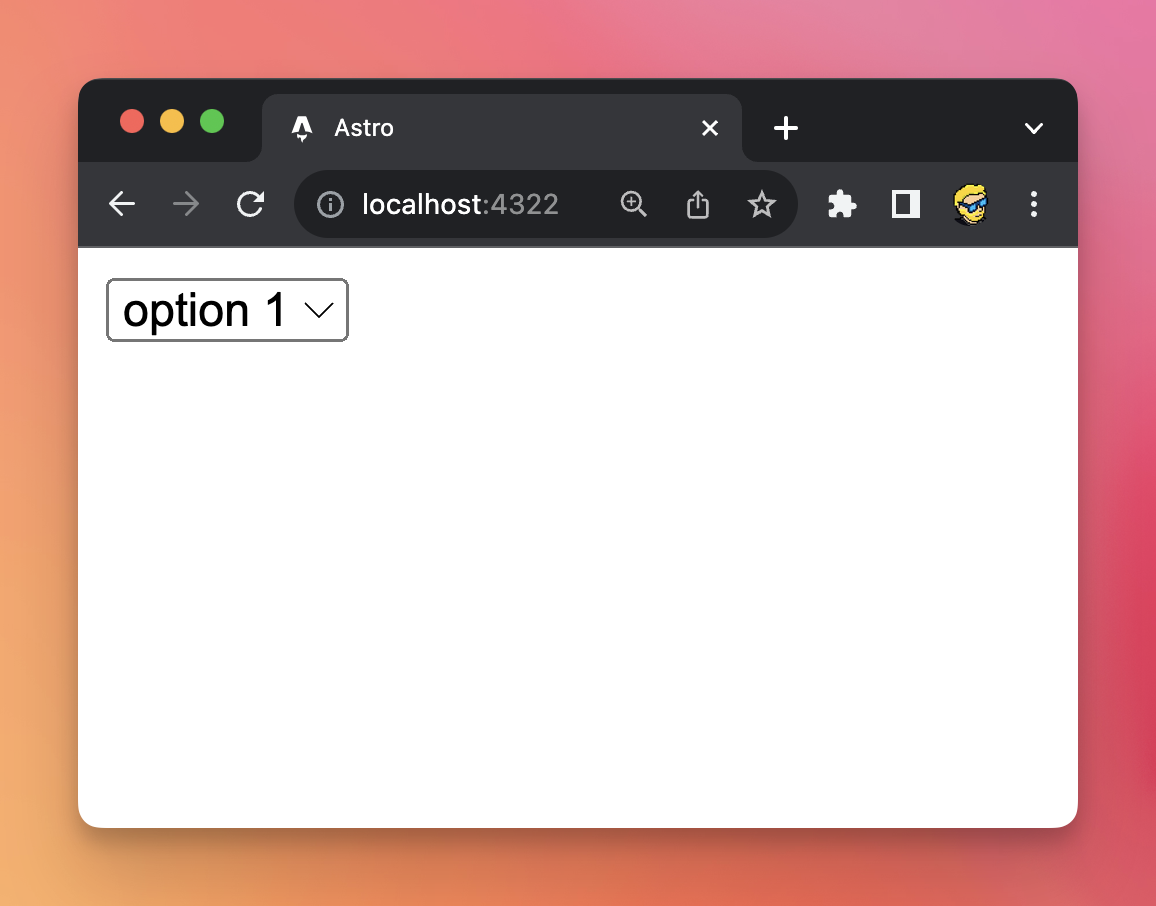
<select>
  <option>option 1</option>
  <option>option 2</option>
  <option>option 3</option>
</select>
The browser will automatically show the first option by default:
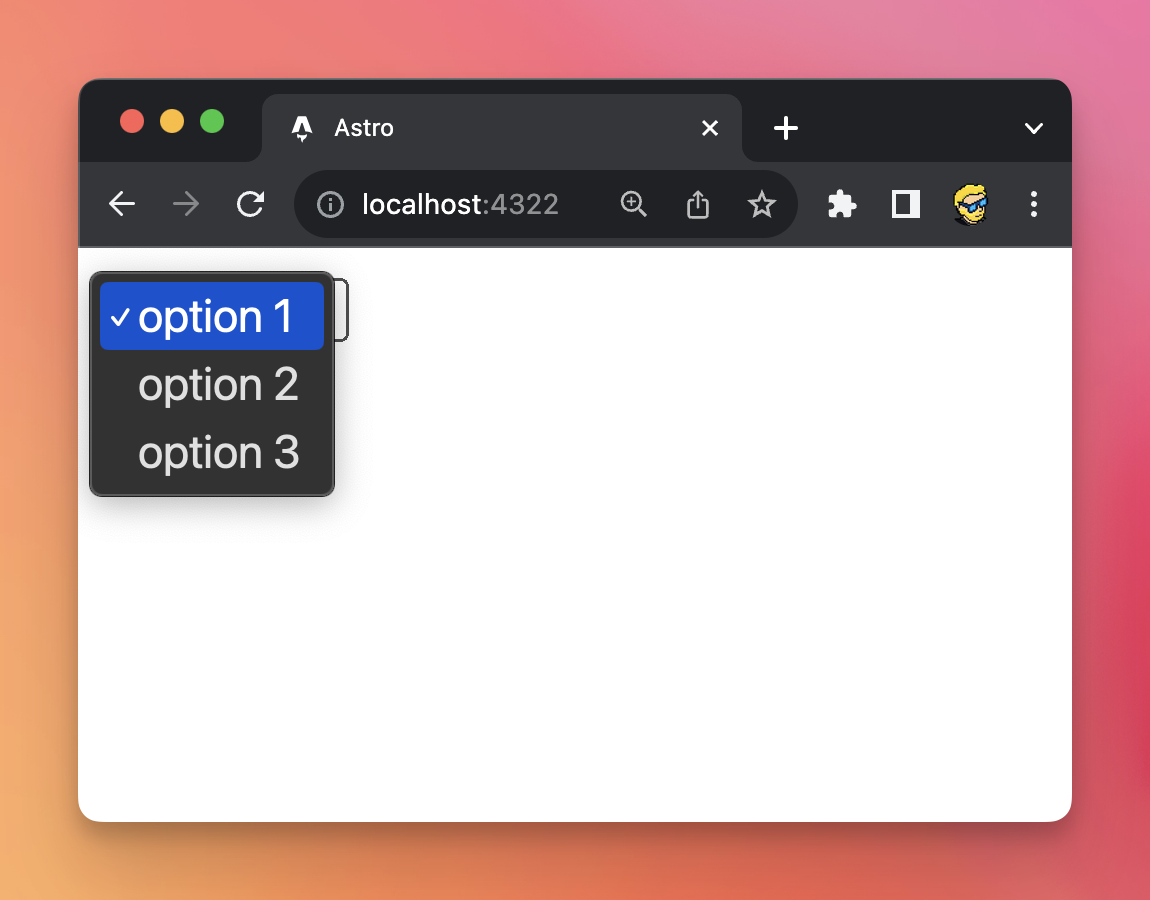
Clicking it, you’ll see the other options:
You put a name attribute on the select, and a value attribute on each option:
<select name="choice">
  <option value="option1">option 1</option>
  <option value="option2">option 2</option>
  <option value="option3">option 3</option>
</select>
On the server, you’ll get the value using the get() method on the FormData instance.
If you set the multiple attribute, the browser will show a list with all the options visible and users can pick more than one:
<select name="choice" multiple>
  <option value="option1">option 1</option>
  <option value="option2">option 2</option>
  <option value="option3">option 3</option>
</select>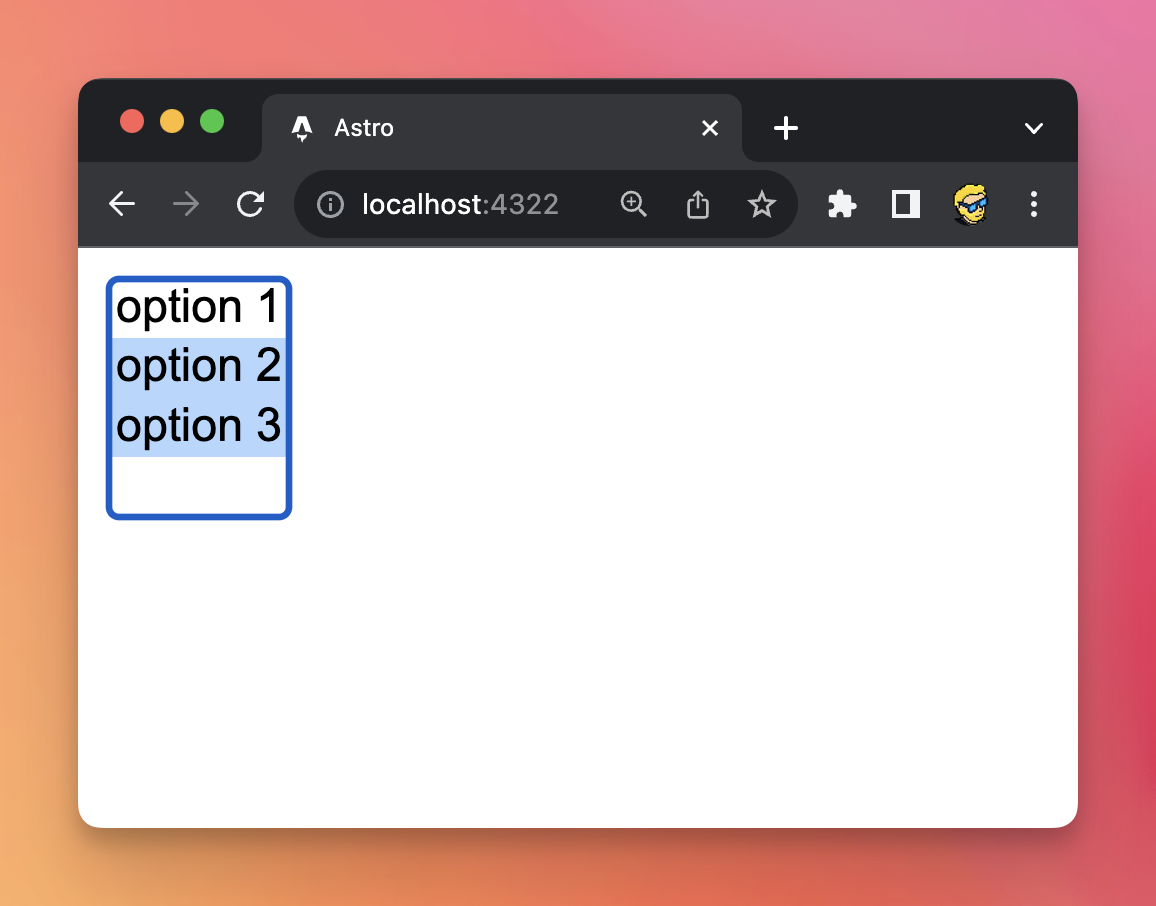
This time on the server you’ll use getAll() on the FormData instance because you have multiple possible options selected.
It’s useful to know you can visually group elements inside a select using the <optgroup> tag:
<select name="category">
  <optgroup label="First group">
    <option value="option1">option 1</option>
    <option value="option2">option 2</option>
    <option value="option3">option 3</option>
  </optgroup>
  <optgroup label="Second group">
    <option value="option4">option 4</option>
    <option value="option5">option 5</option>
    <option value="option6">option 6</option>
  </optgroup>
</select>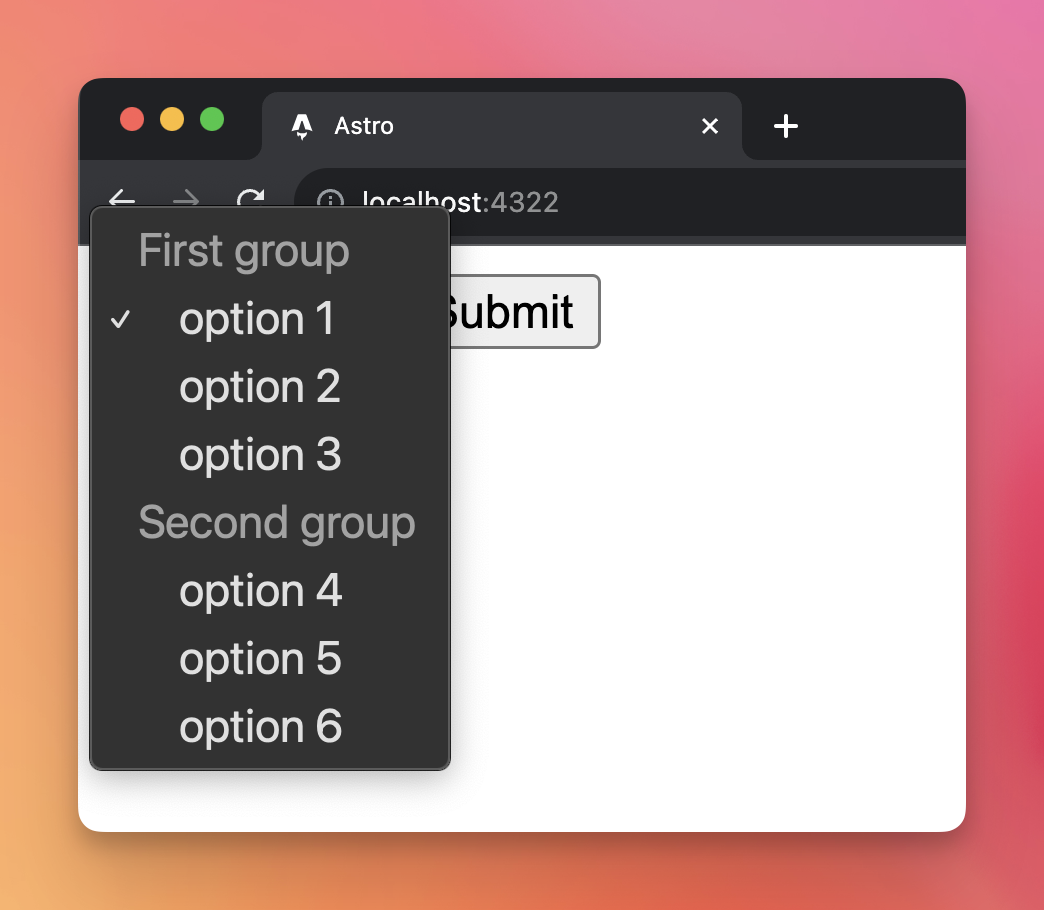
Lessons in this unit:
| 0: | Introduction |
| 1: | Form submit field |
| 2: | Specialized input fields |
| 3: | Checkboxes |
| 4: | Radio buttons |
| 5: | File input fields |
| 6: | Textarea |
| 7: | ▶︎ Select |
| 8: | Autocompleting form fields |