Join the AI Workshop and learn to build real-world apps with AI. A hands-on, practical program to level up your skills.
Checkboxes are a super popular form field.
You create a checkbox using:
<input type="checkbox" />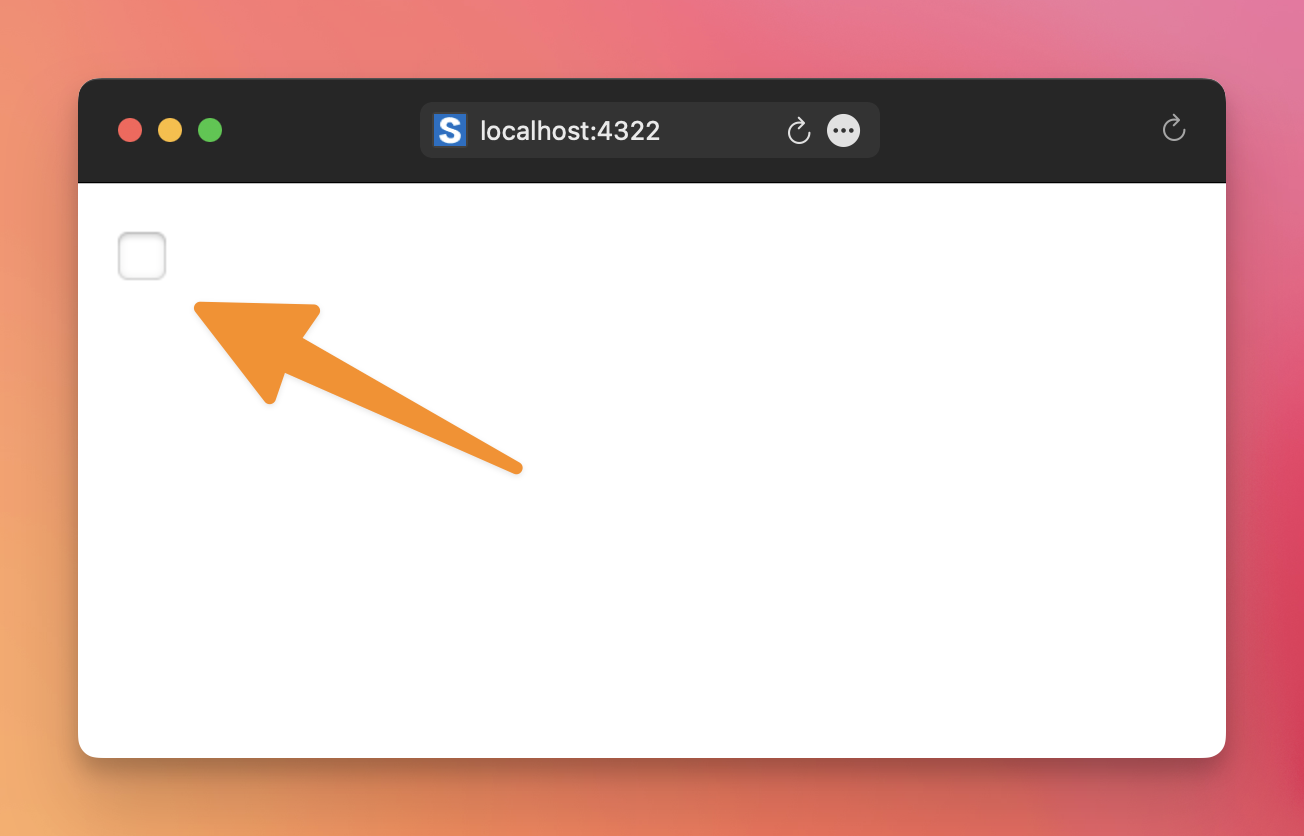
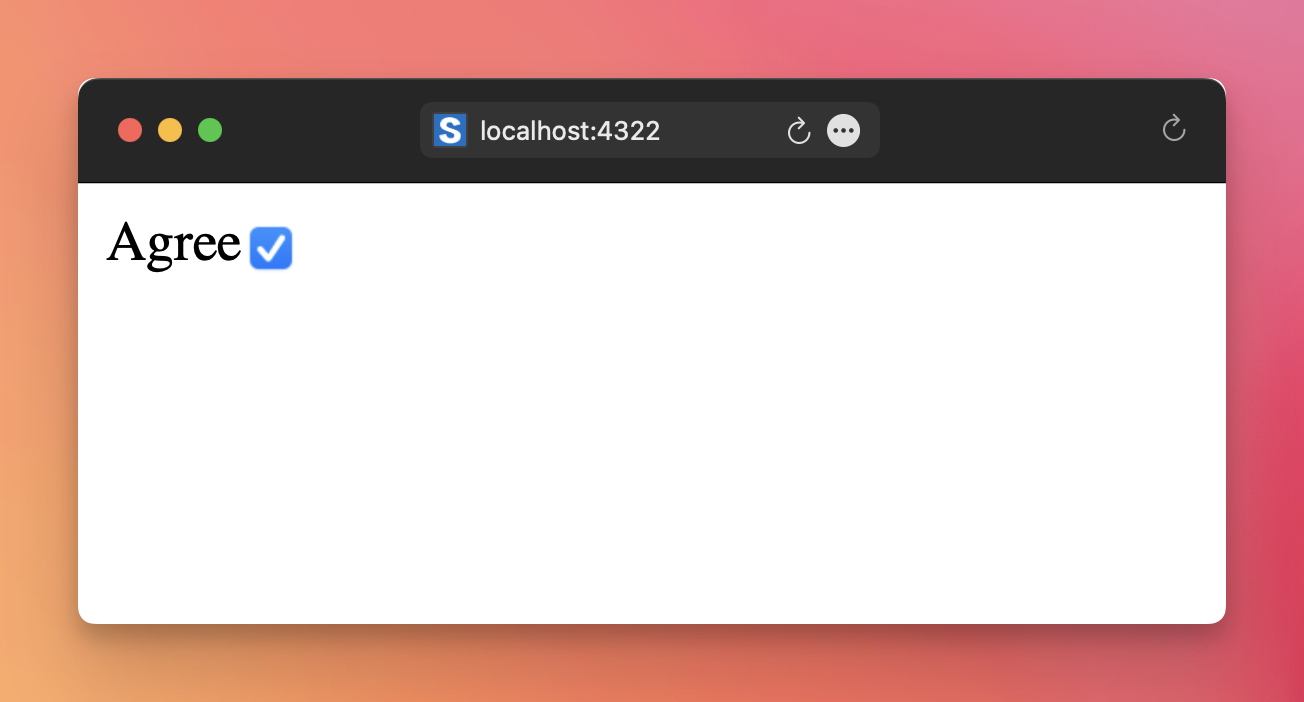
You usually combine a checkbox with a label, otherwise it’s a mystery what that checkbox means:
<label for="agree">Agree</label>
<input type="checkbox" name="agree" id="agree" />
Note that when using a label, we need an id attribute, so when the user clicks the label, the checkbox automatically changes state.
A checkbox is by default unchecked (inactive). A user can check it by clicking it (or pressing the space key when the field is focused).
You can set the checkbox to be checked by default:
<input type="checkbox" checked />We must add a name attribute to the checkbox so its value is sent to the server upon form submit:
<input type="checkbox" name="agree" />On the server, the agree field will have the value on if the checkbox is checked.
You can add the value attribute, and that is the value submitted to the server if the checkbox is checked, instead of on.
If the checkbox is unchecked, no value is sent to the server, like if the checkbox wasn’t there at all.
Multiple checkboxes
Sometimes you want multiple checkboxes, not just one. For example, imagine writing a blog post where you can select the category, which can be one or more:
<input type="checkbox" name="category" value="article" />
<input type="checkbox" name="category" value="tutorial" />
<input type="checkbox" name="category" value="news" />
In this case, use the getAll() method of the FormData instance instead of get() to get all checked values as an array.
Lessons in this unit:
| 0: | Introduction |
| 1: | Form submit field |
| 2: | Specialized input fields |
| 3: | ▶︎ Checkboxes |
| 4: | Radio buttons |
| 5: | File input fields |
| 6: | Textarea |
| 7: | Select |
| 8: | Autocompleting form fields |